


THE NECESSARY MATERIALS
To complete this tutorial, you will need:
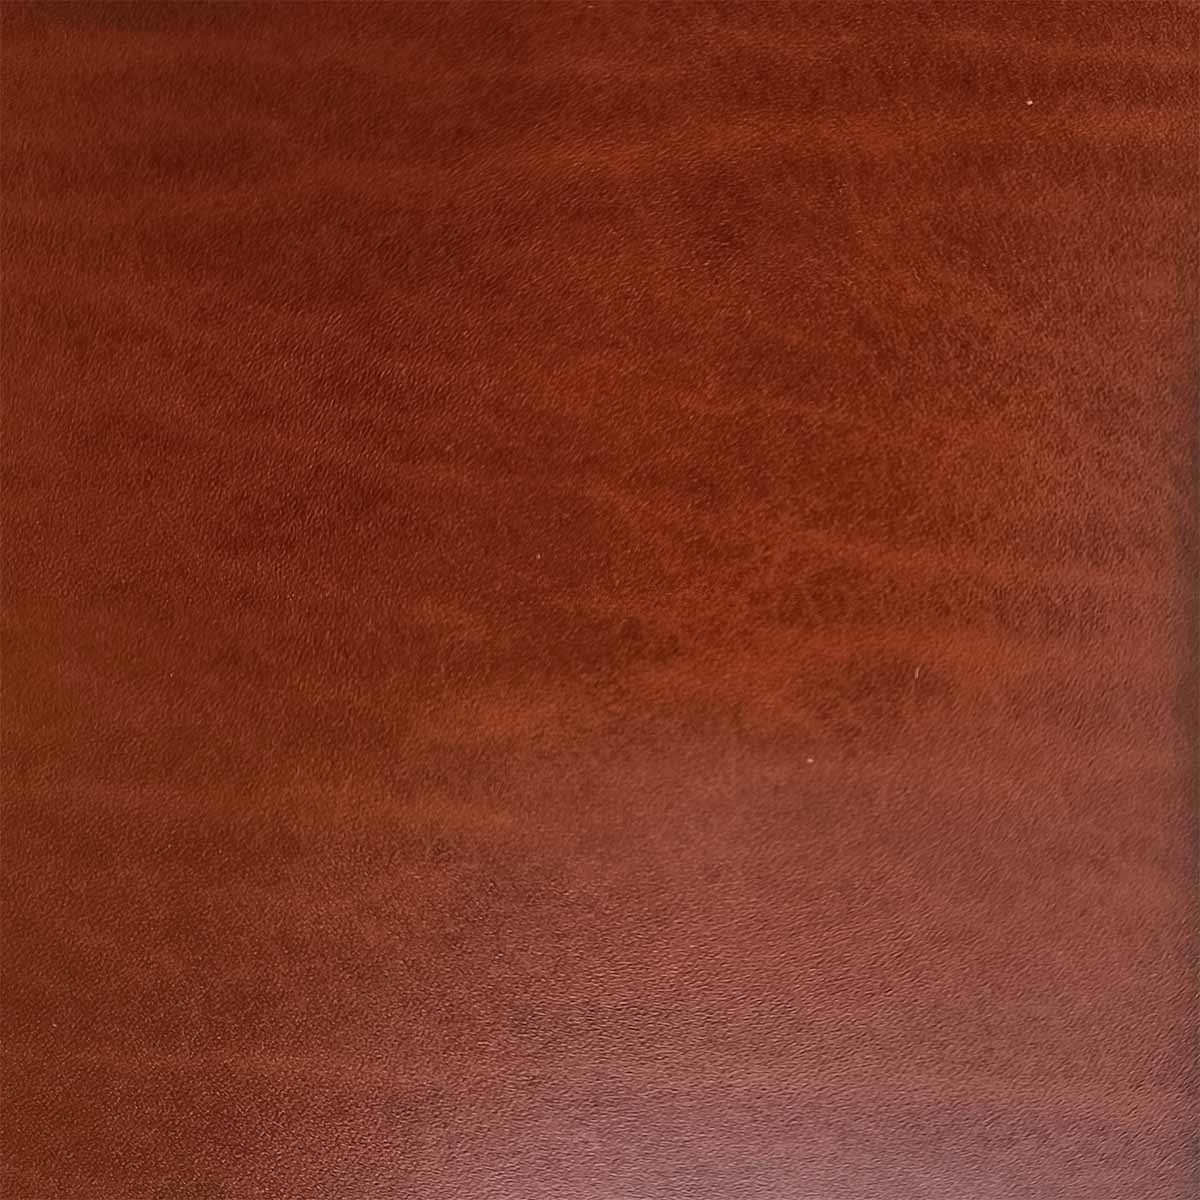
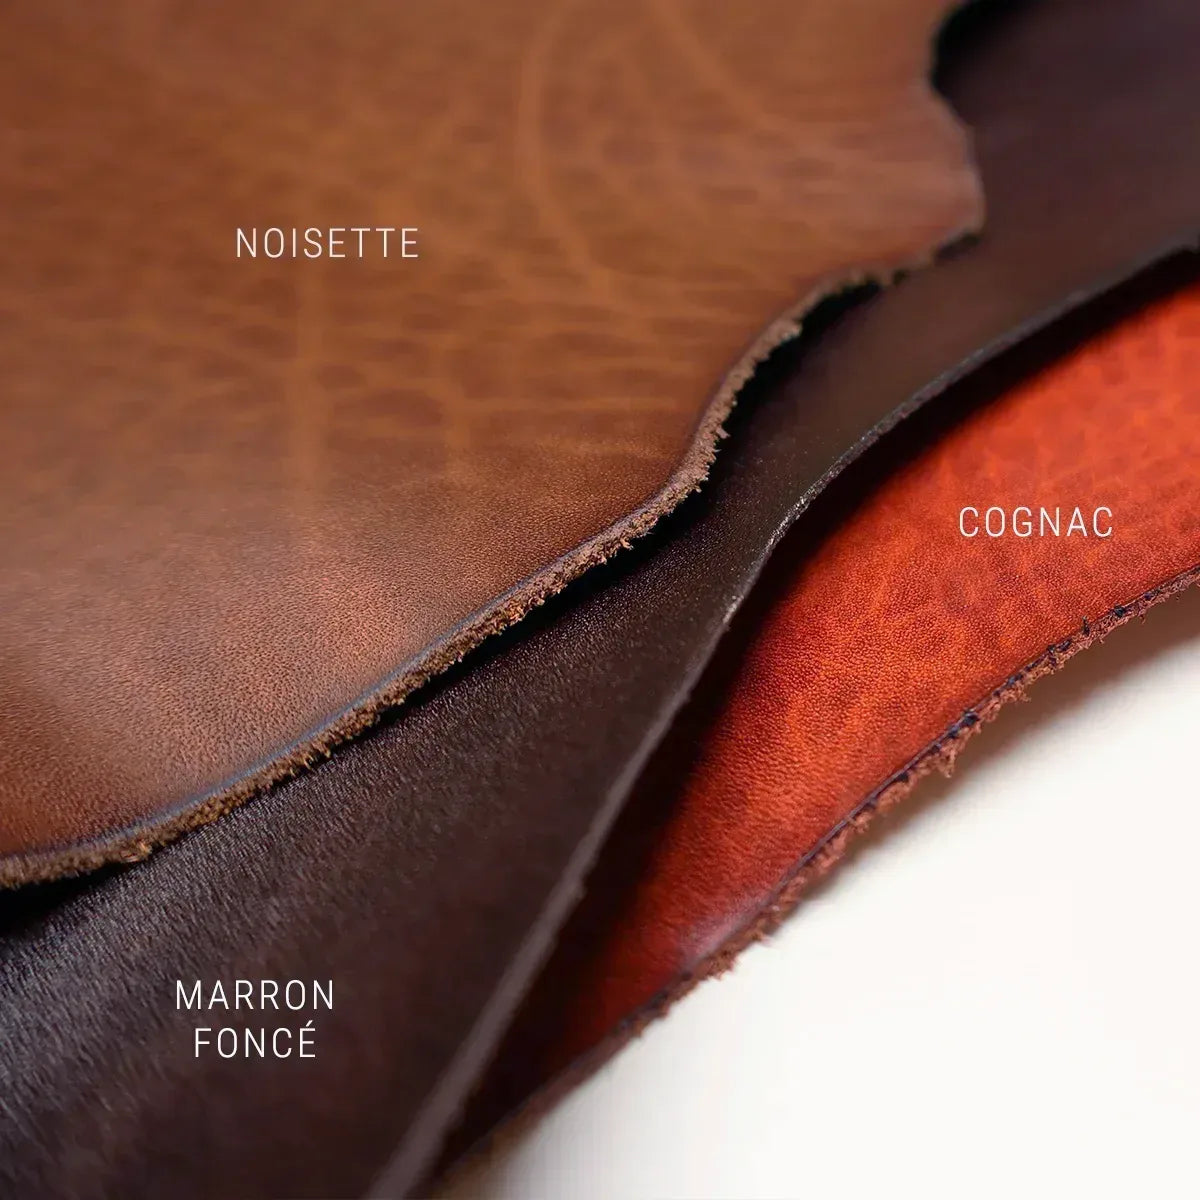
- 1 piece of dyed or natural vegetable tanned butt leather measuring 30 x 40 cm (to make 4 double coasters) and 1.5 mm thick
- 1 piece of Salpa synderme reinforcement - 30x40cm - 1 mm thick
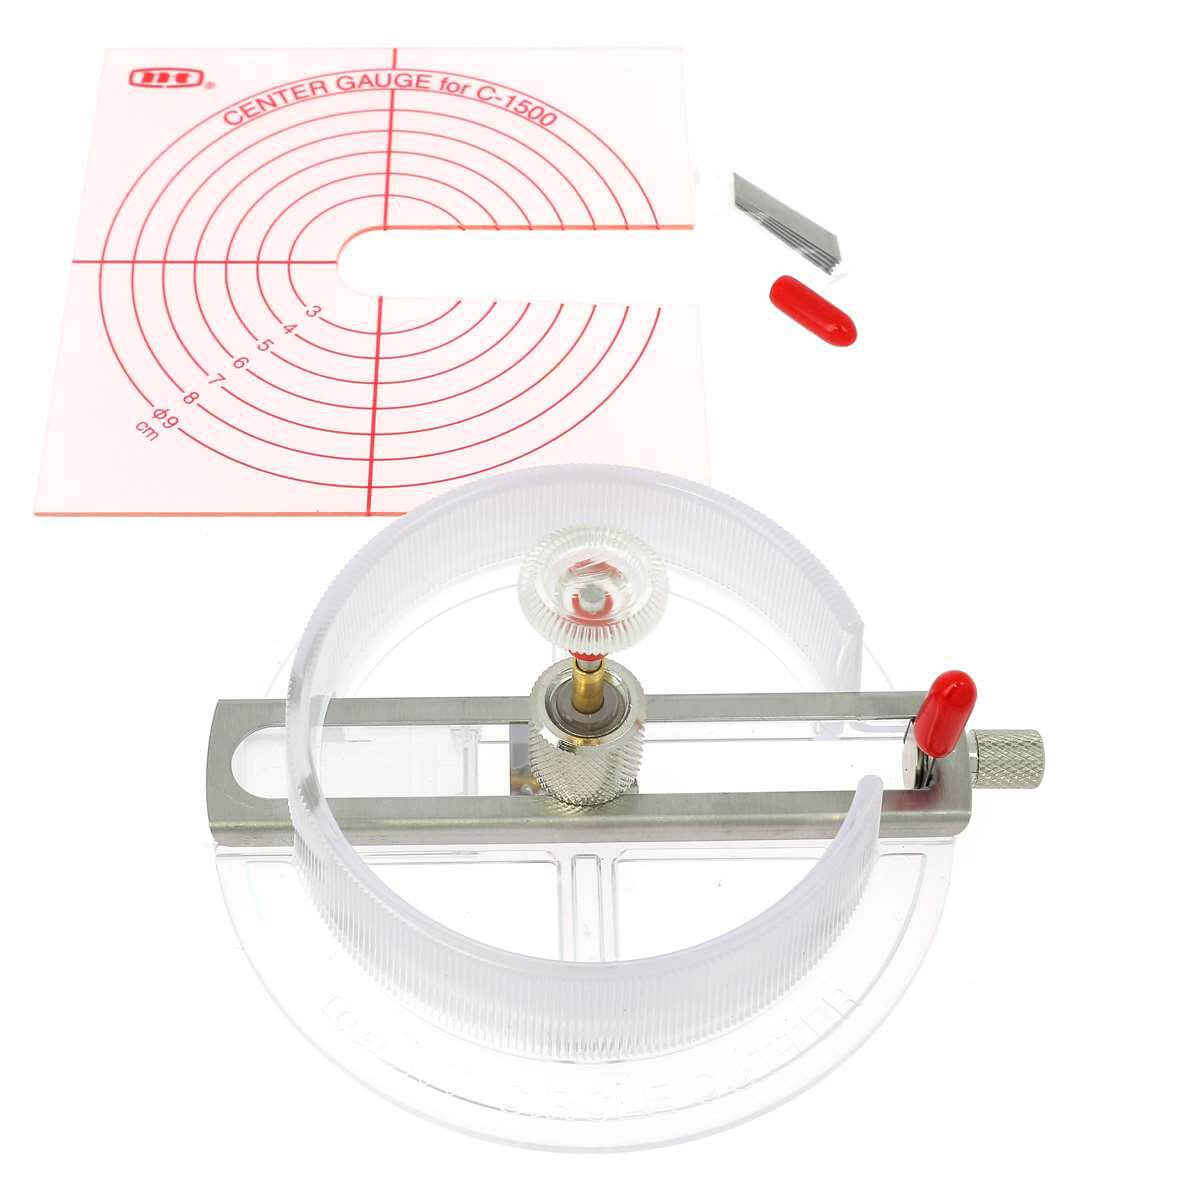
- 1 circular cutter from 1.8 to 17 cm NT Cutter - IC-1500P
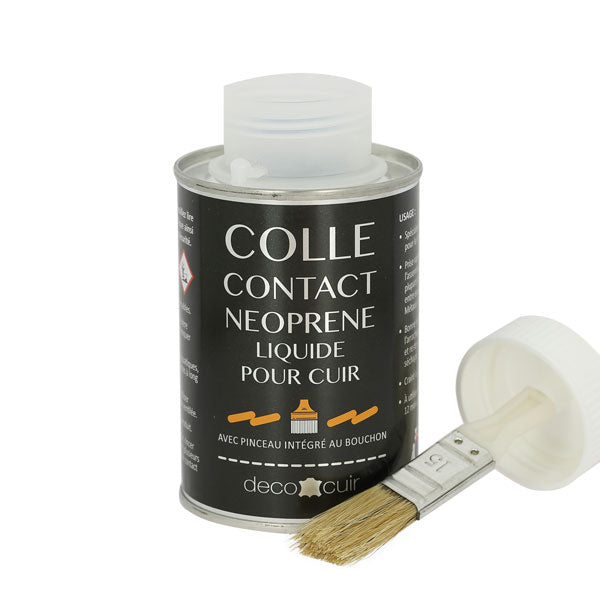
- 1 pot of neoprene glue
- 1 jar of tokonole or other slice finishes
- 1 abrasive sponge
- 1 protective finish such as varnish, waterproofer, grease, etc.
For saddle stitch sewing:
- 1 precision striking claw - 3.38 mm - No. 8 - 2 teeth
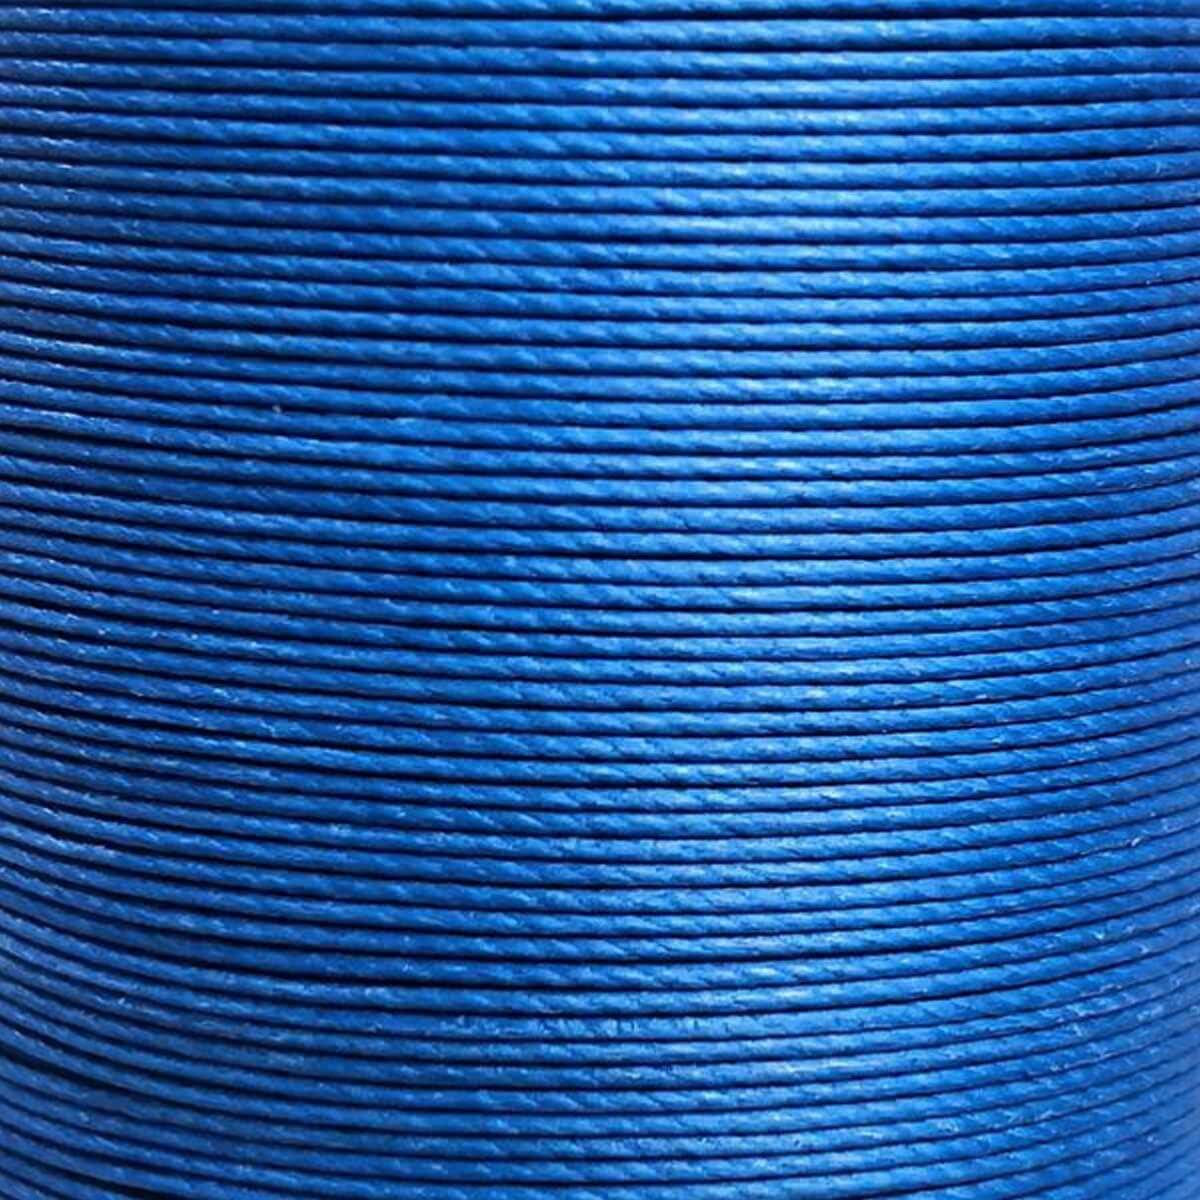
- 1 box of 8m of MeiSi super fine waxed linen thread M40 - Ø 0.45 mm
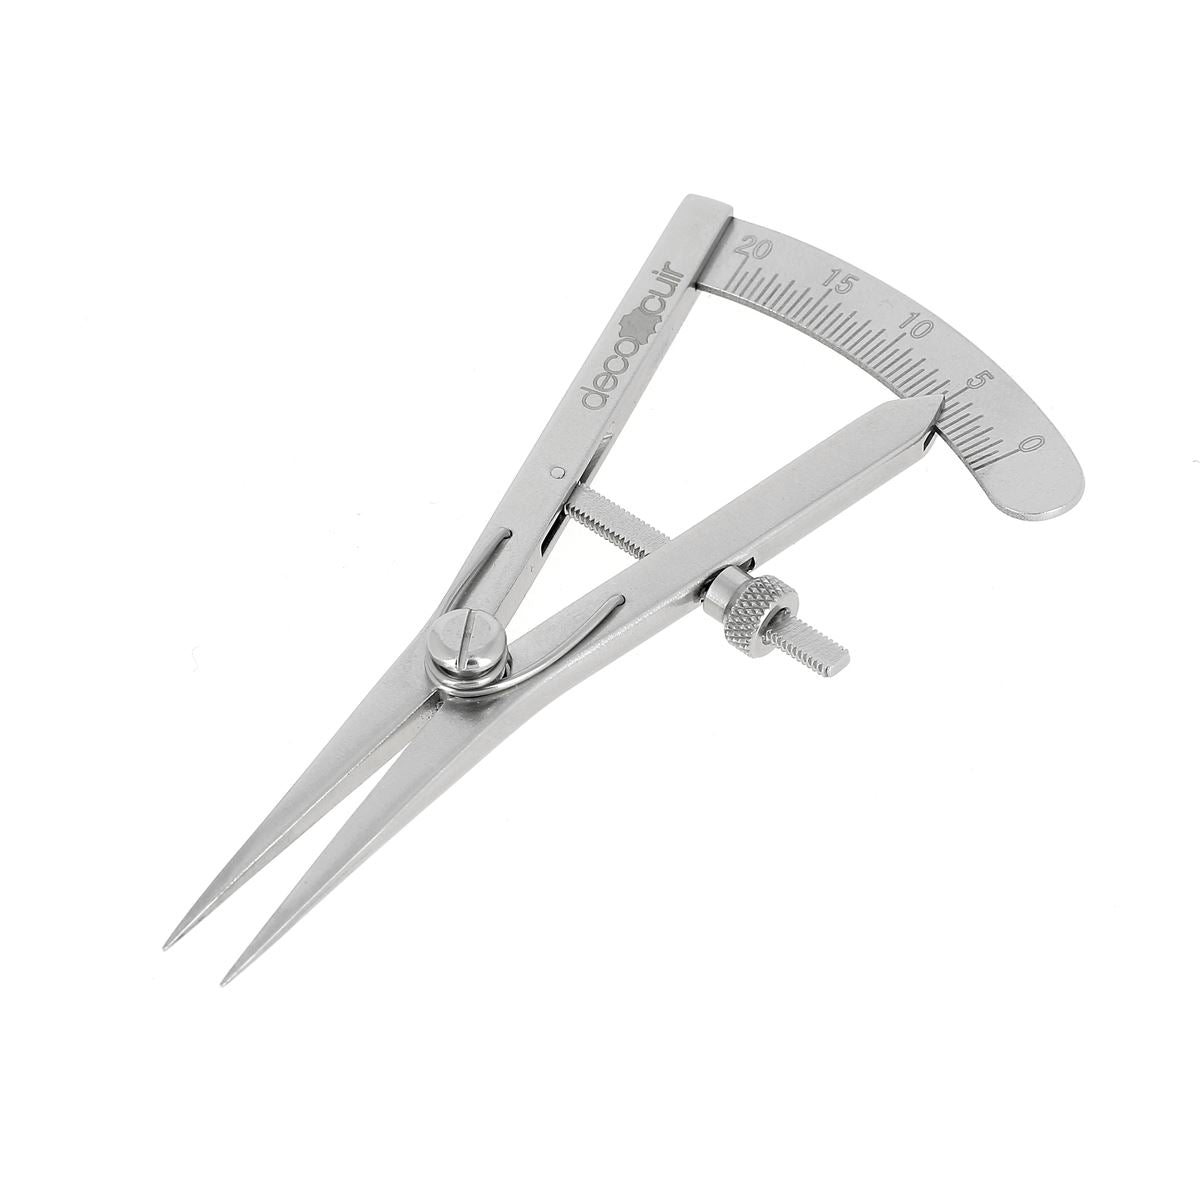
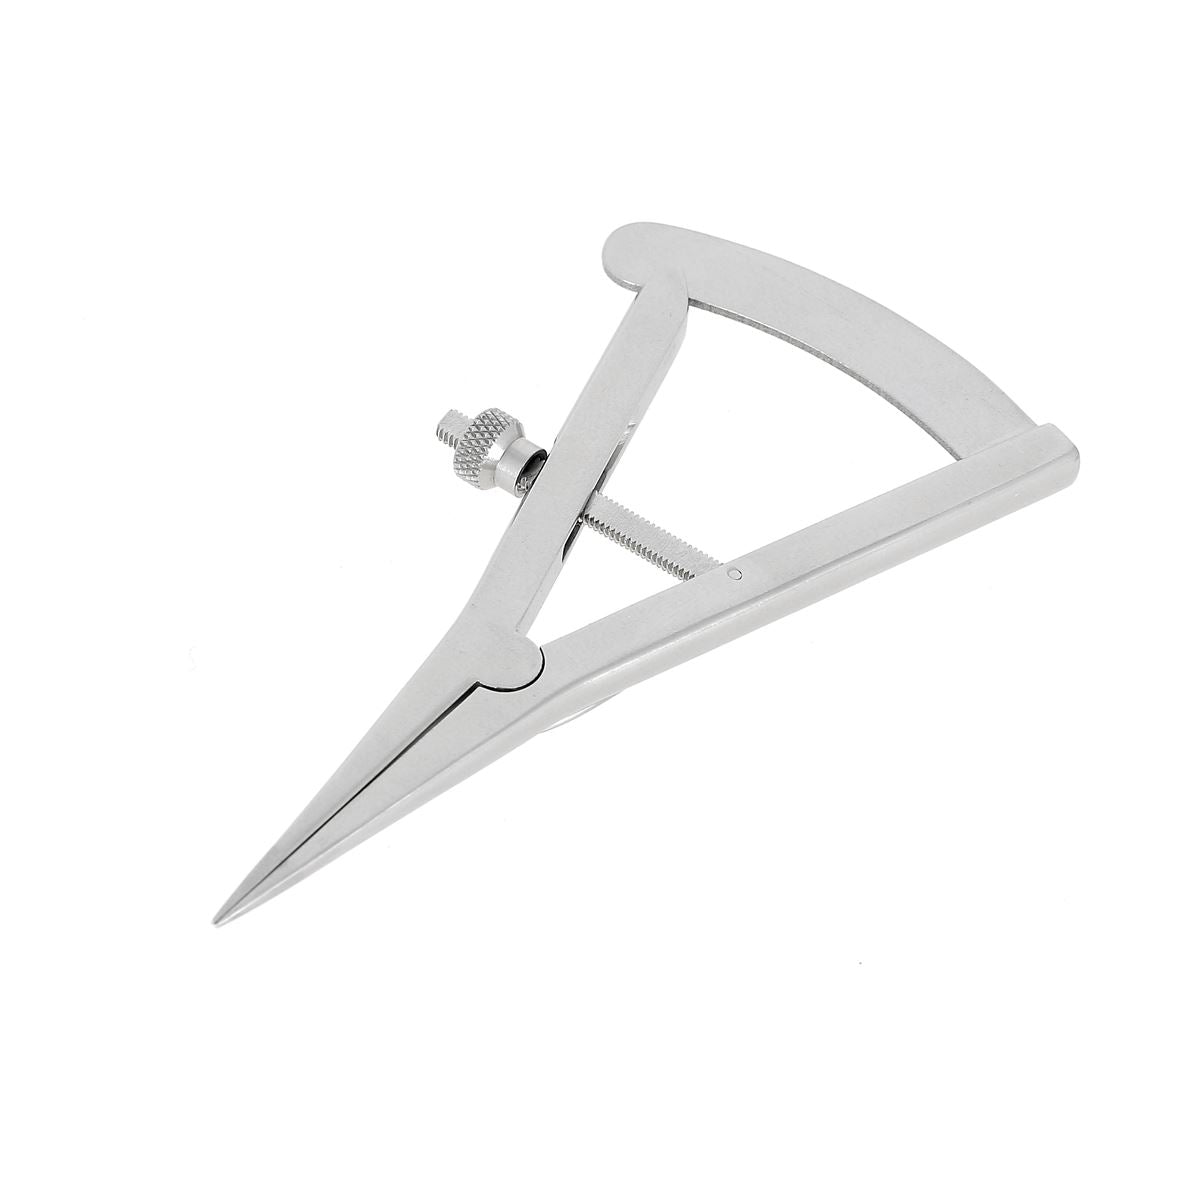
- 1 mini direct reading compass - dry point


For simplified sewing:
- 1 round punch - Ø 1 mm
- 1 box of 8m of MeiSi super fine waxed linen thread M60 - Ø 0.65 mm


Full tutorial video
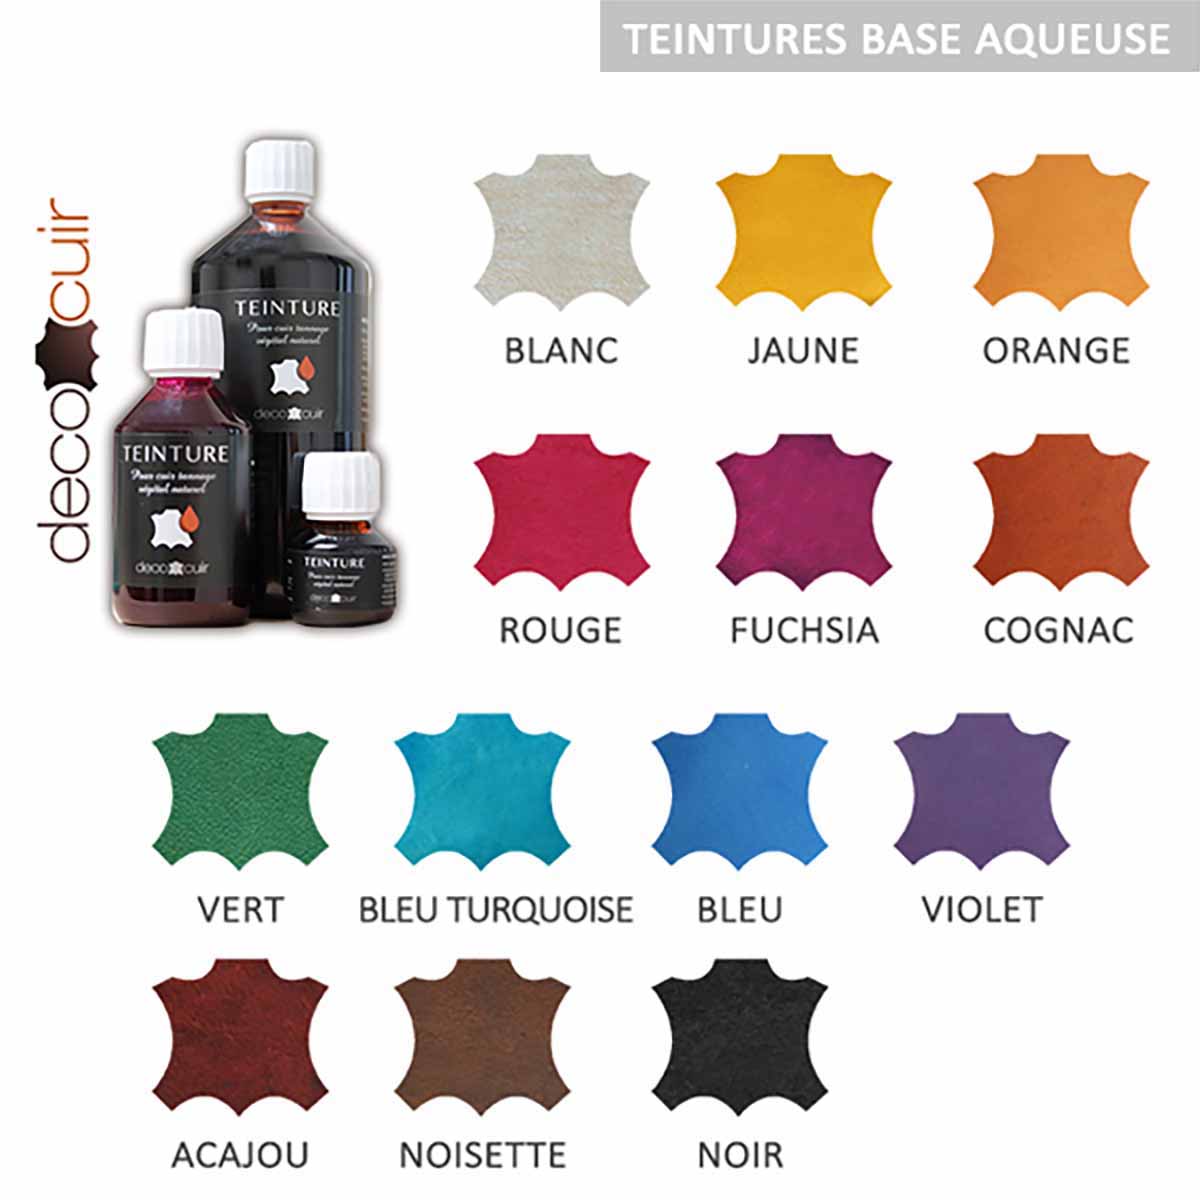
Option: dyeing natural vegetable tanned leather
If you want to create your own shades for your leather coasters, you can select a natural vegetable tanned leather and dye it!
LEARN MORE ABOUT LEATHER DYEING


1. Cut out the different pieces
Cut two 10 cm diameter circles out of the leather using the cutting tool of your choice. Here, we decided to use a circular cutter (available for sale on our website - reference ) .
It is possible to make 4 coasters or 8 circles in a piece of 30x40 cm.

*If you are using the circular cutter, do a test cut on paper first to check that your diameter is correct.

Then, cut a 9.2 cm circle in the salpa with the circular cutter. Salpa is reconstituted leather (crushed leather scraps then bound with natural latex) and allows you to give relief or reinforce your creations.

For the simplified sewing version : the salpa is not mandatory because the "domed" effect is much less pronounced than with the saddle stitch version. You can directly pierce the Ø 1 mm sewing holes and glue the 2 pieces of leather together.

2. Glue the salpa and the leather
Apply contact glue to the back of one of the leather circles and to one side of the salpa. 
Glue the salpa to the center of the leather circle.

Then, apply glue to the back of the second piece of leather and to the second side of the salpa. Apply a thin layer of glue and spread it well everywhere (going all the way to the edge but not over the edge).
 |
 |
Glue the second round of leather onto the salpa, edge to edge with the other round of leather.
 |
 |
3. Mark the rounded effect of the salpa
Using a smoothing tool, flatten the collage at the level of the salpa boundary to mark the “domed” effect.
 |
 |
4. Sew the coaster
There are therefore 2 techniques for sewing:
- Saddle stitch sewing
- Simplified hole sewing
SADDLESTITCH SEWING
A. Draw the seam line
Using a dry point compass, draw the seam line as close as possible to the salpa (approximately 3 mm from the edge) .

B. Scratch the leather
With a 2-tooth claw with a center distance of 3.38 mm: mark the stitching points on the drawn line.

C. Sew with saddle stitch
Sew all around the leather circle with a saddle stitch.
 |
 |
SIMPLIFIED SEWING
A. Drill the holes
Punch the Ø 1 mm diameter holes if they were not drilled in step 1.
B. Sew with a simplified seam
Sew all around the leather circle with a simplified seam - with holes.
 |
 |
5. Hammer the seams
Flatten the seams with a smoothing tool or a joiner's/rivet hammer. If the coaster is curved, it will be easier to use a smoothing tool.

6. Work the slices
Work the edges of the coaster. Sand with an abrasive sponge, apply tokonole and smooth with a smoothing tool.
 |
 |
7. Make the alphabet marking
Lightly dampen the leather and mark it with alphabet letters.


8. Put on protection
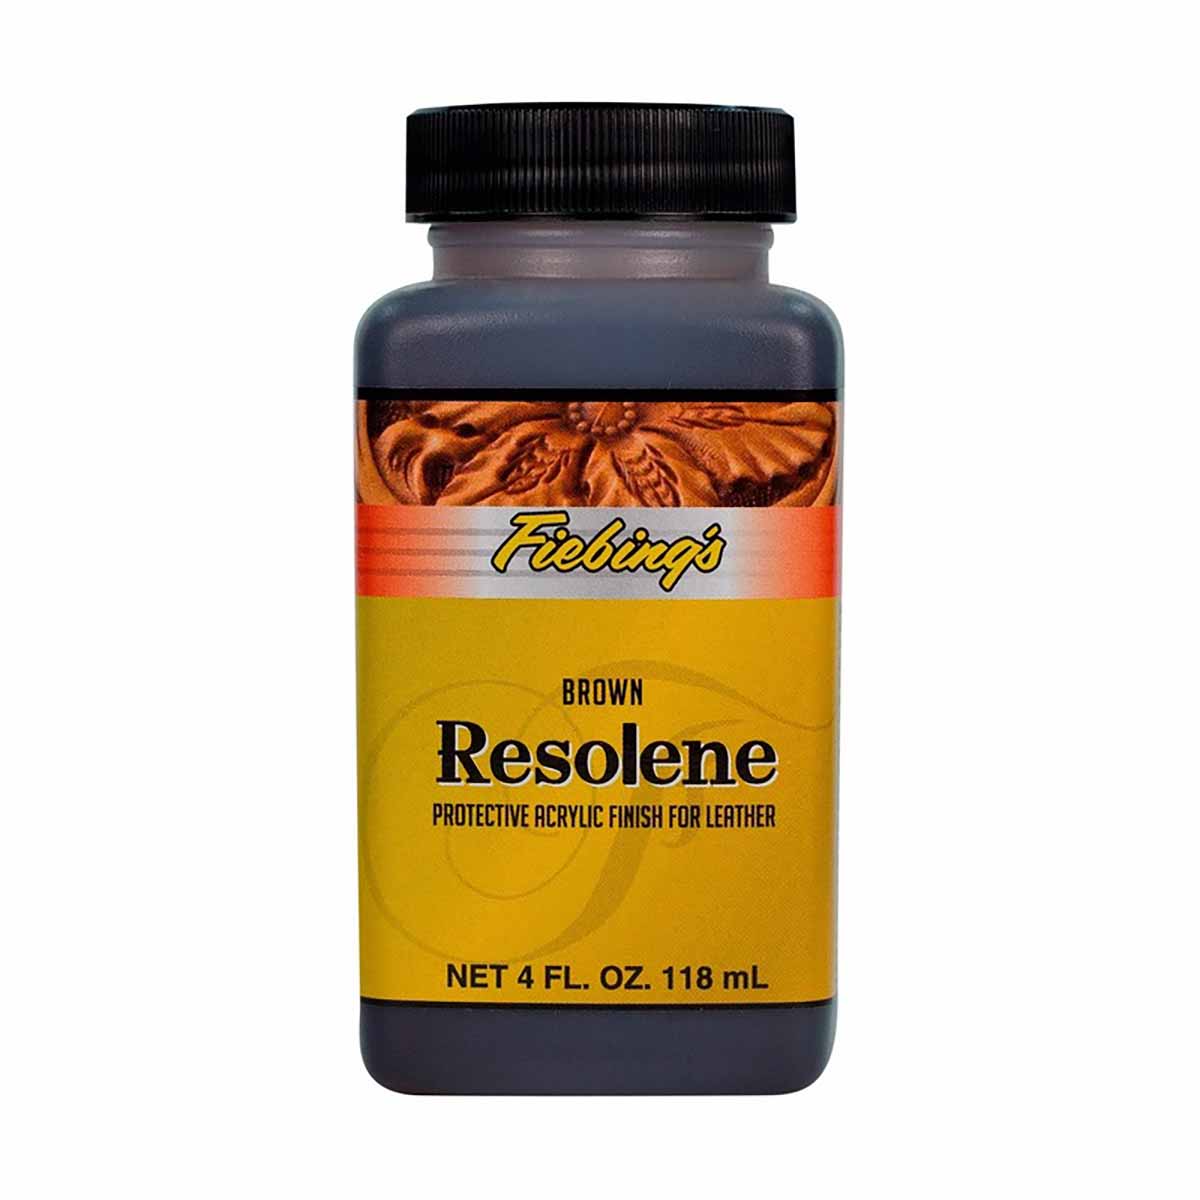
Apply the protection of your choice to protect your coasters from drops. We recommend applying grease first, then a waterproofer or varnish (e.g., Fiebing's Resolene). After 24 hours, let the grease soak in.
Here we applied 1 coat of seal grease and 2 coats of Resolene.


 |
 |
Make a clip for the coasters
To attach and store the coasters together, make a simple tie with scraps of leather.
Cut 2 strips 1.5 cm wide and approximately 30 cm long.

Wrap one of the straps around the coasters and measure. The strap should overlap by about 1.5 cm.
Cut off the excess and do the same for the second strip.
For example, for 4 coasters, you need two 27 cm strips.
 |
 |
Make a decorative net on the two strips with a frog or a former.

Using double-sided tape, stick the two strips together to form a cross.

 |
 |
Place the coasters in the center of the cross and join 3 ends of the strips together. Mark the center of these three ends.

Make a Ø 3 mm hole on the 3 ends at the level of the marking made previously.

Then, screw on a collar button to hold the 3 layers together.

On the remaining end, make a hole with a Ø 3mm round punch and a 3mm slot with a cutter to allow the head of the collar button to pass through.
 |
 |
You're done!

 |
 |


1 comment
Valérie ARNO
Bonjour, j’aime beaucoup l’idée des sous-verres et du porte-sous-verres. Je débute dans les créations d’accessoires en cuir et je recherche justement des accessoires simples à faire. Je ne cous qu’à la main, et j’avoue que mon point sellier s’améliore assez bien après 2 ou 3 petits travaux. Je tenterai les sous-verres :-) Ça me plait beaucoup. Merci beaucoup pour les tutos et les patrons gratuits.