THE NECESSARY MATERIALS
To complete this tutorial, you will need:
- For the flower stem: 1 VELVET suede pigskin split leather - 0.25m² OR green/khaki microfiber. You need a very thin and supple leather or fabric with a thickness of about 0.8 mm.
- Wooden skewers (approximately 29 cm long)
- For the center of the flowers: 1 skin of VELVET suede pigskin crust leather - Yellow - 0.25m² or 0.8mm thick suede leather.
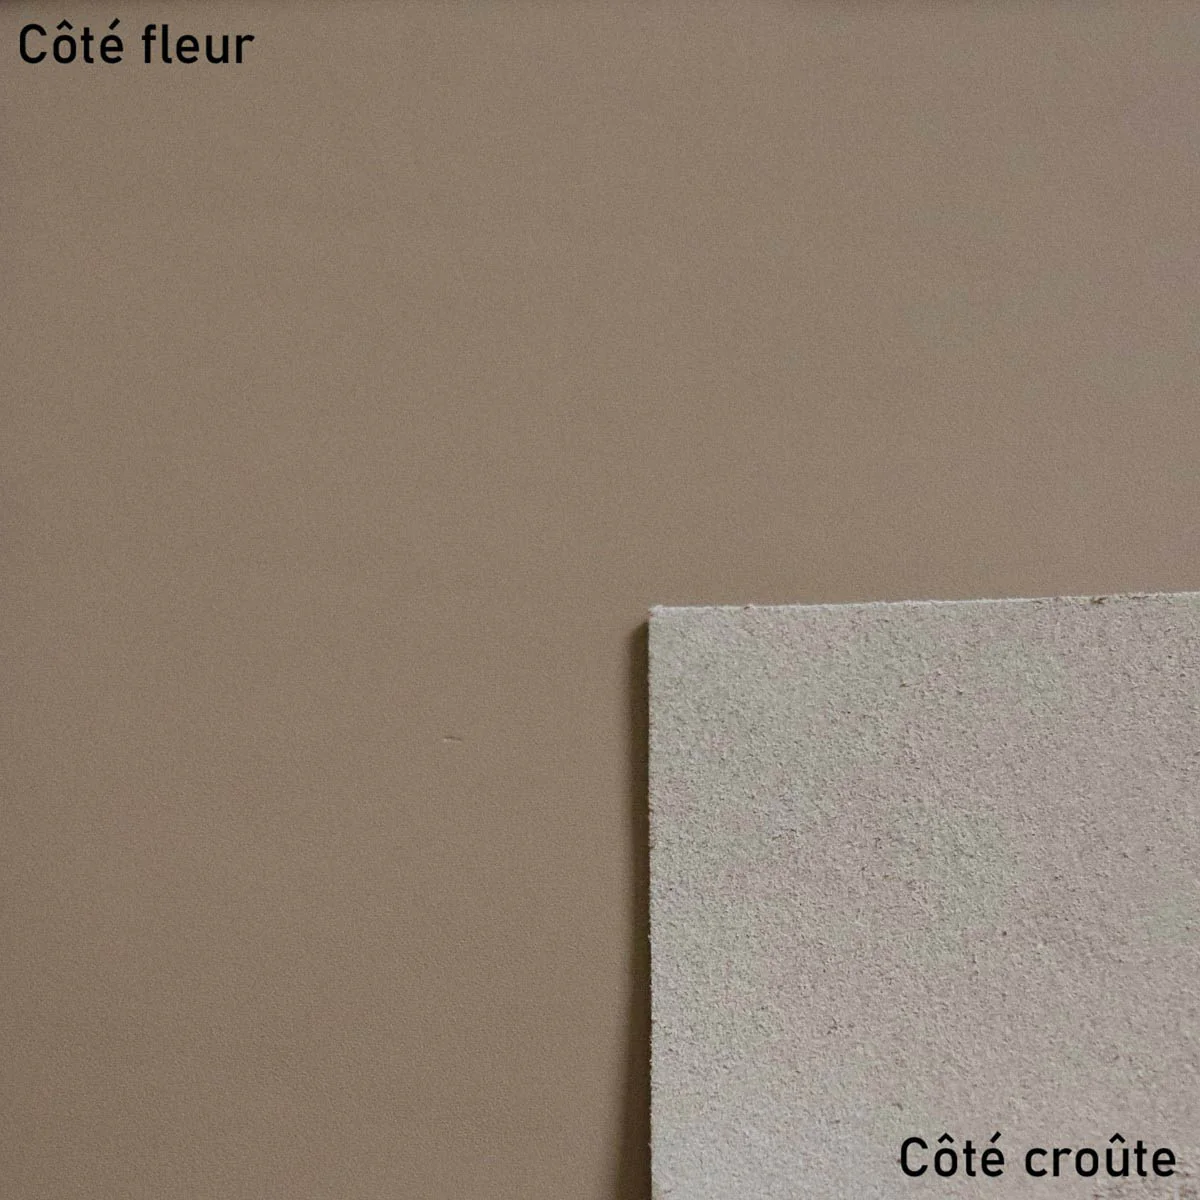
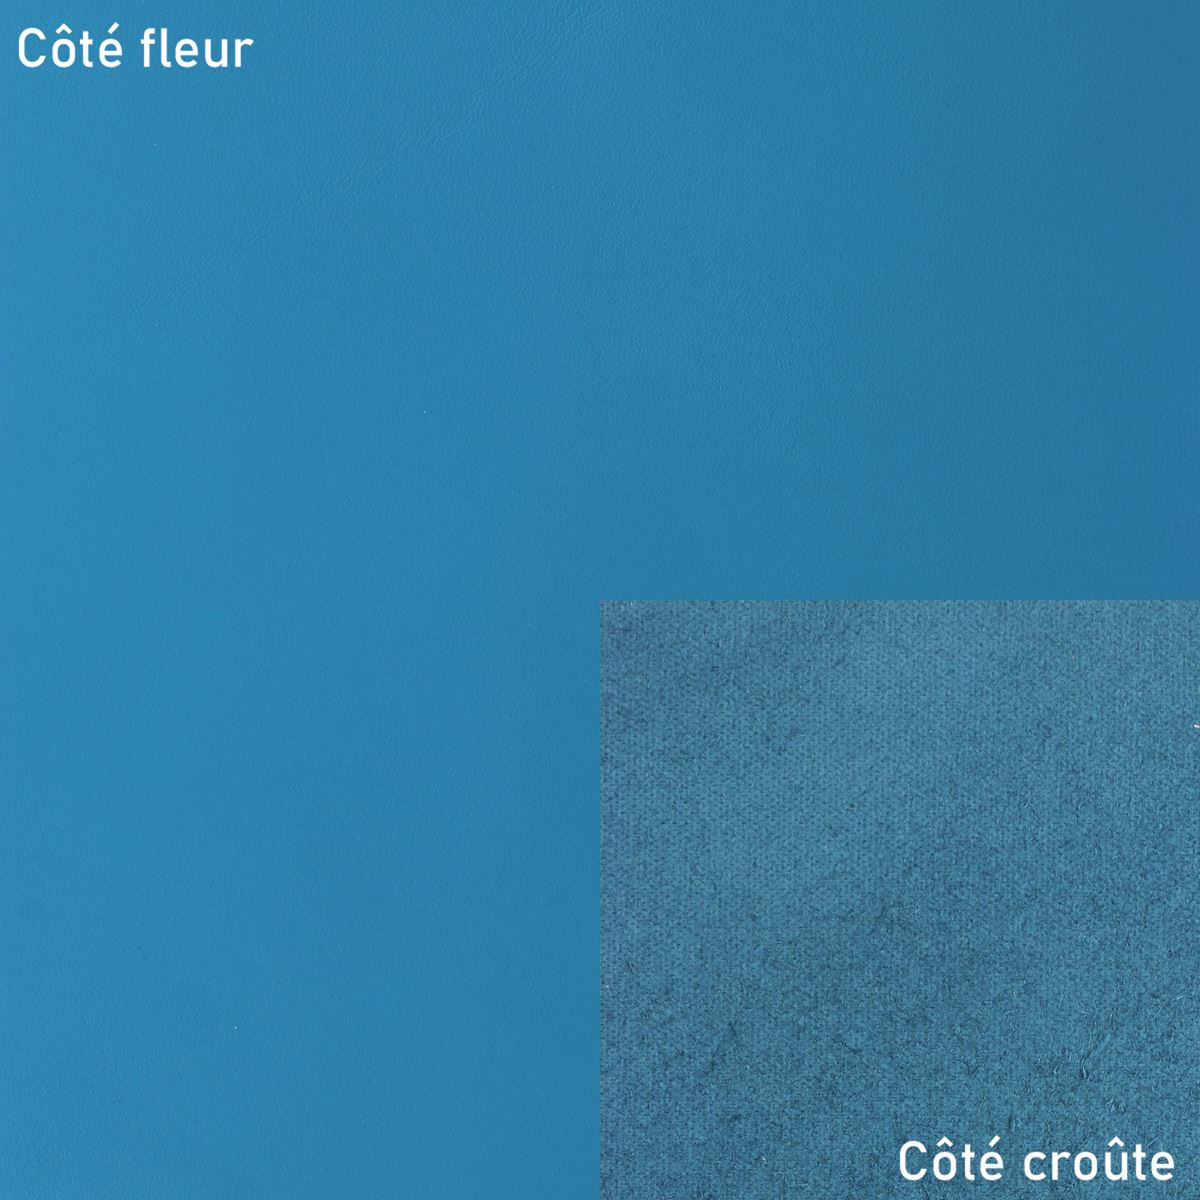
- For the petals: scraps or pieces of semi-soft, semi-firm leather with a thickness of approximately 1.2 to 1.6 mm. Here we took pieces of 20 x 30 cm from the SATINATO and VENUS ranges.
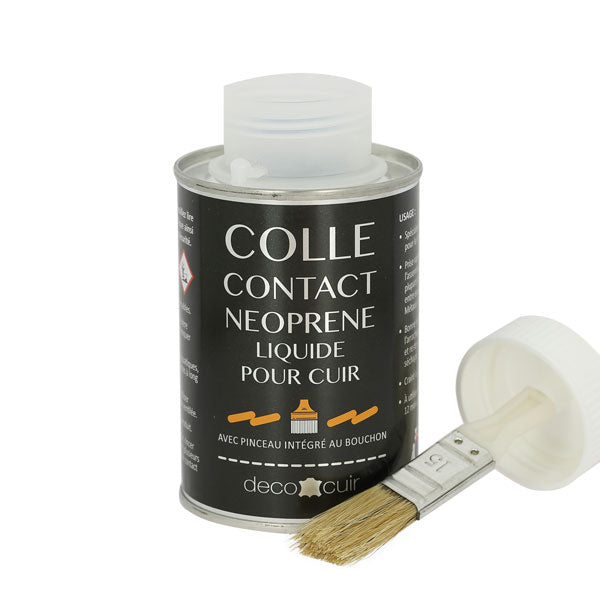
- Neoprene glue
- A pair of scissors
VIDEO
1. Cut the leather
Cut out the paper pattern and transfer it onto the leather with a silver pencil. Start by transferring the flower petals onto the pieces of colored leather.
 |
 |
Cut the petals with a good pair of scissors.

You also have the option of cutting your petals with the Cricut (SVG pattern to download above).
Here are the dimensions of the petals:
- Peony: 6.5 cm X 5.7 cm
- The daisy: 7.5 cm x 3.2 cm
- The daisy: 7.5 cm x 1.6 cm
- The tulip: 5.5 cm x 4.1 cm
- The rose: 5.5 cm x 4.7 cm
- The heart: 5.5 x 4.7 cm
Transfer piece P2 onto the yellow pigskin to make the center of the flower. The center can be larger or smaller depending on the flowers and the desired result (see pattern) . Using a cutter, carefully cut the lines inside the piece. Then, cut piece P2.

Cut 3 x 3 cm squares from the khaki/green microfiber or pigskin for the top of the flower stems. You need about 3 to 4 squares per flower.
Also cut a strip 2 to 2.5 cm wide and approximately 50 cm long to cover each 29 cm wooden skewer.

2. Cut the wooden skewers
Take a wooden skewer (like a skewer) and cut off the pointed end. Here, our skewers are between 26 and 29 cm, so it's up to you to decide how long you want your flower stems.

3. Glue the khaki strip to the wooden skewer
Apply neoprene contact adhesive to the back of the khaki strip and the wooden stick. Then, wrap the strip around the stick.


4. Make the center of the flower
Apply glue to both lengths of piece P2 (where there are no cut lines). Then, fold piece P2 in half and glue.

5. Assemble the center of the flower on the stem
Apply contact cement along the length of part P2 (where there are no cut lines) and 2 cm at the top of the stem. Roll part P2 onto the top of the stem.
 |
 |
6. Glue the petals
Apply glue to the bottom of a petal, on the grain side of the leather (the right side) , then apply glue to the bottom of the yellow center. Glue the petals one by one.
 |
 |
There are always two levels of petals but depending on the flowers, the techniques are not necessarily the same:
"PINK" FLOWER
There are 4 petals glued on the first level and 3 petals on the second level.
 |
 |
"HEART" FLOWER
There are 3 petals glued on the first level and 3 petals on the second level.
 |
 |
"DAISY" FLOWER
There are 4 petals glued on the first level and 4 petals on the second level in the corners.
 |
 |
FLOWER "DAISY"
There are 7 petals glued on the first level and 7 petals on the second level.
 |
 |
"TULIP" FLOWER
There are 4 petals glued on the first level and 4 petals on the second level.
 |
 |
"PEONY" FLOWER
There are 4 petals glued on the first level and 4 petals on the second level.
 |
 |
7. Glue the 3 cm squares
To finish the flower, glue the squares to the bottom of the petals and the beginning of the stem. Depending on the flowers, you may need 3 or 4 squares to go around the edges.

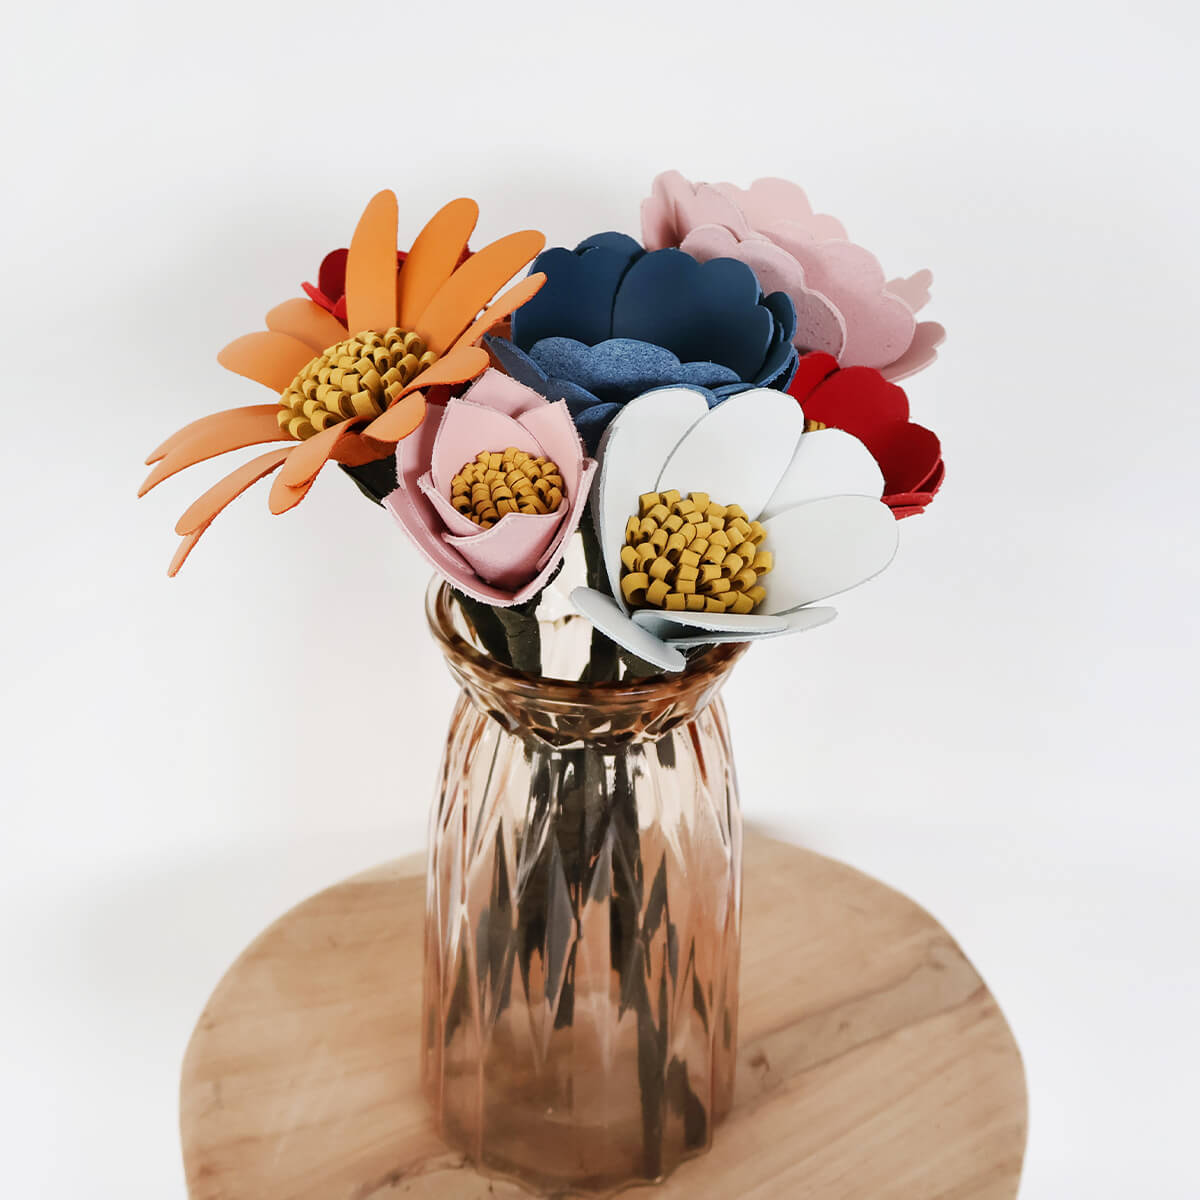
You're done!

 |
 |
 |
 |
 |
 |
TRICK
Create flowers from vegetable-tanned leather and dye them (you can also shape them by moistening the leather) ! The leather will develop a patina over time.

Why give a bouquet of leather flowers rather than a bouquet of fresh flowers?
- Leather flowers never fade!
- Leather flowers require no maintenance, no risk of forgetting to change the water!
- Leather flowers are non-allergenic. The perfect gift for someone with pollen allergies.
- Leather flowers are more economical than fresh ones.
- Leather flowers are timeless and original.
When should you give leather flowers?
- For Valentine's Day, of course!
- For the leather wedding anniversary, 2 years of marriage!
- For Mother's Day or Grandmother's Day, they will love it!
- To give to the school teacher at the end of the school year!
- For a birthday: stand out with this original gift!
- For you: decorate your home with style!
 |
 |
 |
 |
 |
 |
















1 comment
Gauthier
Tres jolie le bouquet de fleurs mercis 🍒