


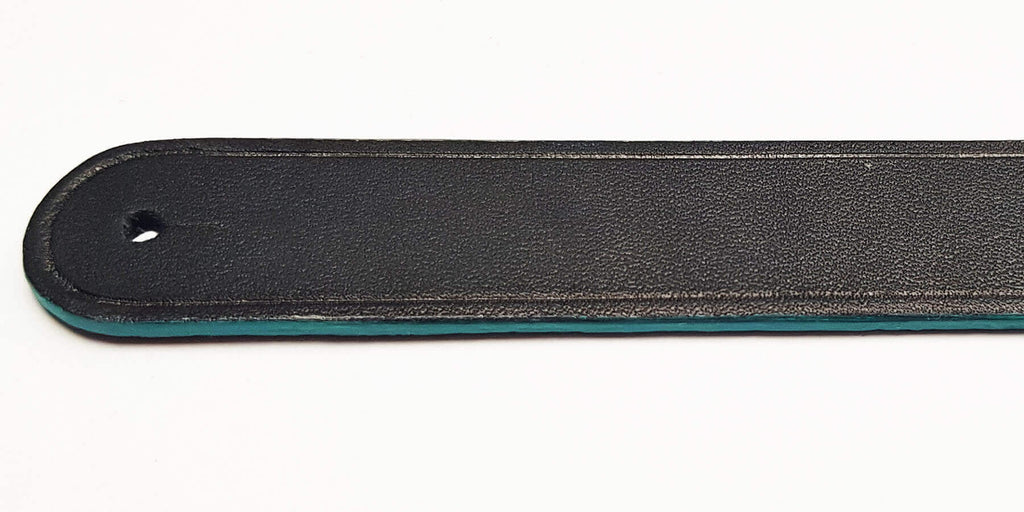
HOW TO WORK THE EDGES OF LEATHER?
To get a perfect slice, the secret is above all sanding!
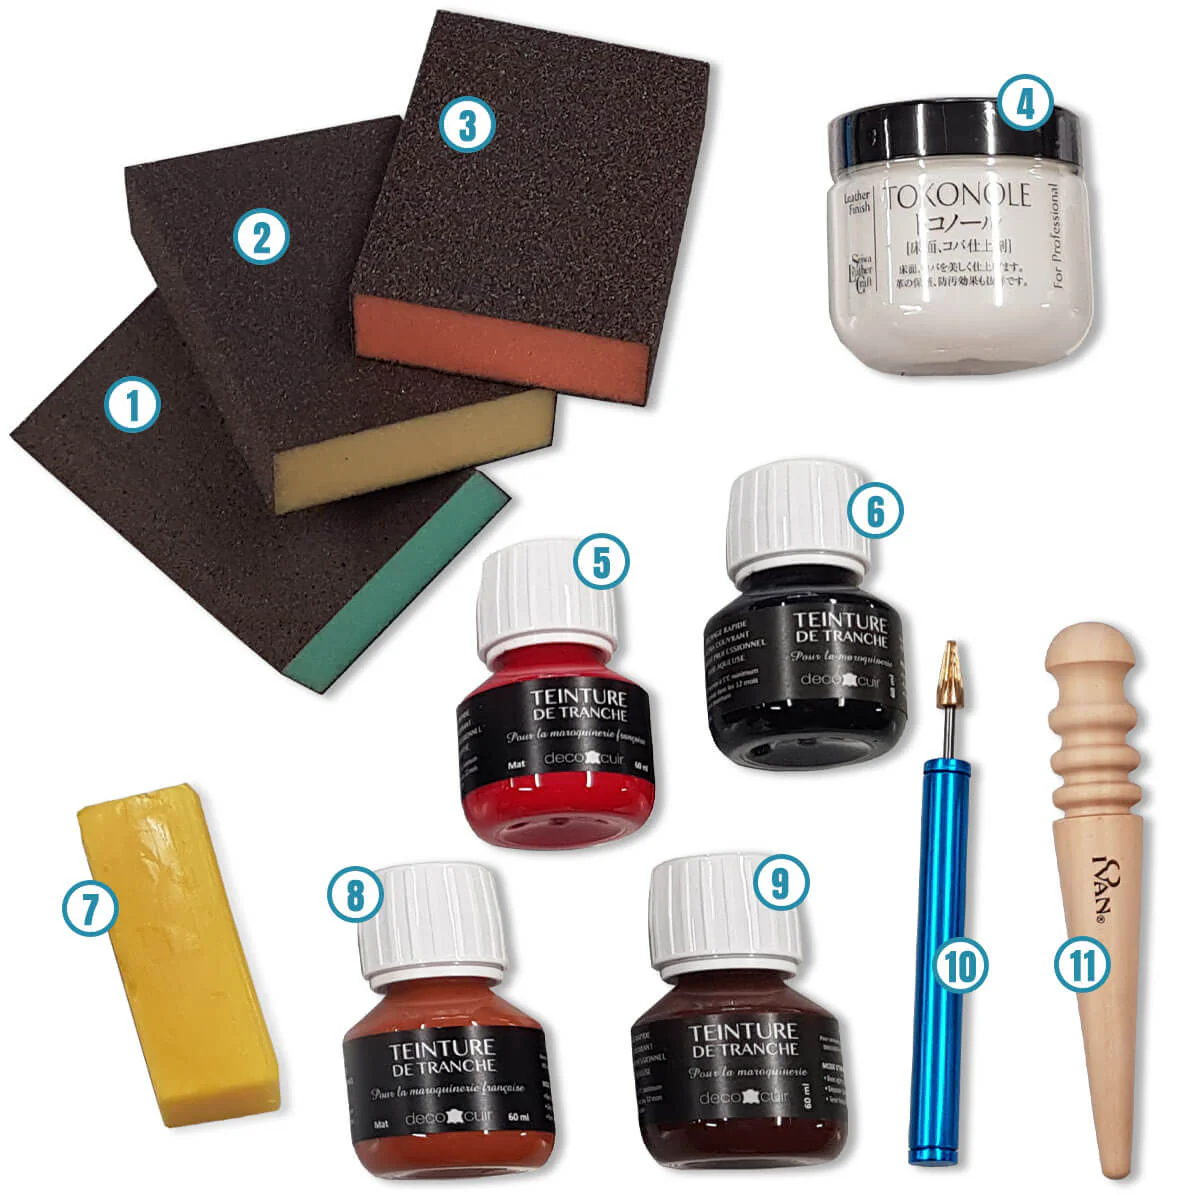
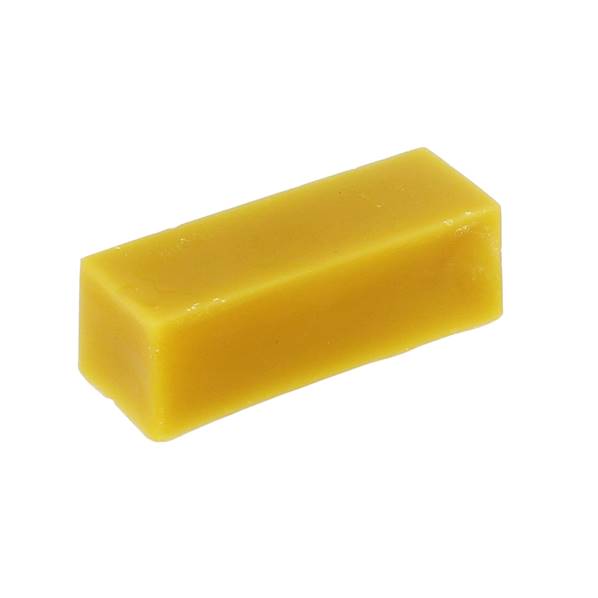
Edge finishing is often the last step, but it's also the one that requires the most time and precision. Edge finishing is essential for a beautiful finish. This step involves applying a liquid finish (paint) to the edge of the leather using an applicator pen. The final step is to rub a block of beeswax onto the edge and polish it with a cotton cloth.
Discover in this guide the different ways to work with slices.
VEGETABLE OR MINERAL TANNED LEATHER
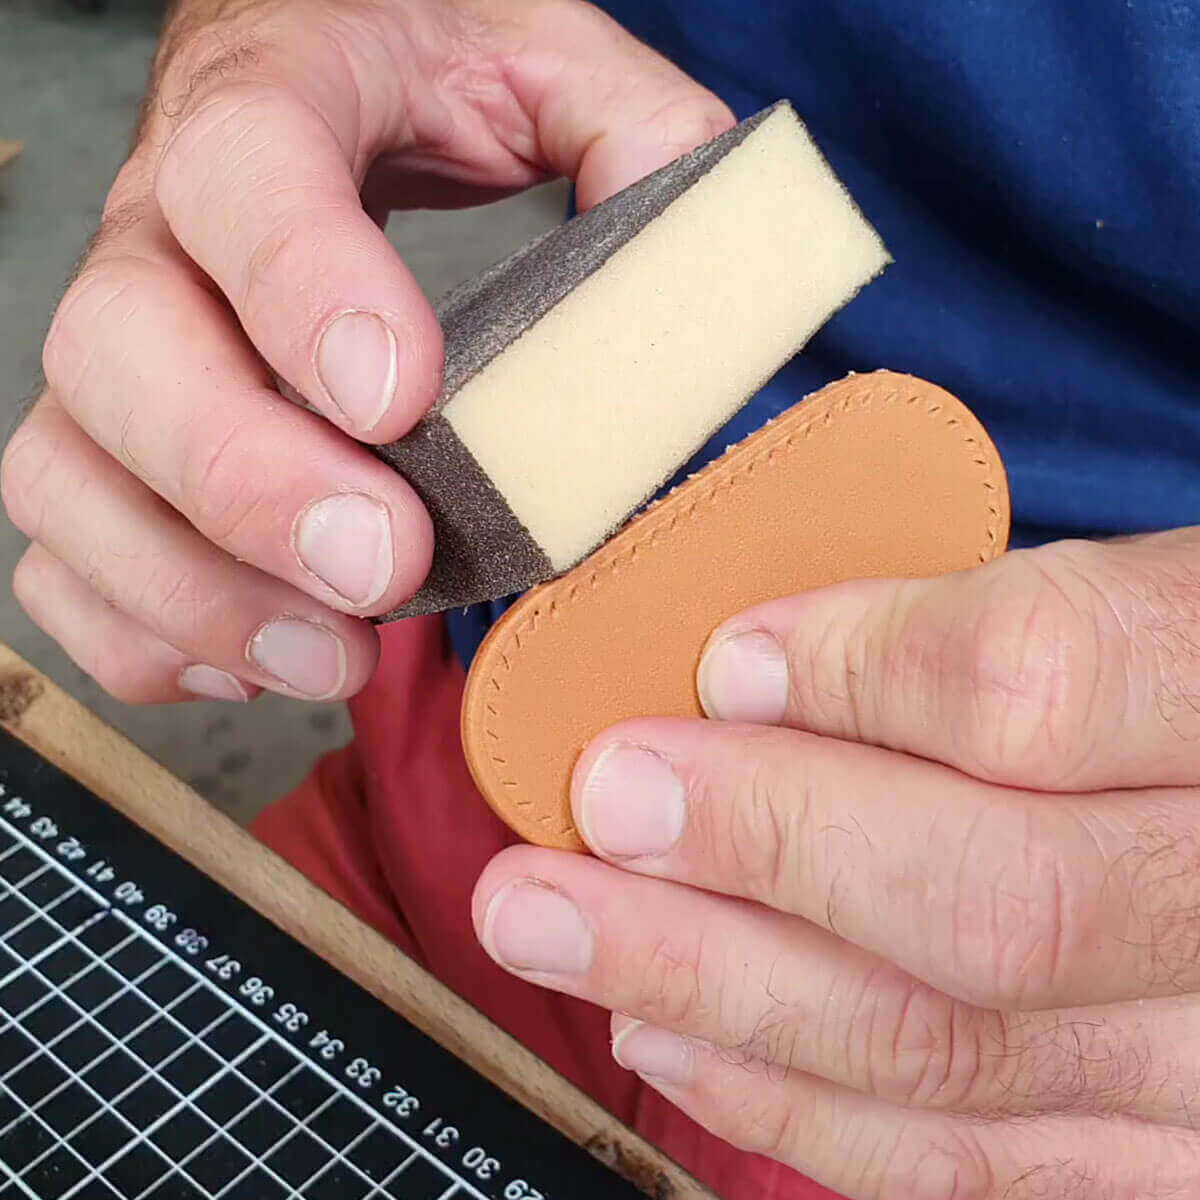
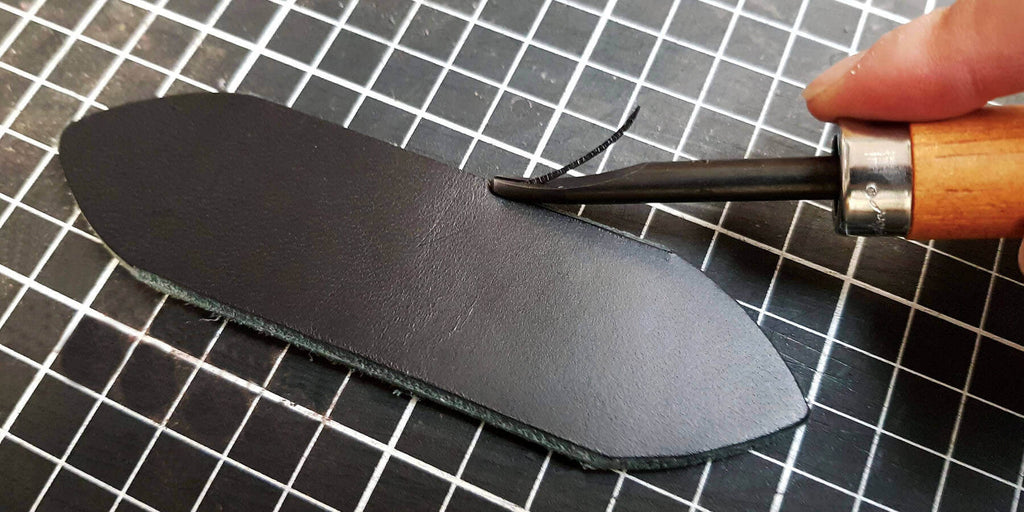
- Sand the edge with an abrasive sponge (medium fine - 240 grit) or a sanding block. Always sand in the same direction, at a 45° angle to the edge and towards the grain side of the leather.
- Apply a light finishing coat to the edge with the tool of your choice: awl, rollerball pen, roller or applicator pad... Beginner's mistake: applying too thick a coat = the dye will have more difficulty sticking.
- Wait several minutes for the stain to dry, then lightly sand the edge with a fine abrasive sponge (400 grit).
- Apply a second coat of edge stain (we recommend applying at least 3 coats - sand between each coat).
- Place beeswax directly on the slice.
- Still in the same direction, smooth the edge with the simple thread (threading iron or manual thread) or rub with a cloth.
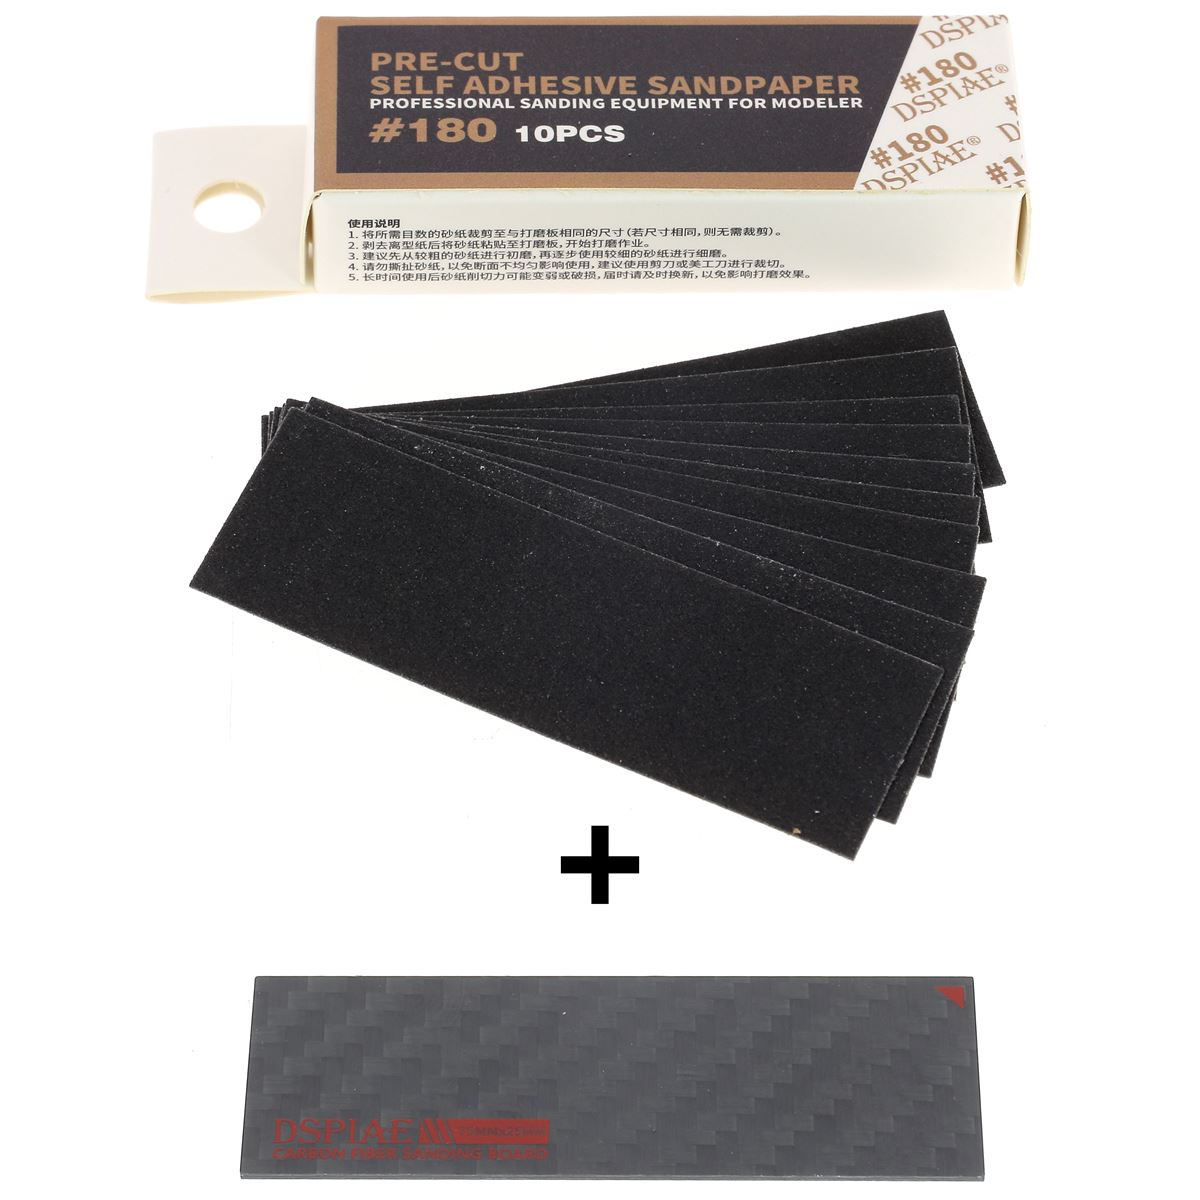
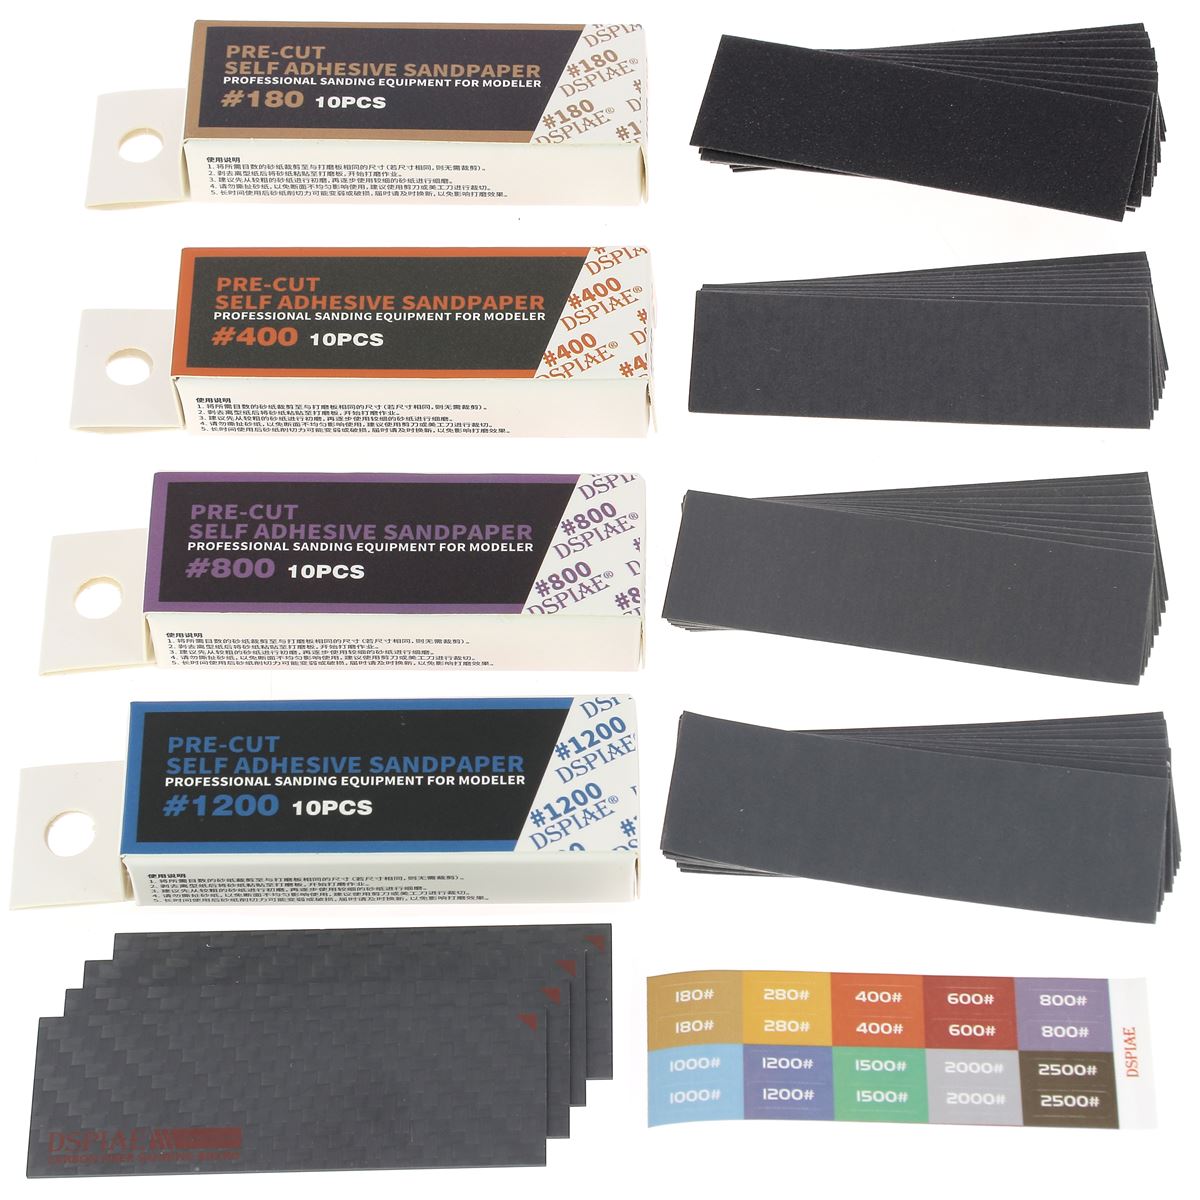
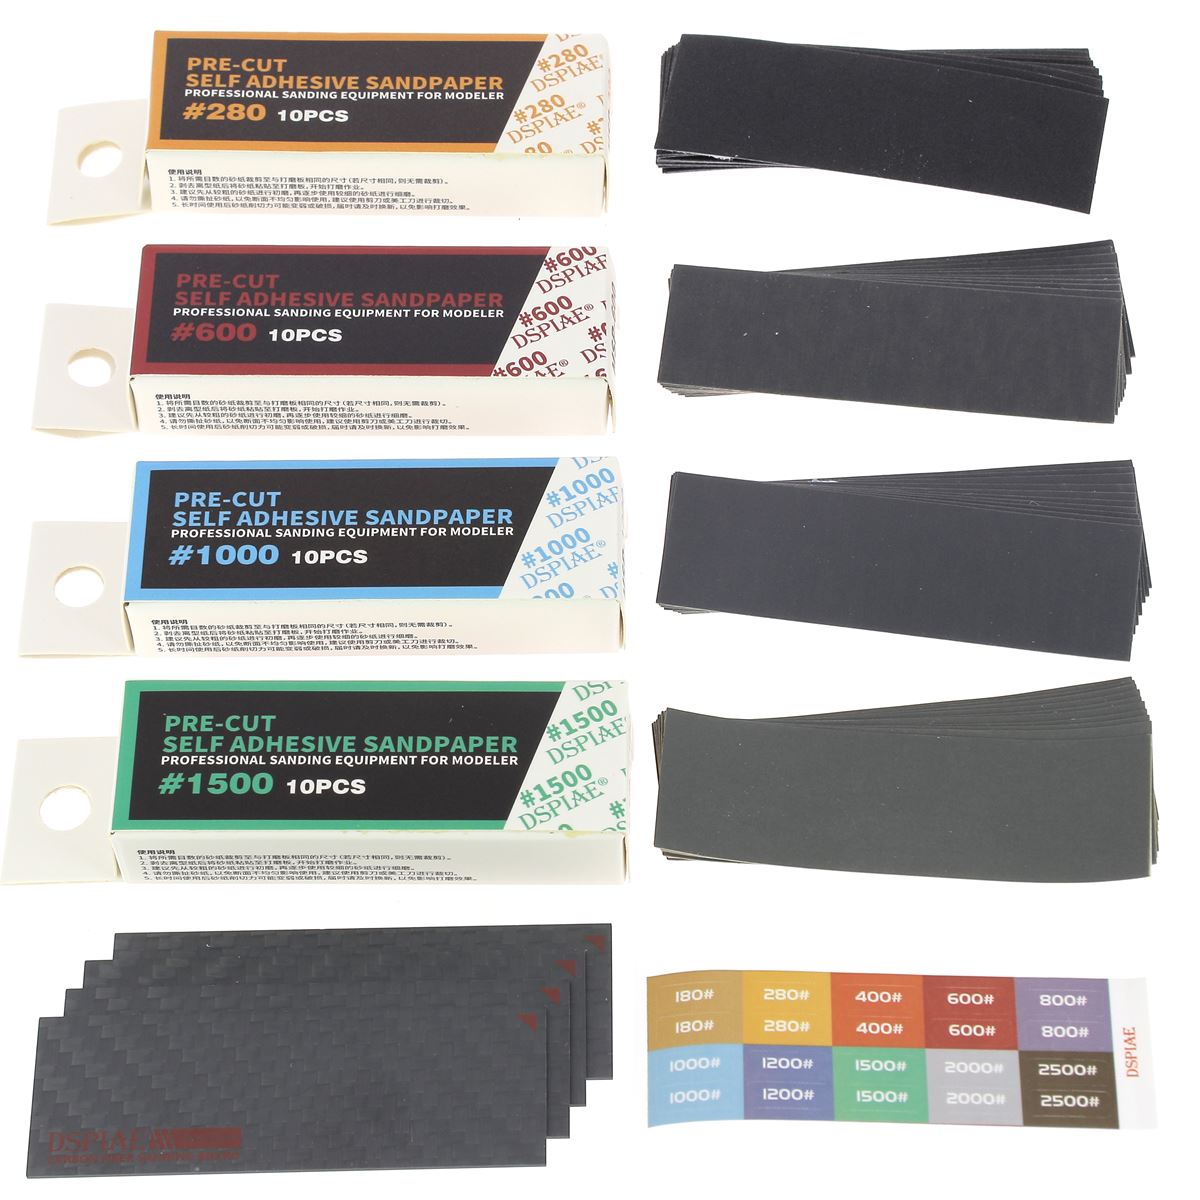
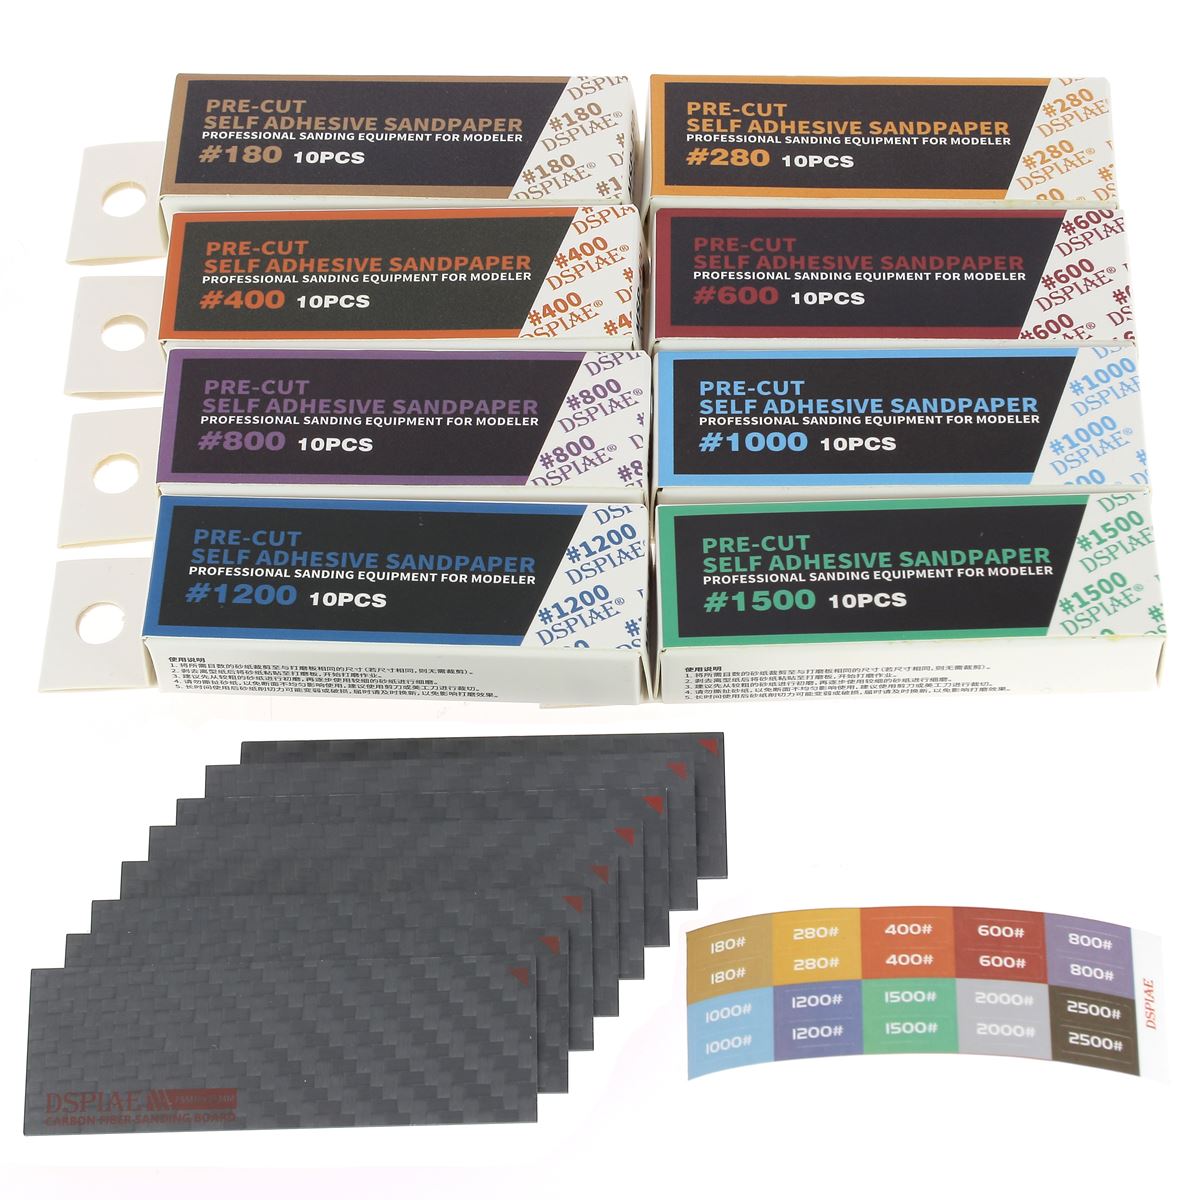
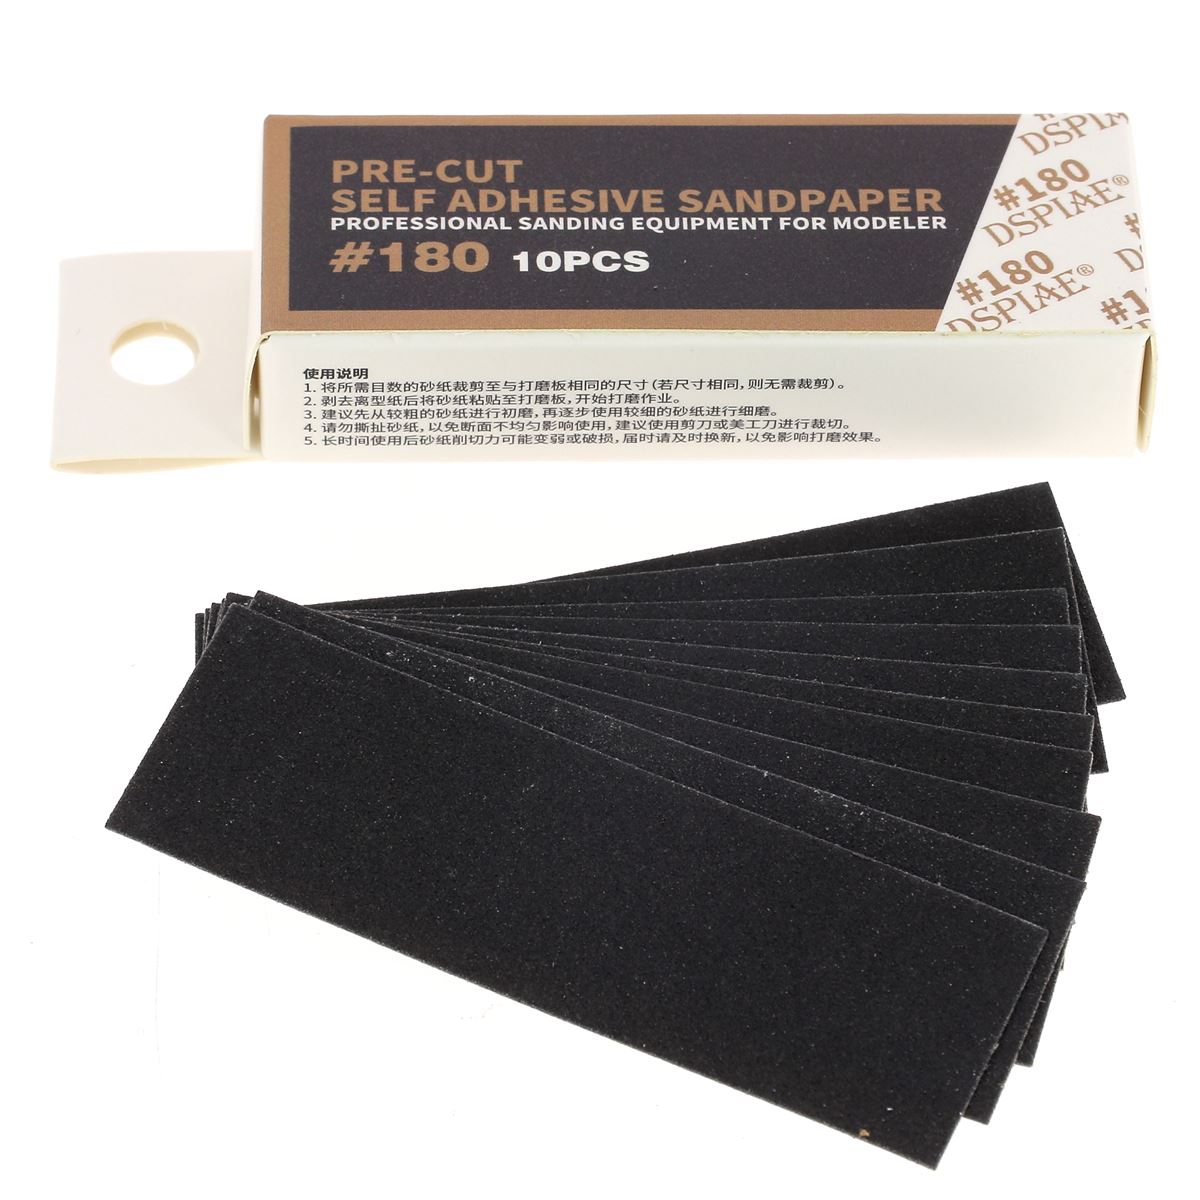
DISCOVER OUR CARBON SANDING BLOCKS WITH SANDPAPER
Practical for sanding the edges of leather!

HOW TO WORK THE SLICES WITH A FINISHING ERASER?
FOR VEGETABLE TANNED LEATHERS ONLY
Want to learn more about working vegetable-tanned leather edges with a finishing gum: gum tragacanth, gum arabic, or tokonole? Check out our guides!


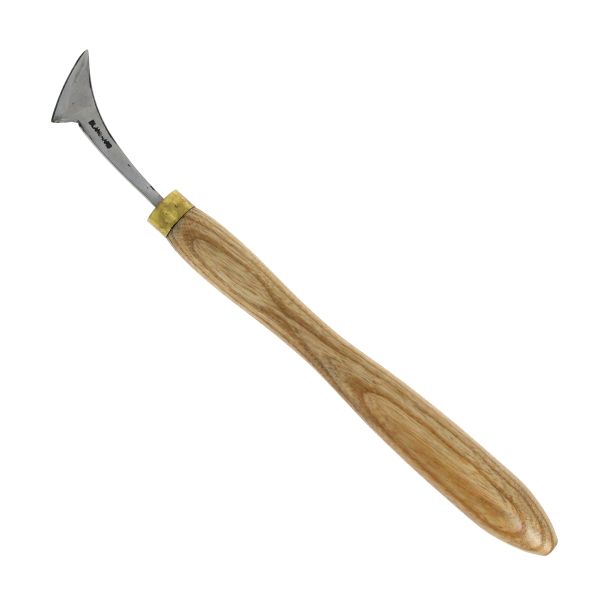
WHAT IS ABAT-CARRER LE CUIR?
The edger is a leatherwork/saddlery tool that breaks the sharp edge of a piece of leather to make the edges more rounded. These are generally thick, vegetable-tanned leathers that are chamfered. The edger step must be carried out before sanding the edges.
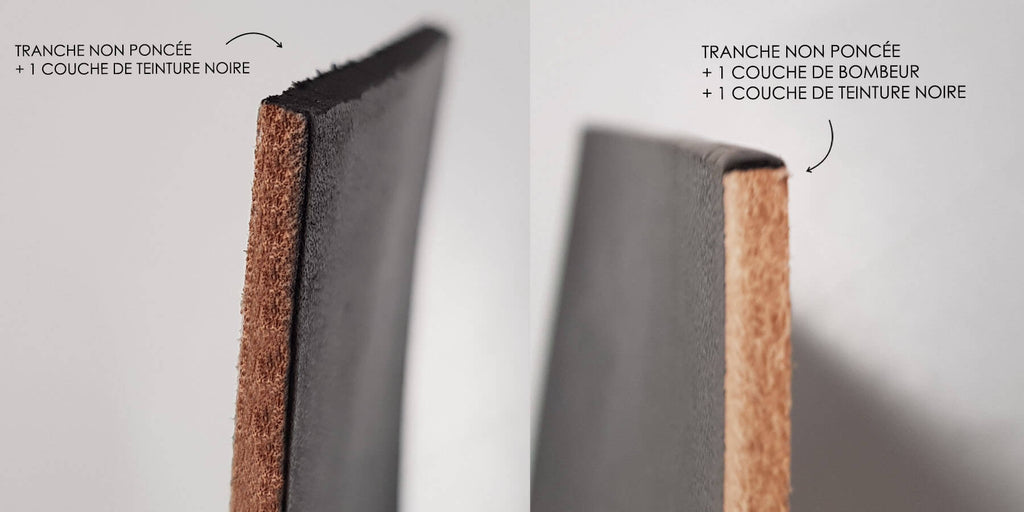
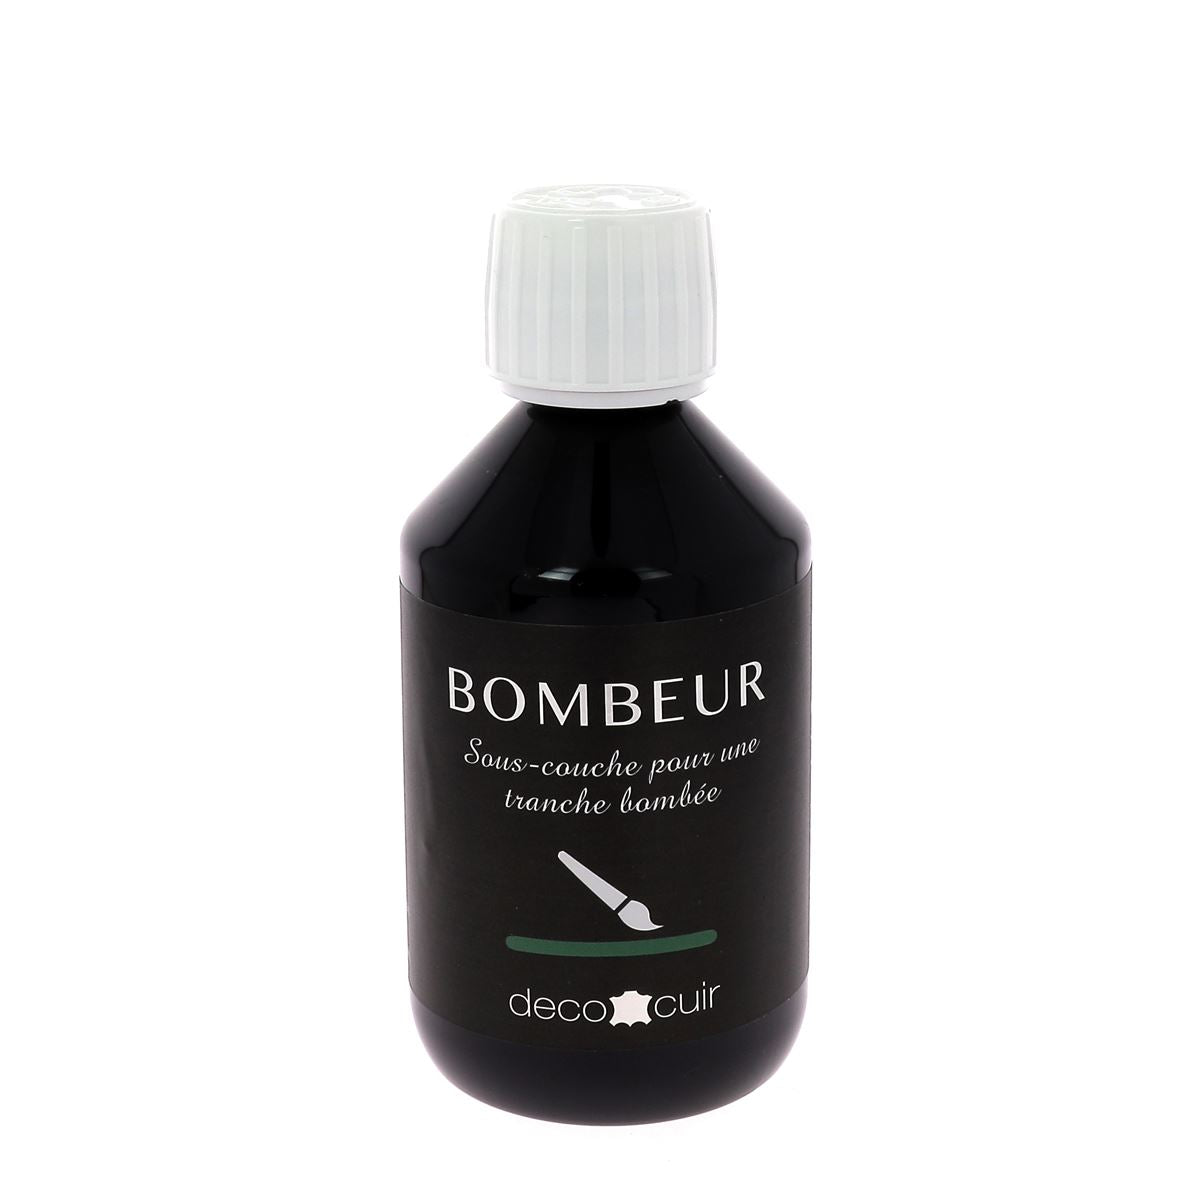
WHAT IS THE BOMBER?
The bomber is a colorless undercoat that allows you to achieve a beautiful curved edge in a single pass. It is applied before dyeing the edge. It is suitable for all types of leather (mineral or vegetable tanned).

-
Black
-
Neutral
HOW TO MAKE A DECORATIVE LINE (THREAD) ON LEATHER?
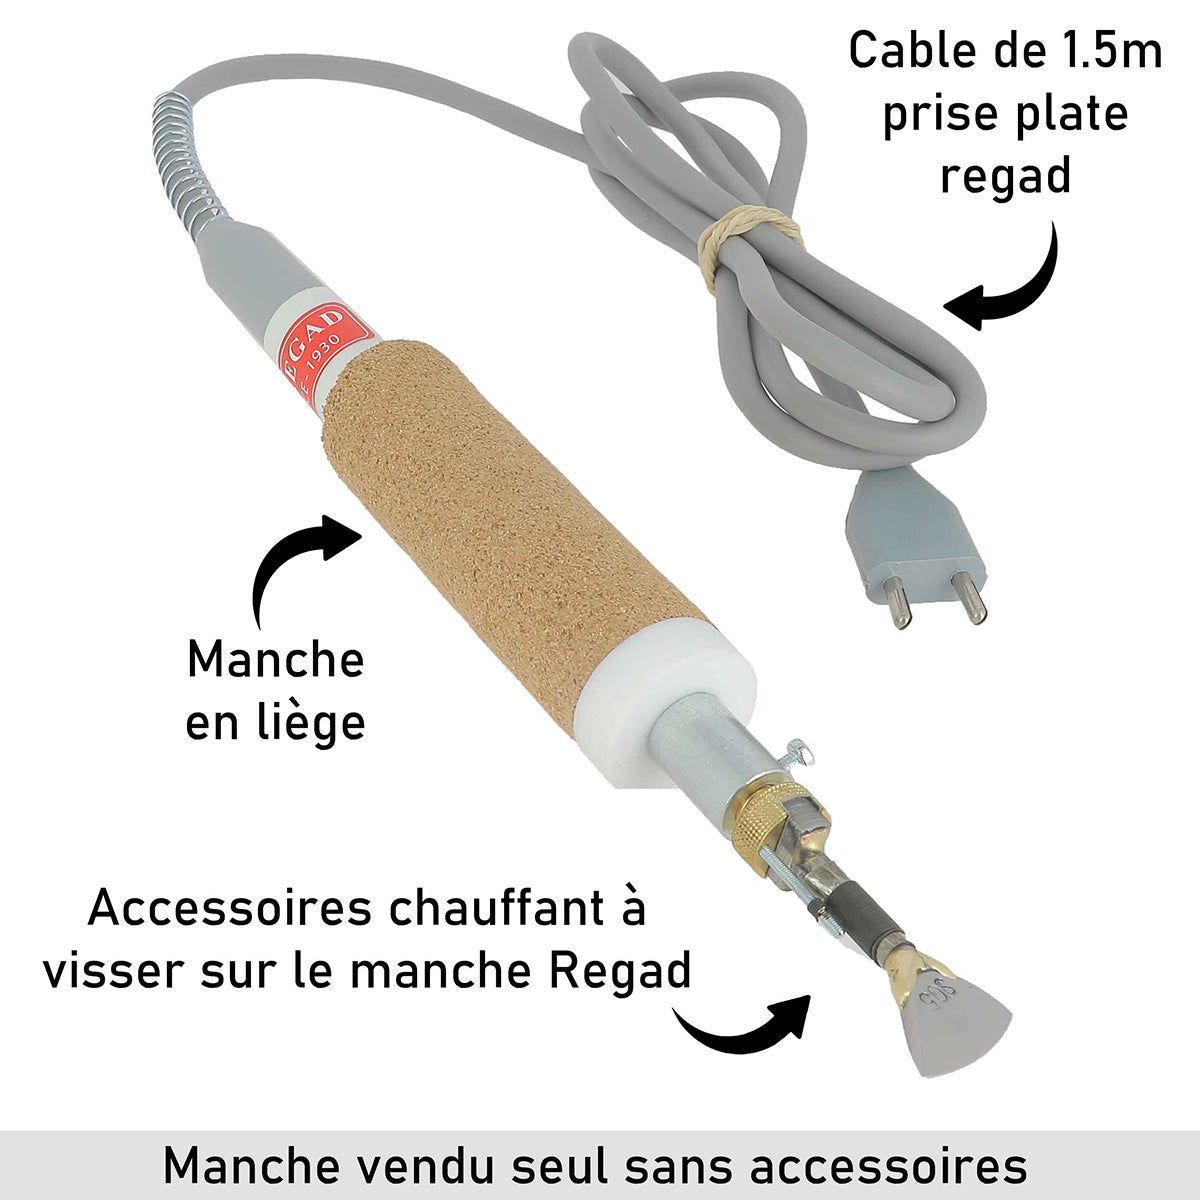
The threading iron is widely used on mineral (chrome) tanned leathers to create a decorative line (thread) parallel to the edge of the leather. The former, the furrower or the leatherworker's threading iron are more commonly used for vegetable tanned leather (cold branding of the leather). The thread should be made on both sides of your creation if they are visible (e.g. watch strap). 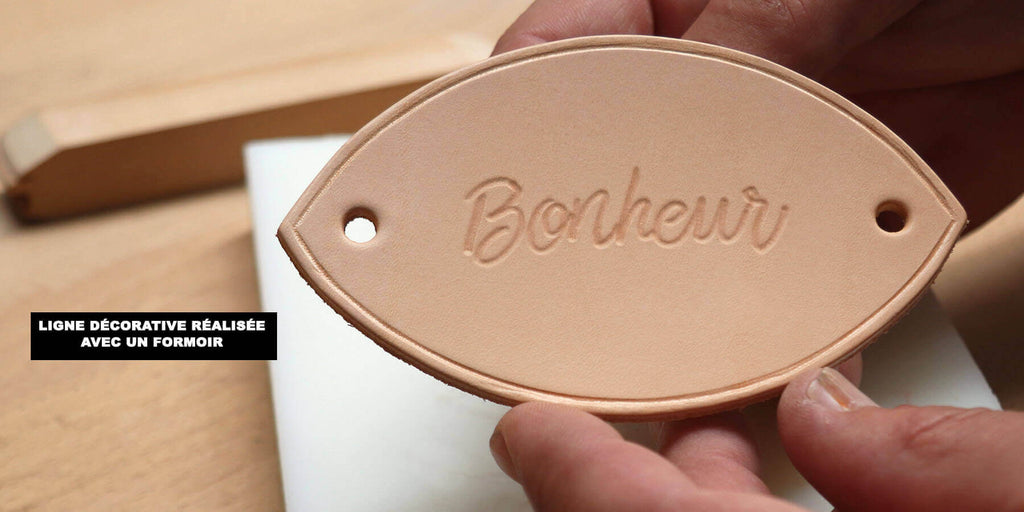
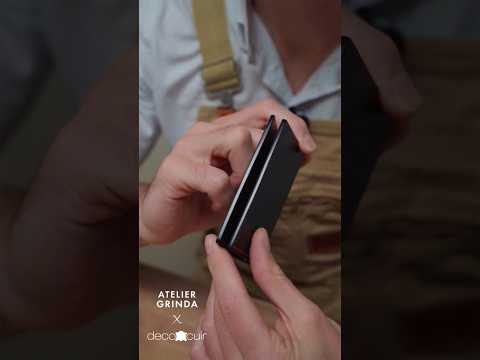
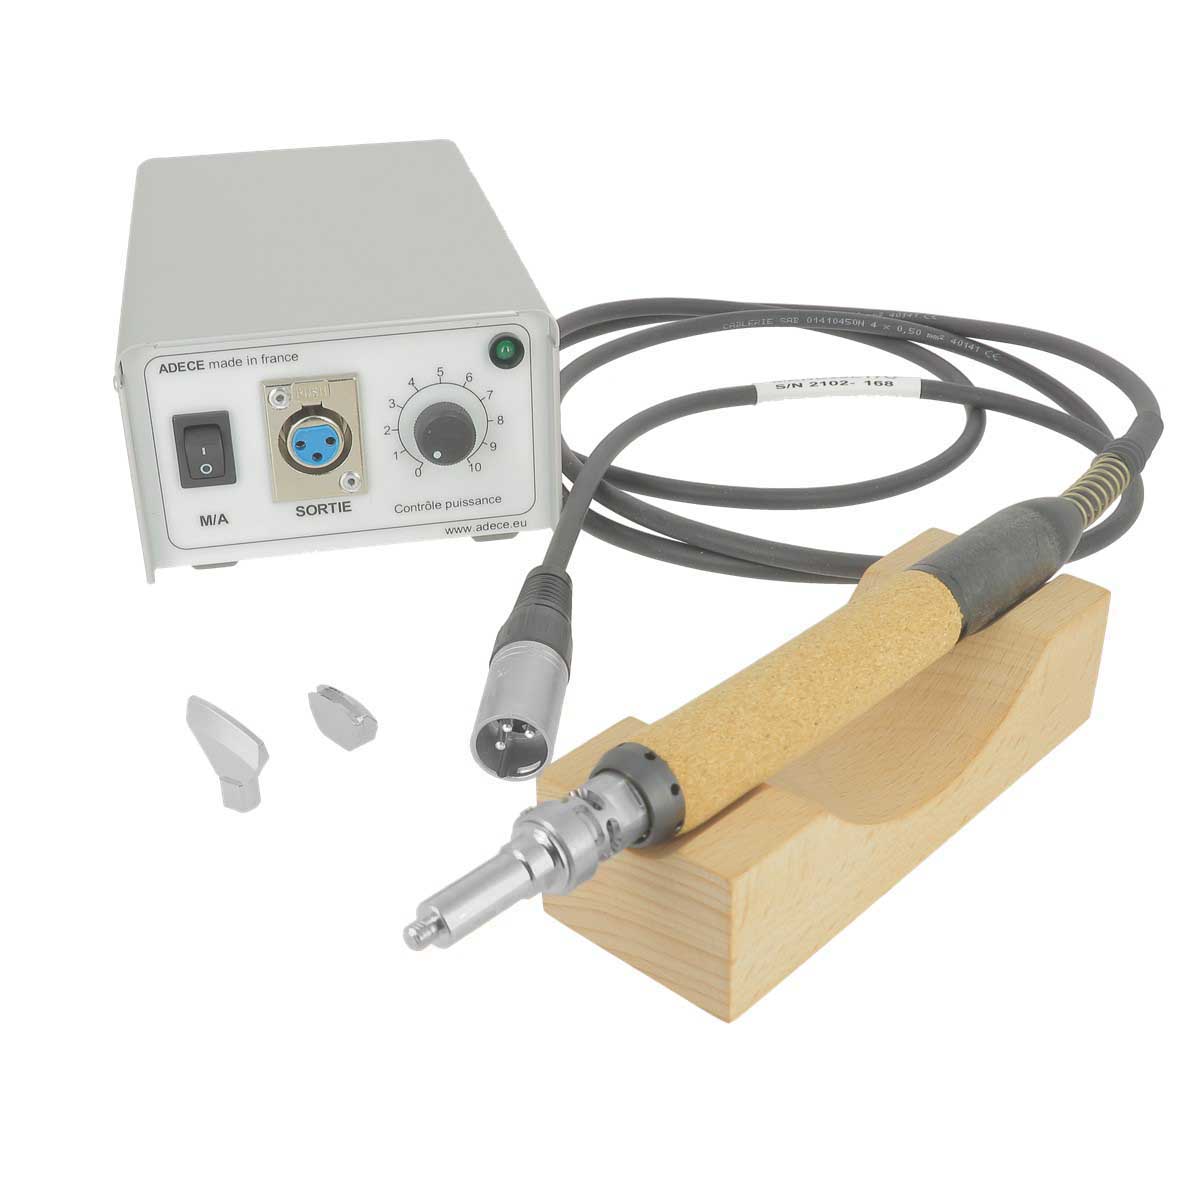
VIDEO: USING THE THREADING IRON
The leather threading iron will allow you to obtain a professional finish, in particular by smoothing the edges of the leather (edge dye and beeswax).
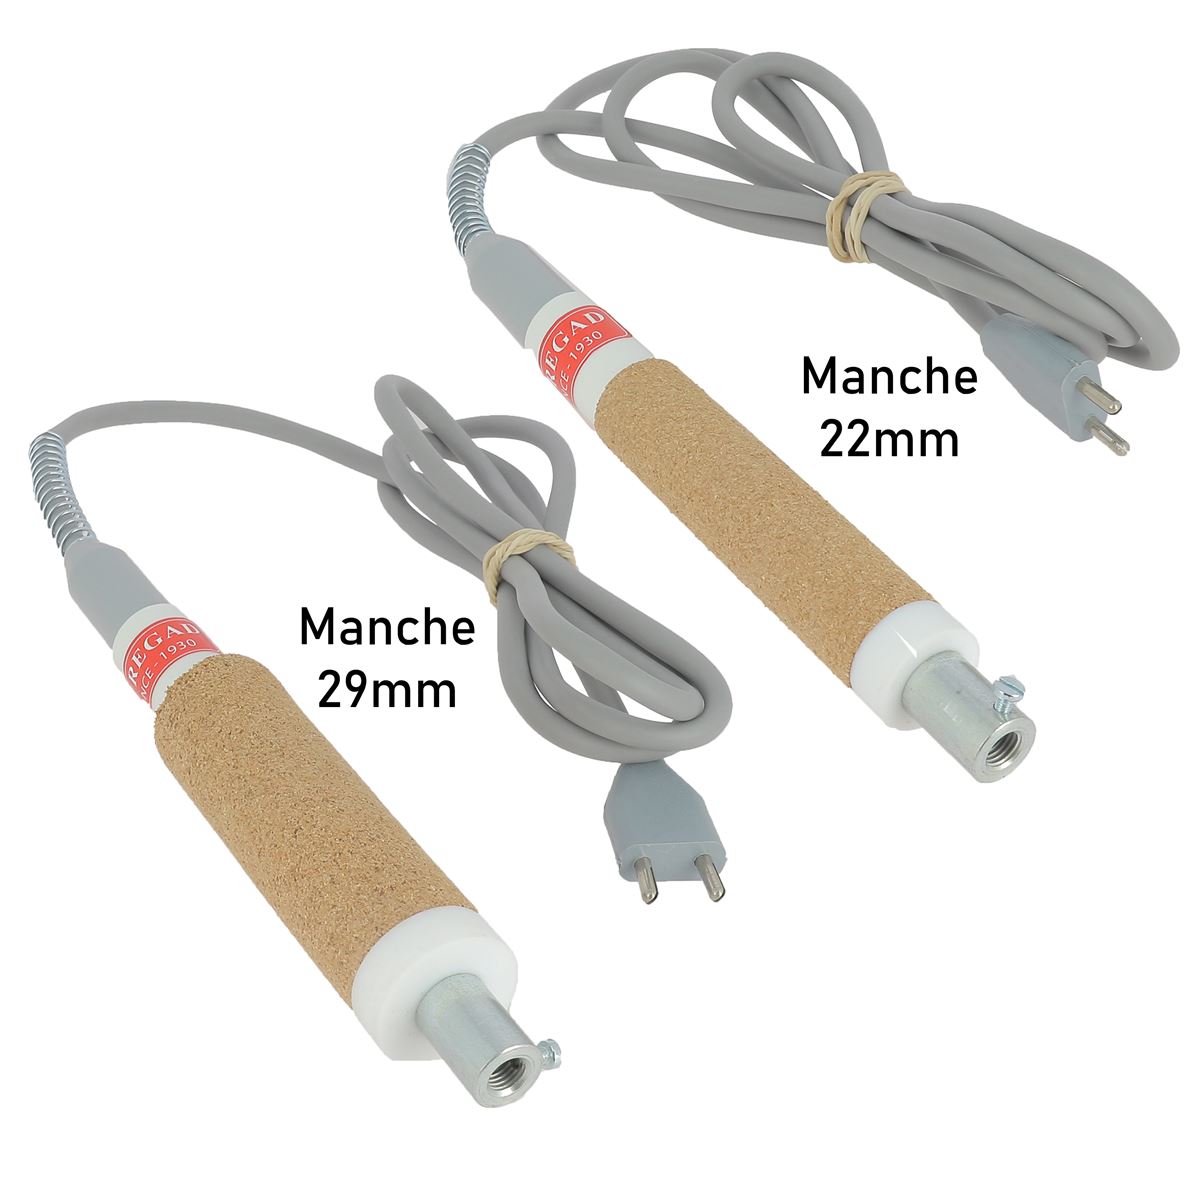
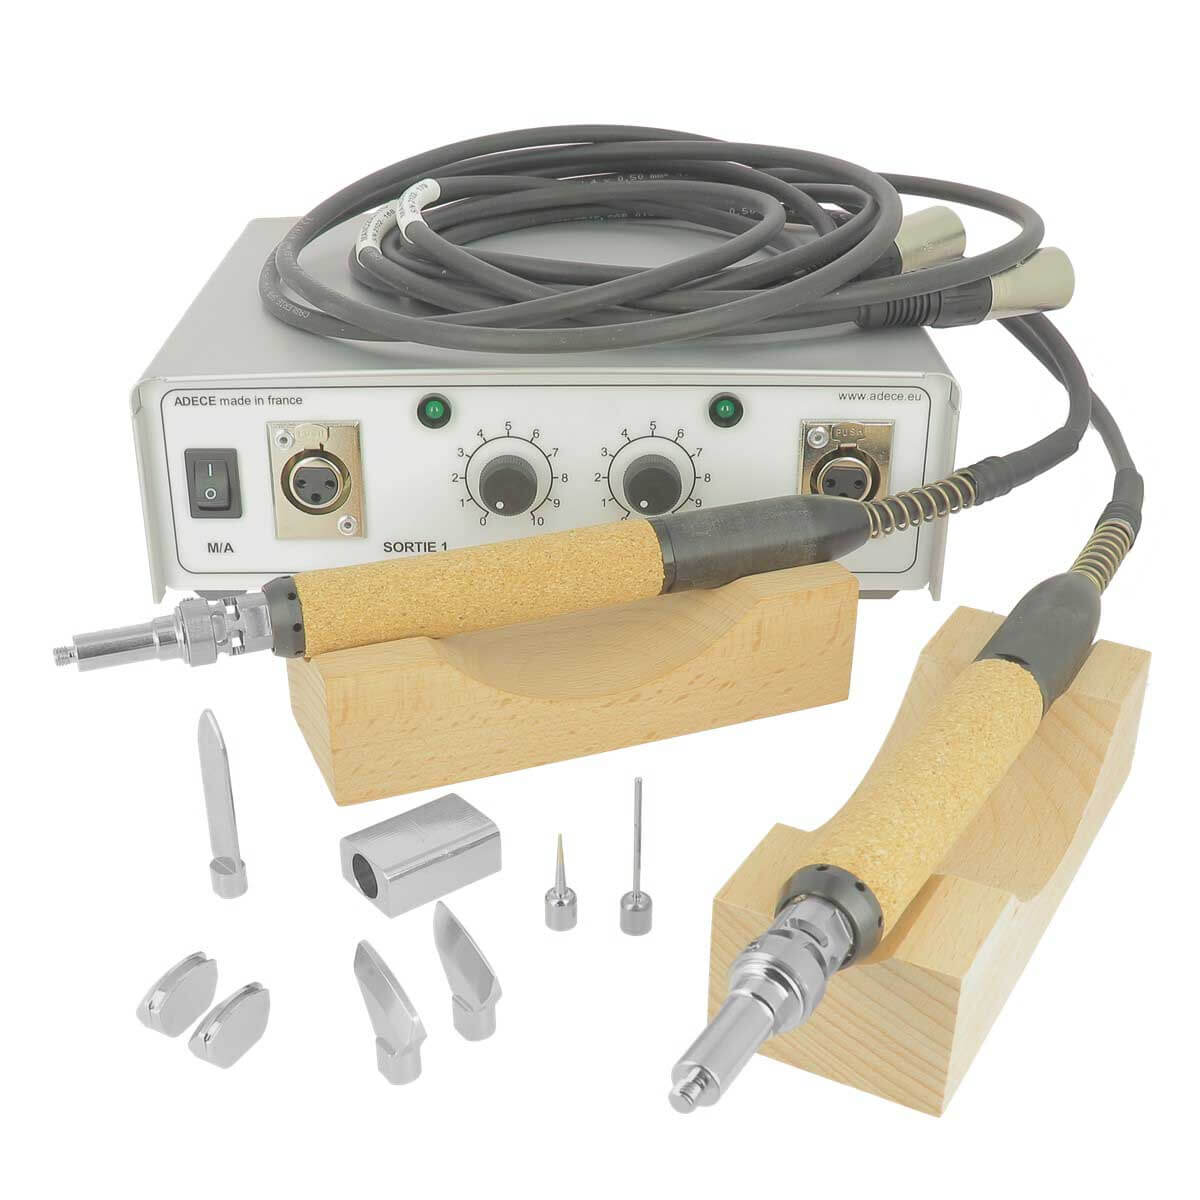
WHAT HEATING POWER SHOULD I CHOOSE?
The heating power ( potentiometer ) should be adjusted according to the leather and your expectations (pronounced marking or not). We invite you to let the iron heat up for 5 minutes before use and to test it on scraps of leather. To know if the iron is hot enough, you can tap it on the palm of your hand. 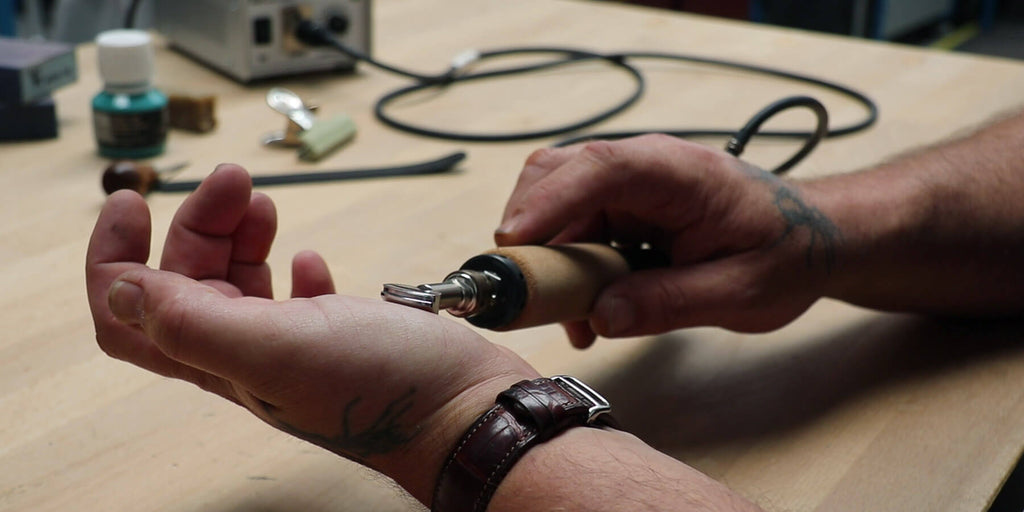


WHERE TO HAVE YOUR HEATING TIP MADE (CUSTOM-MADE)?
Do you want to engrave (hot or cold) your brand name or a specific design? We recommend contacting specialized companies, including BFM - Tools and Machines for Leather. BFM will design your tool for cold or hot engraving/branding of leather.
LEARN MORE >
VIDEO: USING THE MANUAL THREAD IRON
A great alternative to the threading iron: more economical but less practical.


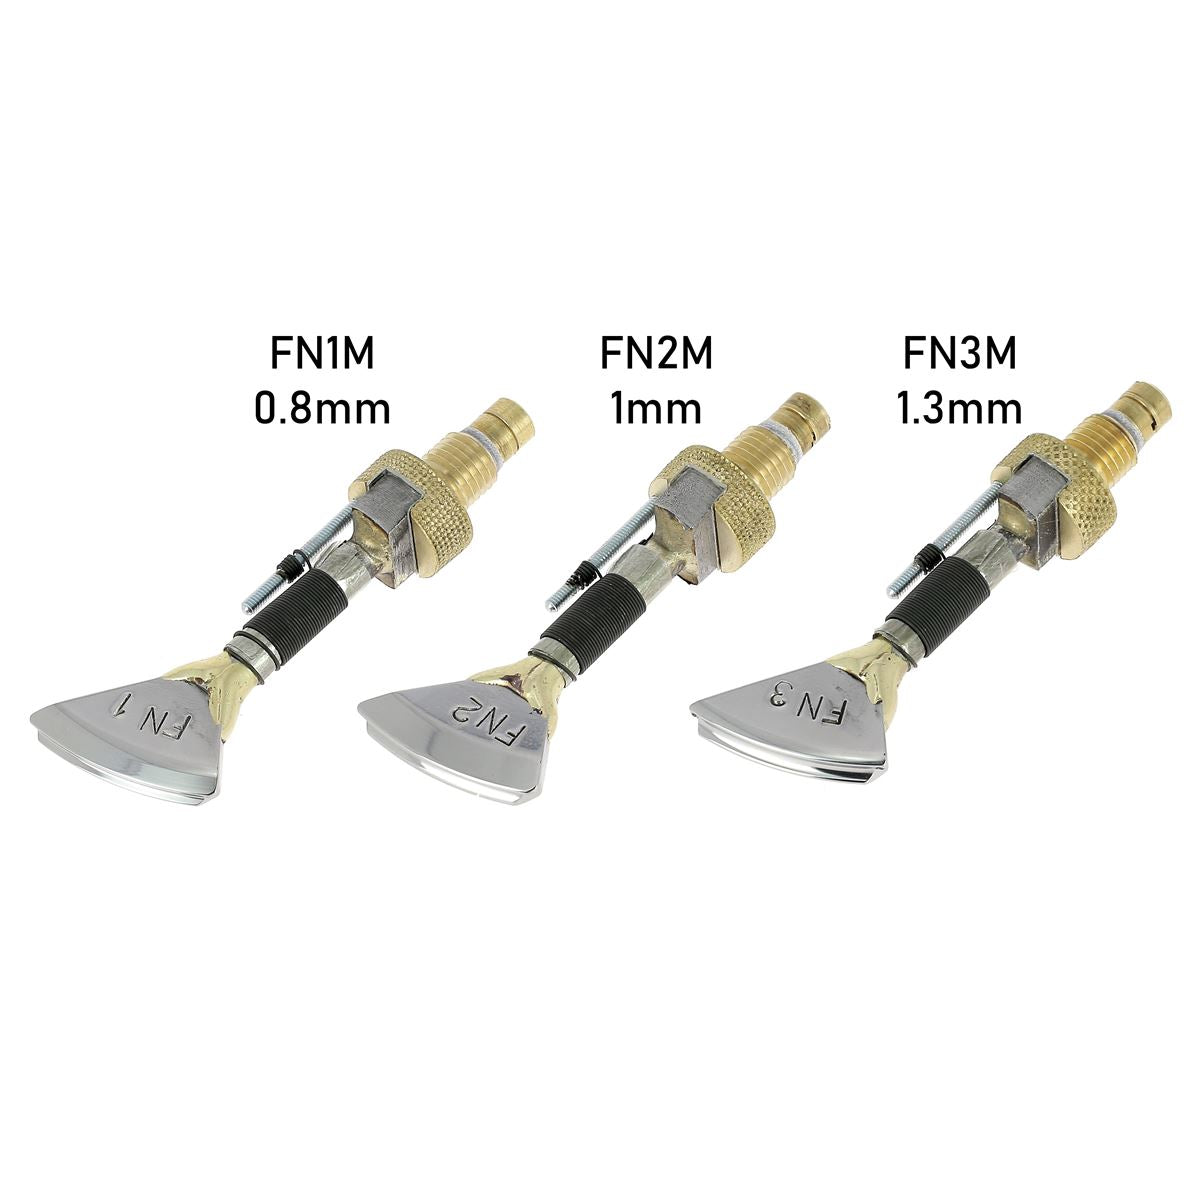
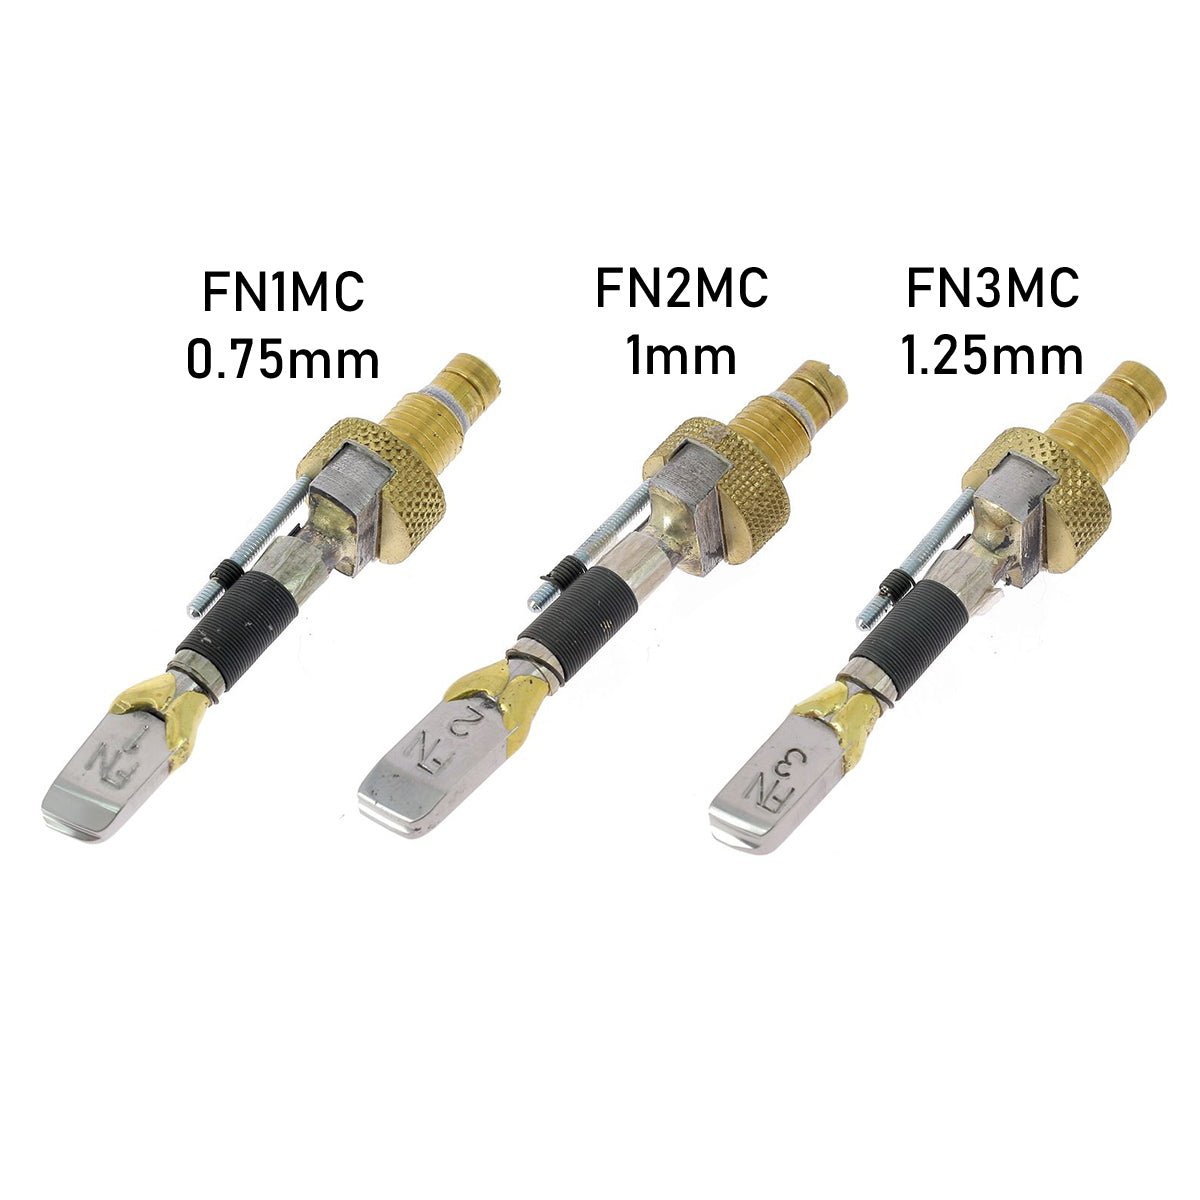
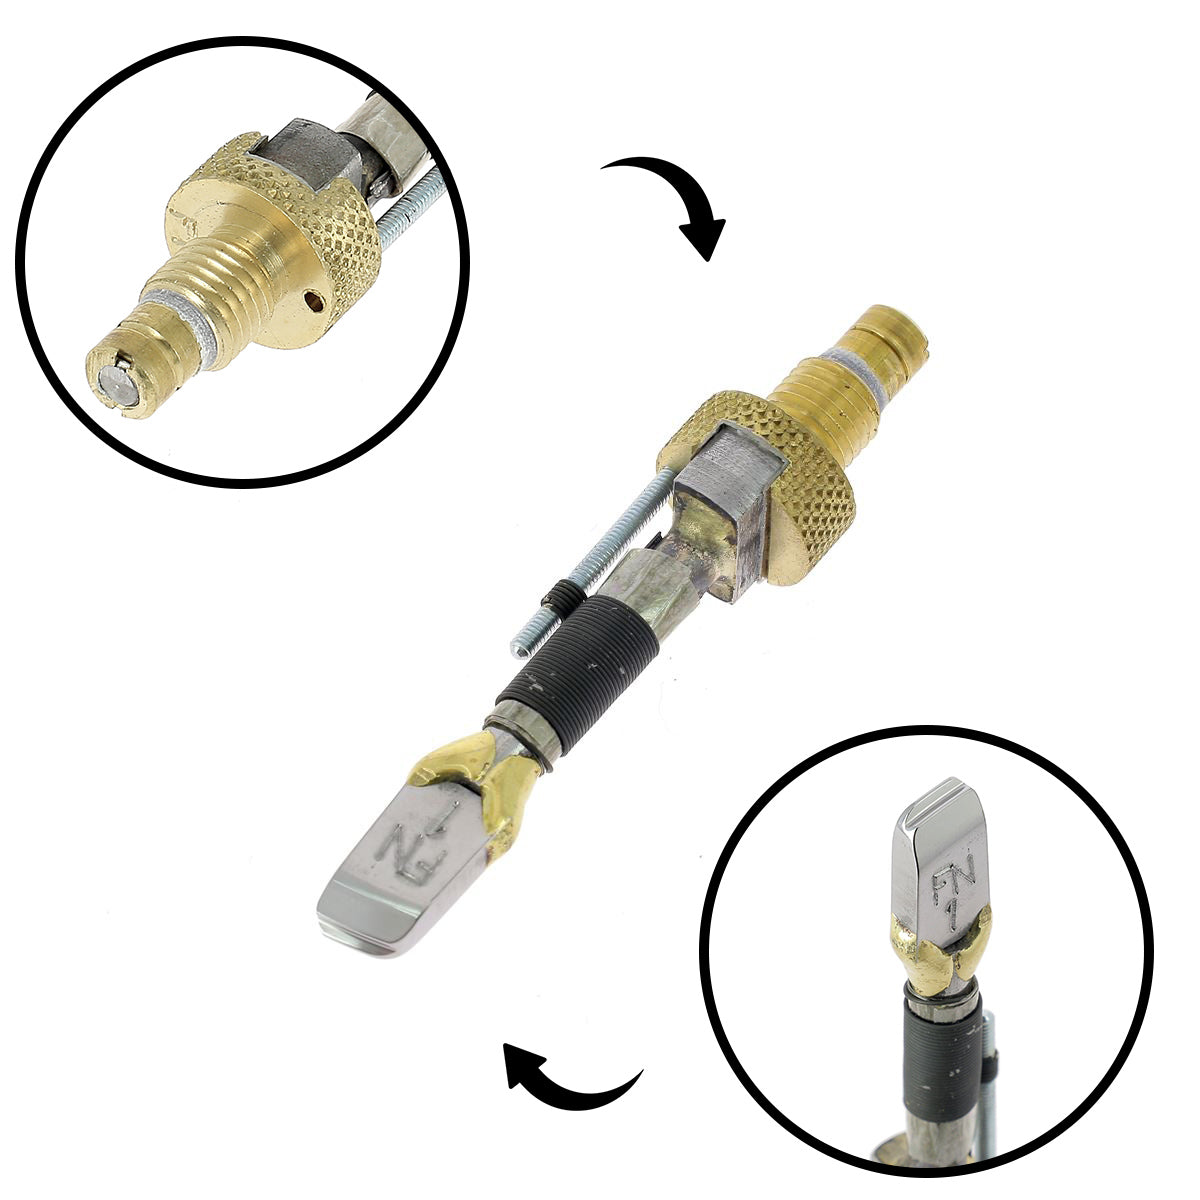
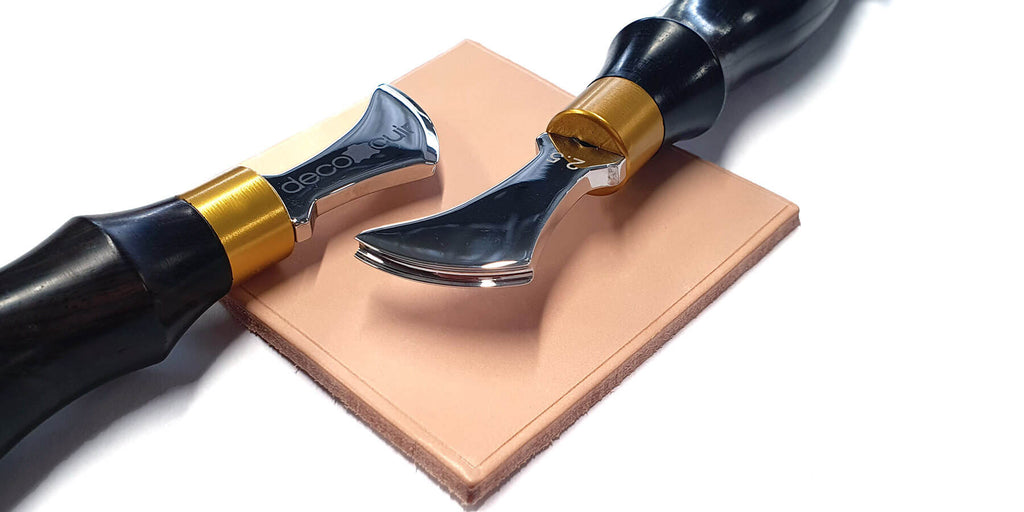
WHAT IS A LEATHERMAN'S NETTING IRON?
This tool allows you to make a net on the edge of the leather:
- Either with the cold marking technique of the leather (like a former on vegetable tanned leathers)
- Or with the hot leather marking technique: heat the blade on a gas stove (video above).
YOU DON'T WANT TO INVEST IN EQUIPMENT?
All our edge finishes have a 'matte' finish. If you want to give them a shine, you can finish your work with a GLOSS finish after sanding and coloring your edges.
OR
To polish and protect your slices, you can apply beeswax to them and then rub briskly with a cloth to heat them up.
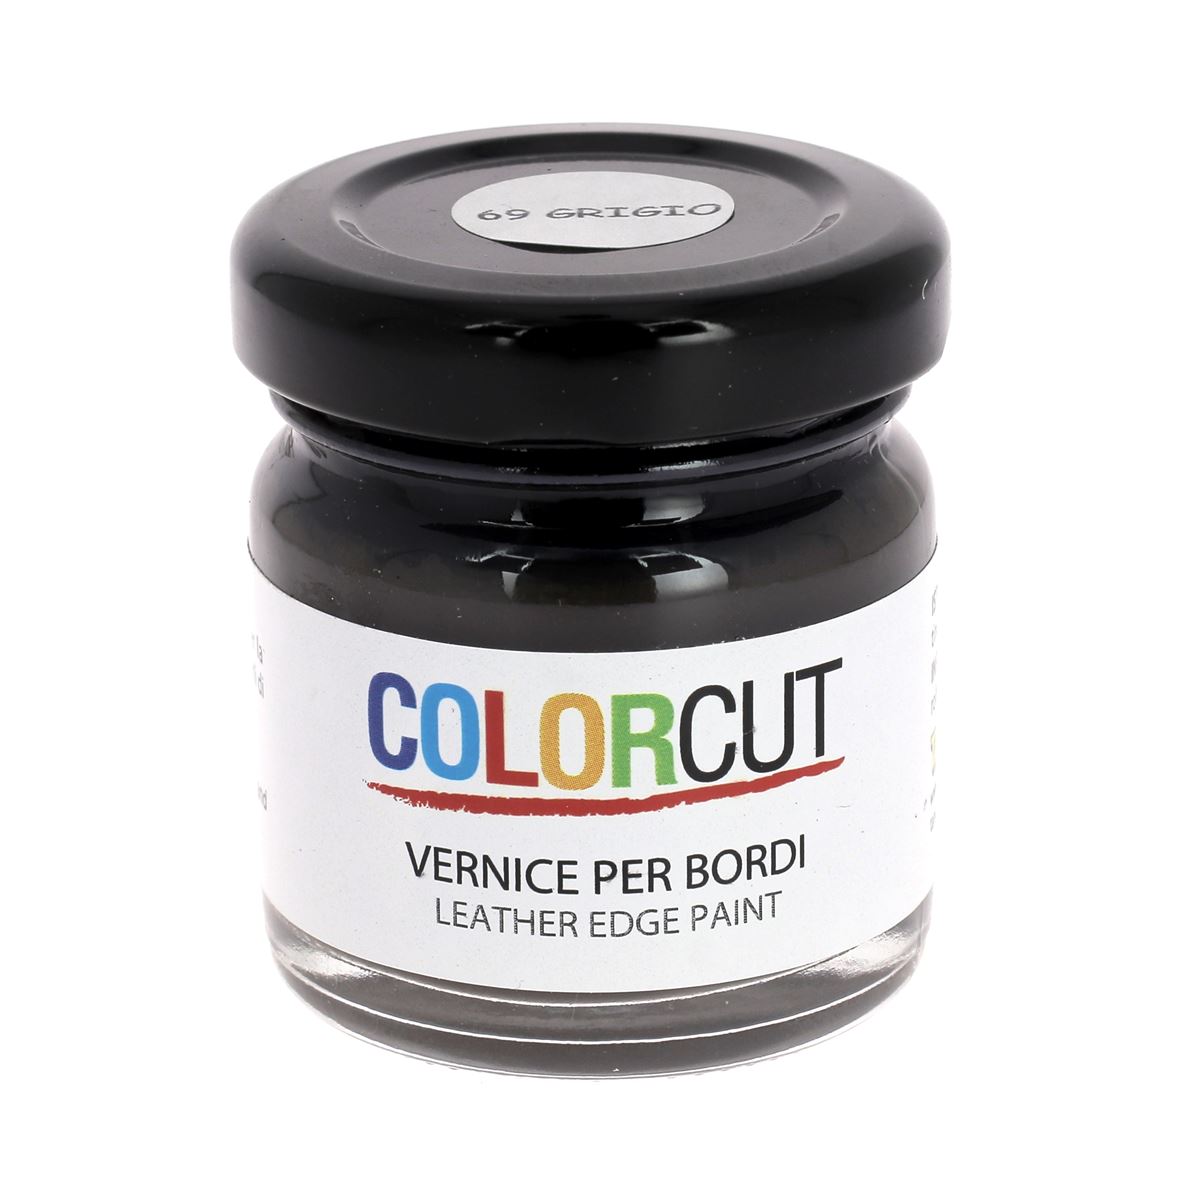
*Edge finishes or edge dyes are acrylic finishes (they do not penetrate the leather but remain on the surface). Generally called edge dyes, they are in fact "edge paints" (a misnomer).


4 comments
Deco Cuir
Pour travailler les tranches à chaud de vos cuirs nous vous conseillons les finitions de tranche COLORCUT : https://www.decocuir.com/collections/finitions-de-tranche-colorcut ou la Edge Kote de Fiebing’s : https://www.decocuir.com/products/finition-tranche-cuir-fiebing-s-edge-kote-118ml-marron-fonce-dark-brown
La finition de tranche Deco Cuir peut parfois buller (à base aqueuse) lorsqu’elle est travaillée avec le fer à fileter.
Deco Cuir
Dejoie
Bonjour, quels produits dans la catégorie “finition de tranche” peut on utiliser avec un fer a lisser? J’ai du mal à m’y retrouver.
Merci
Anonymous
Bonjour Patrick,
Le fer à fileter ne pourra pas être utilisé sur du simili cuir pour effectuer un filet : étant donné qu’il y a du plastique dans sa composition.
Cependant, vous pourrez utiliser votre fer pour lisser les tranches après avoir déposé une finition de tranche (« peinture »).
L’équipe Deco Cuir
Anonymous
Bonjour
Est ce que vous pensez qu’on peut se servir d’un fer à fileter sur du skai ?
Merci de votre réponse