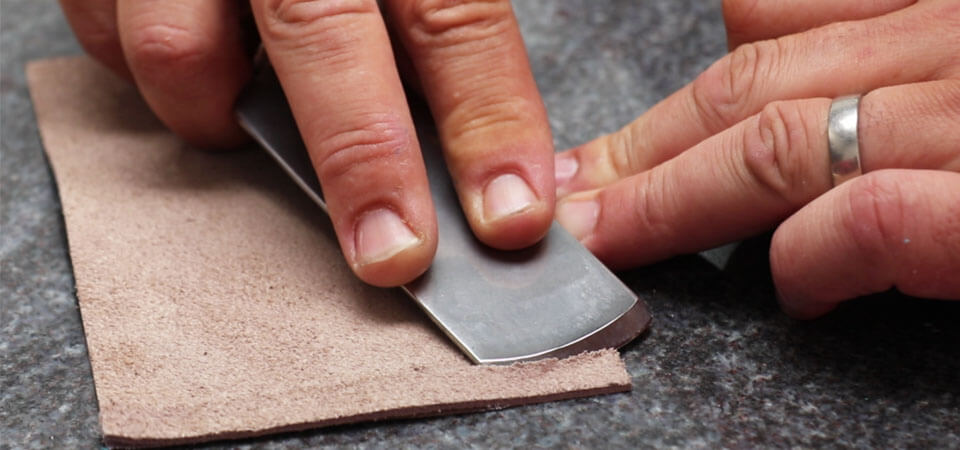
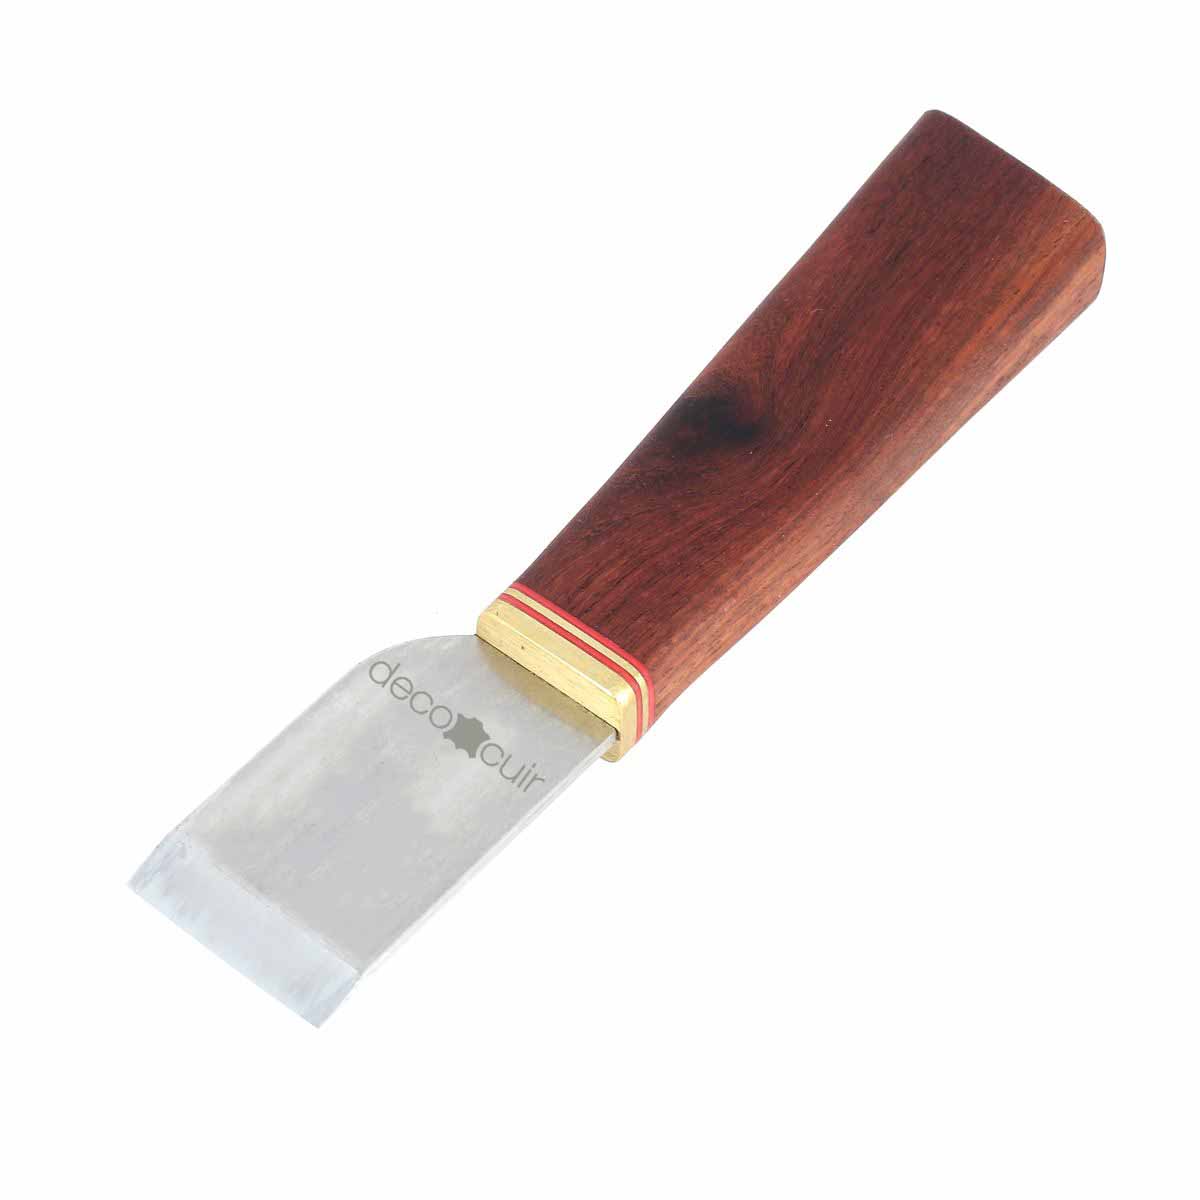
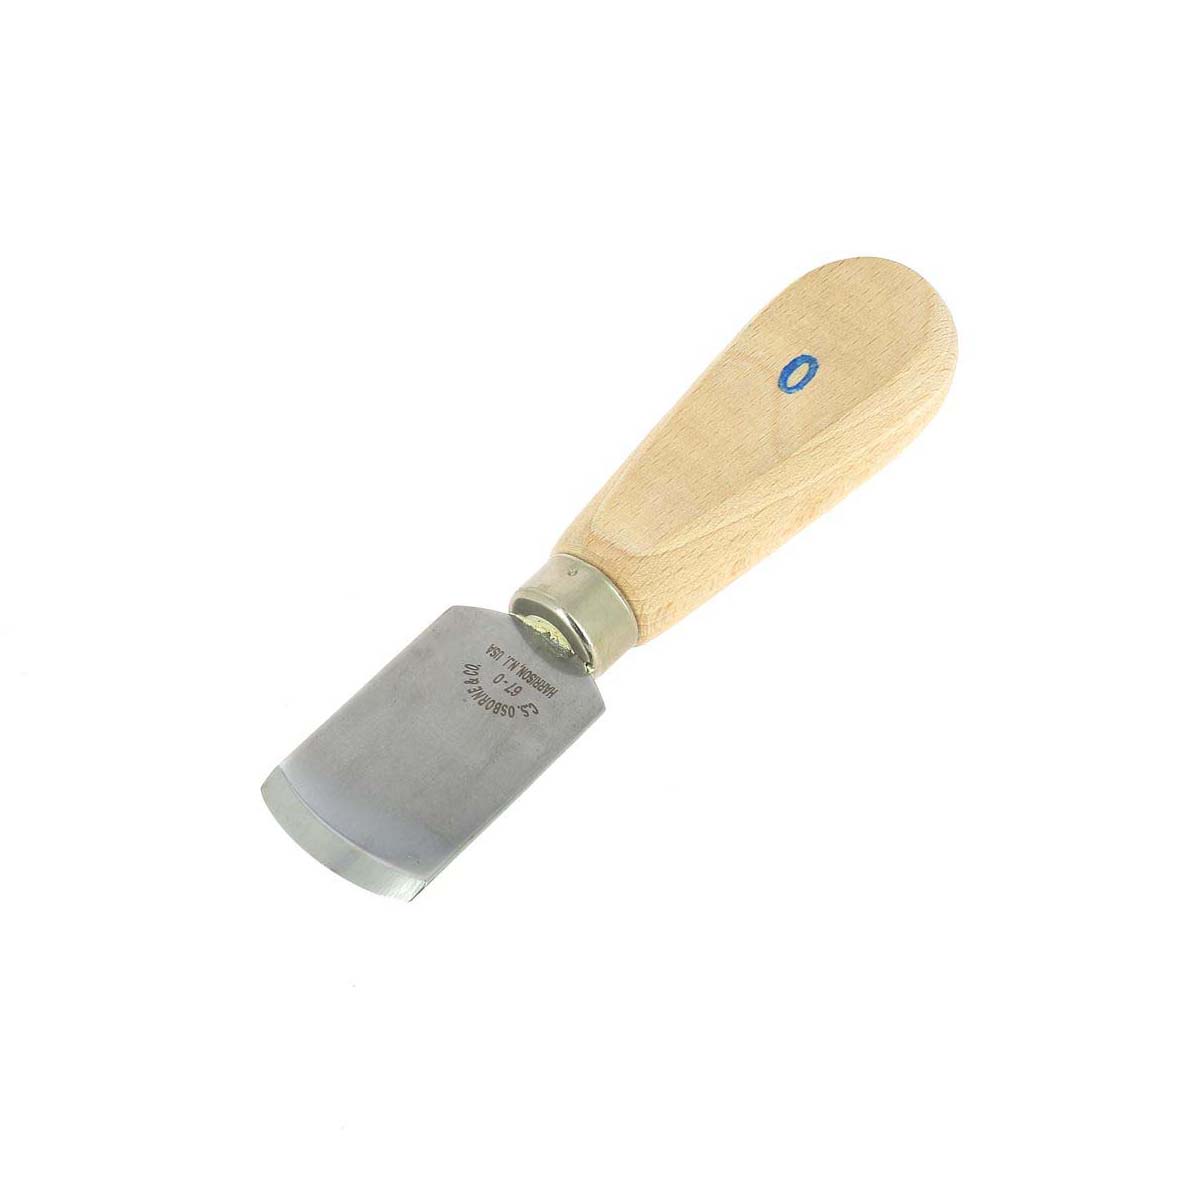
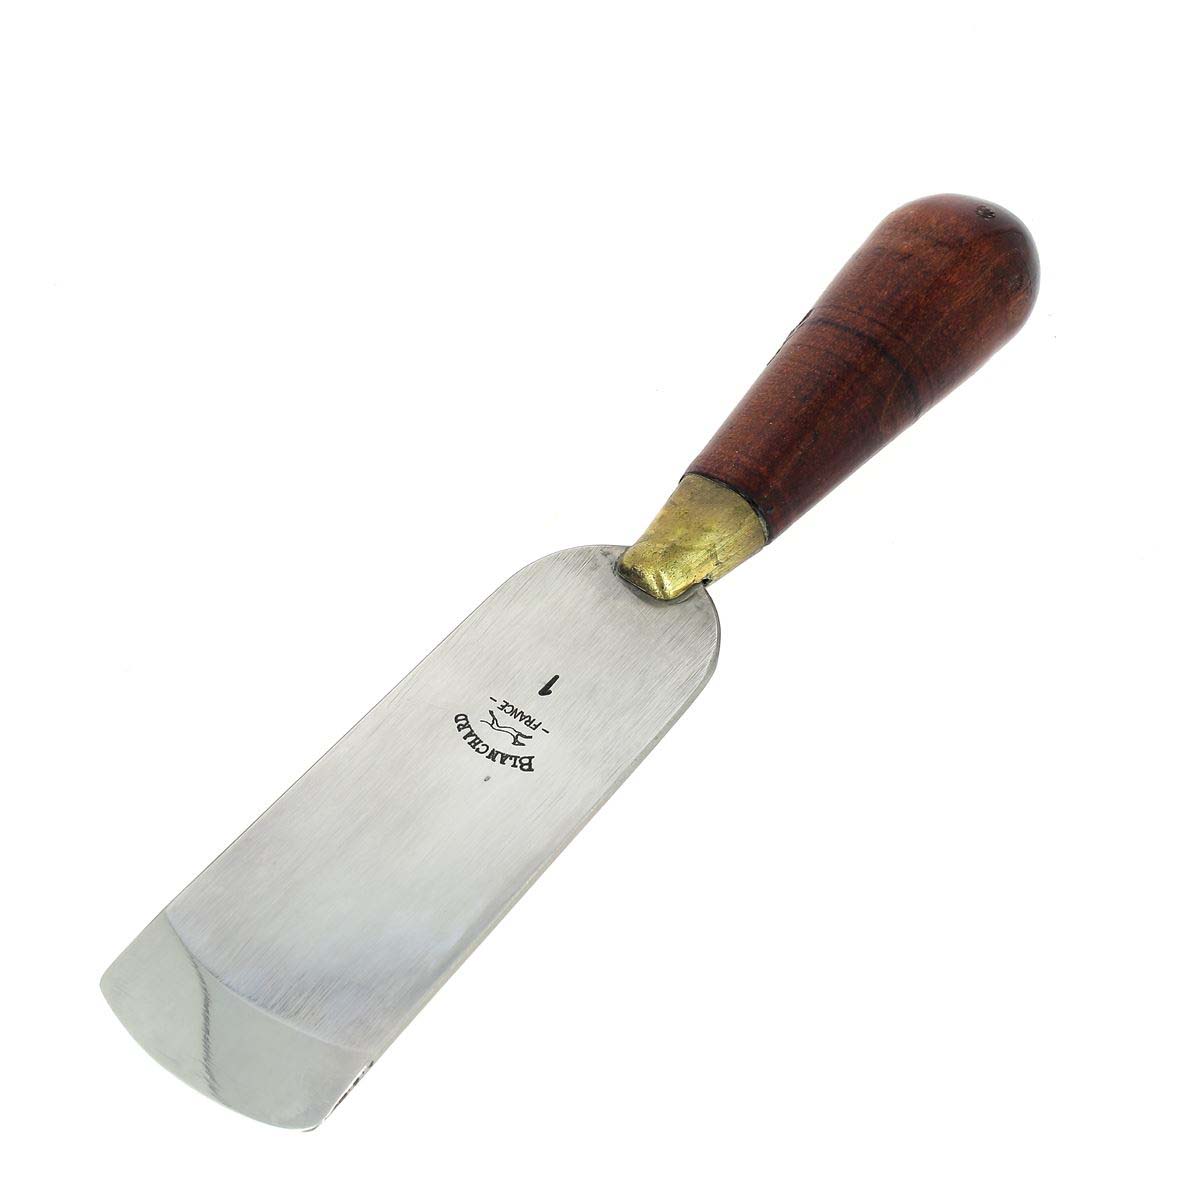
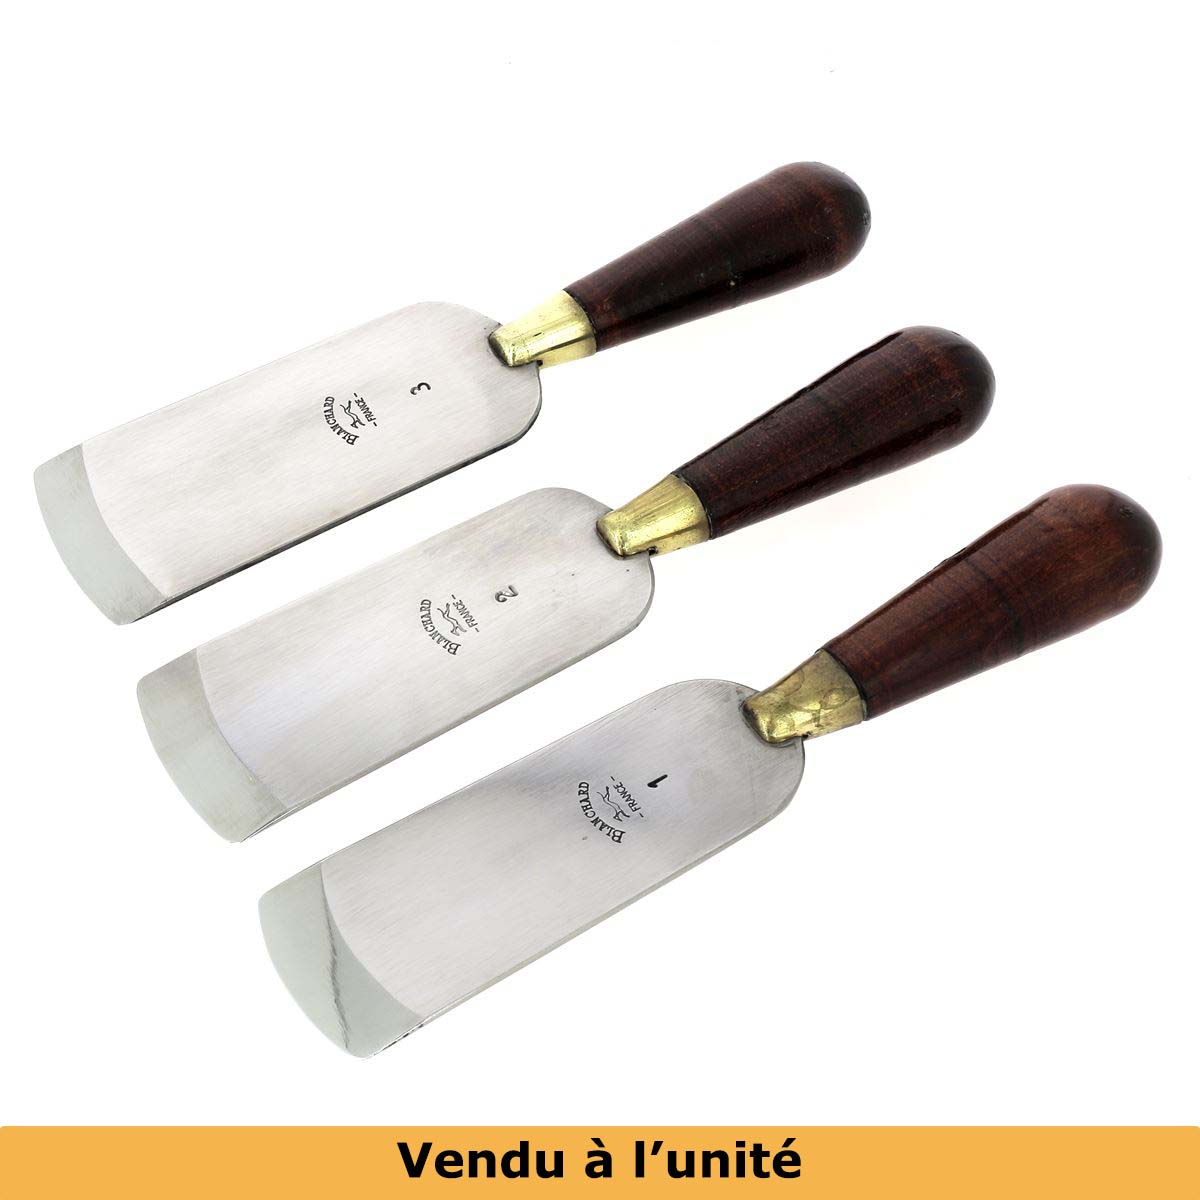
The paring knife is a tool used in leatherwork to thin the edge of pieces of leather: paring leather.
It is useful for assemblies: sewing 2 pieces of leather together without creating excess thickness ( thickening the leather ) but also for dressing the edges ( making a rim ).
DETAILING LEATHER - THINNING IT
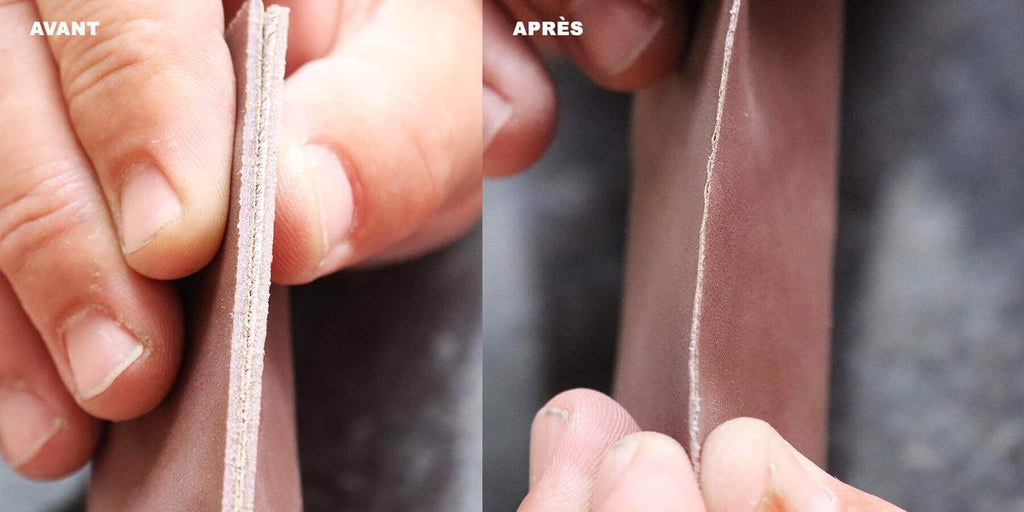
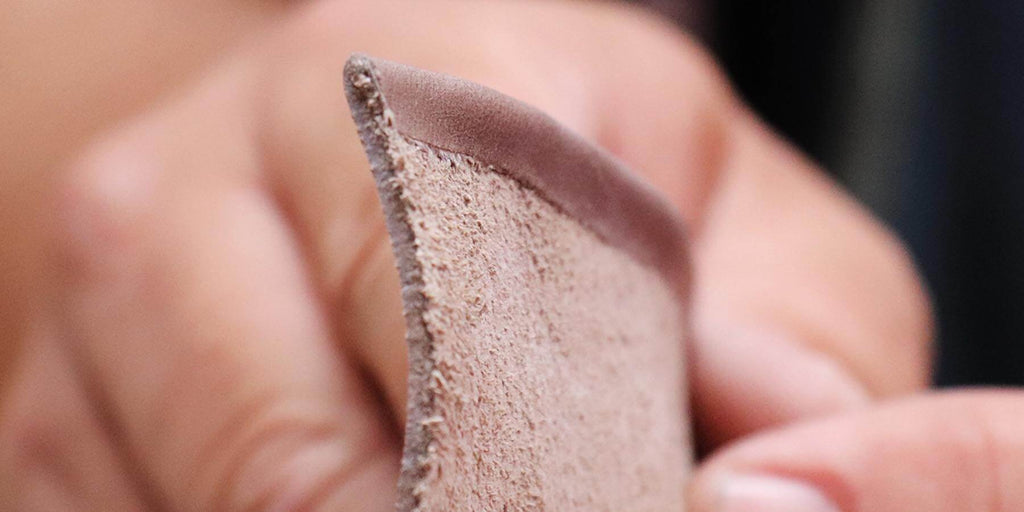
MAKE A EDGE:
VIDEO: HOW TO USE A PARING KNIFE? LEARN HOW TO PARE LEATHER IN 3 MINUTES.
PARING KNIFE MAINTENANCE
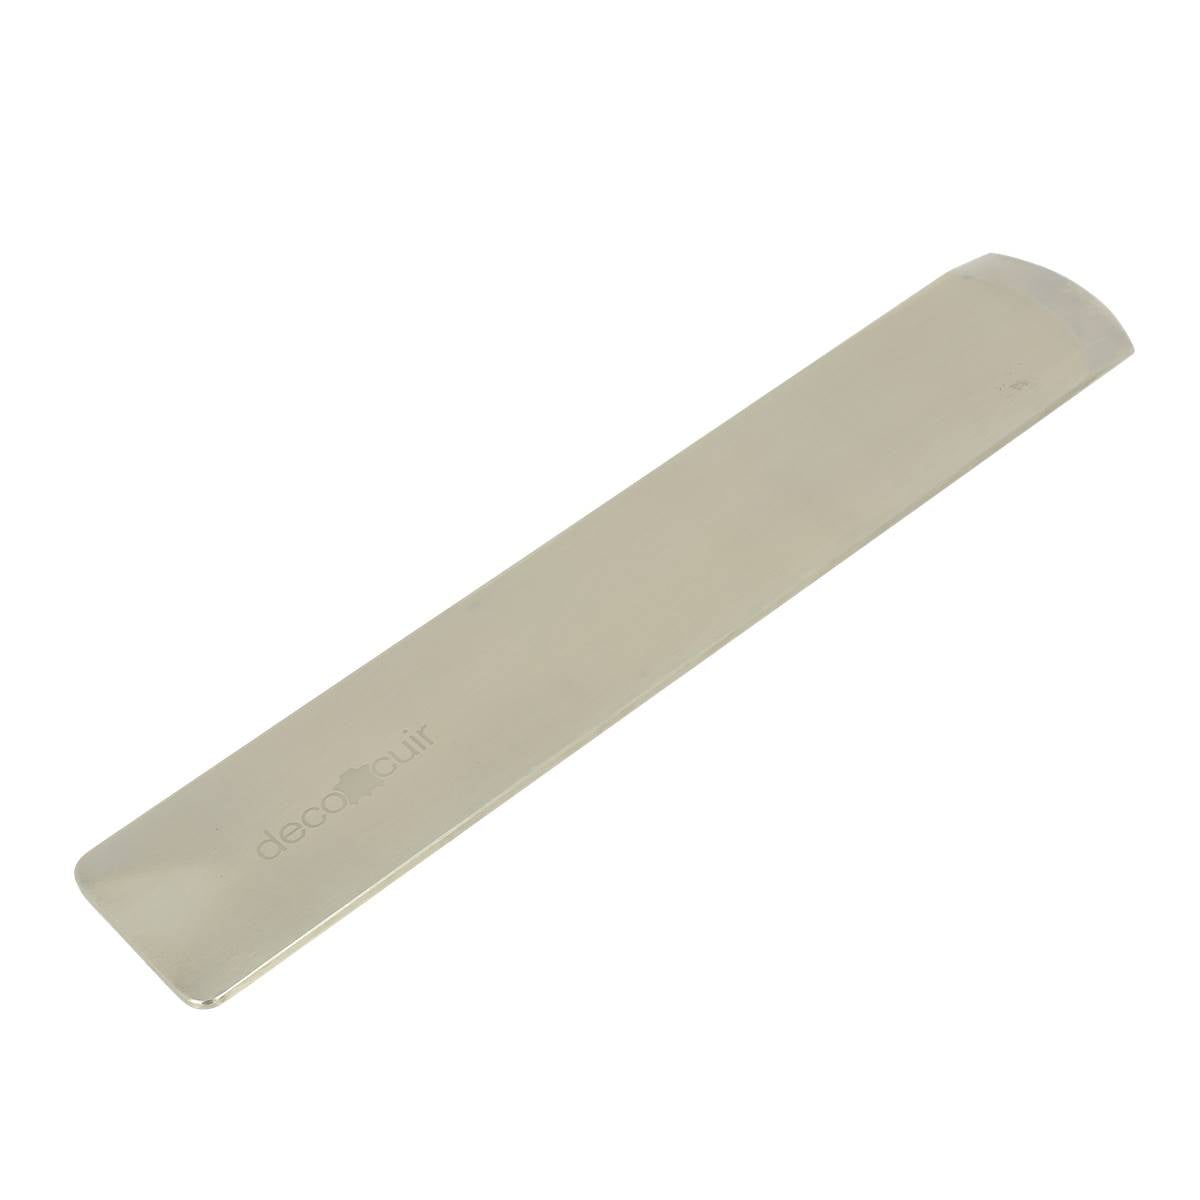
The paring knife must be sharpened very regularly: we advise you to watch our video on sharpening .
SEE THE GUIDE >
HOW TO CHOOSE YOUR PARING KNIFE?
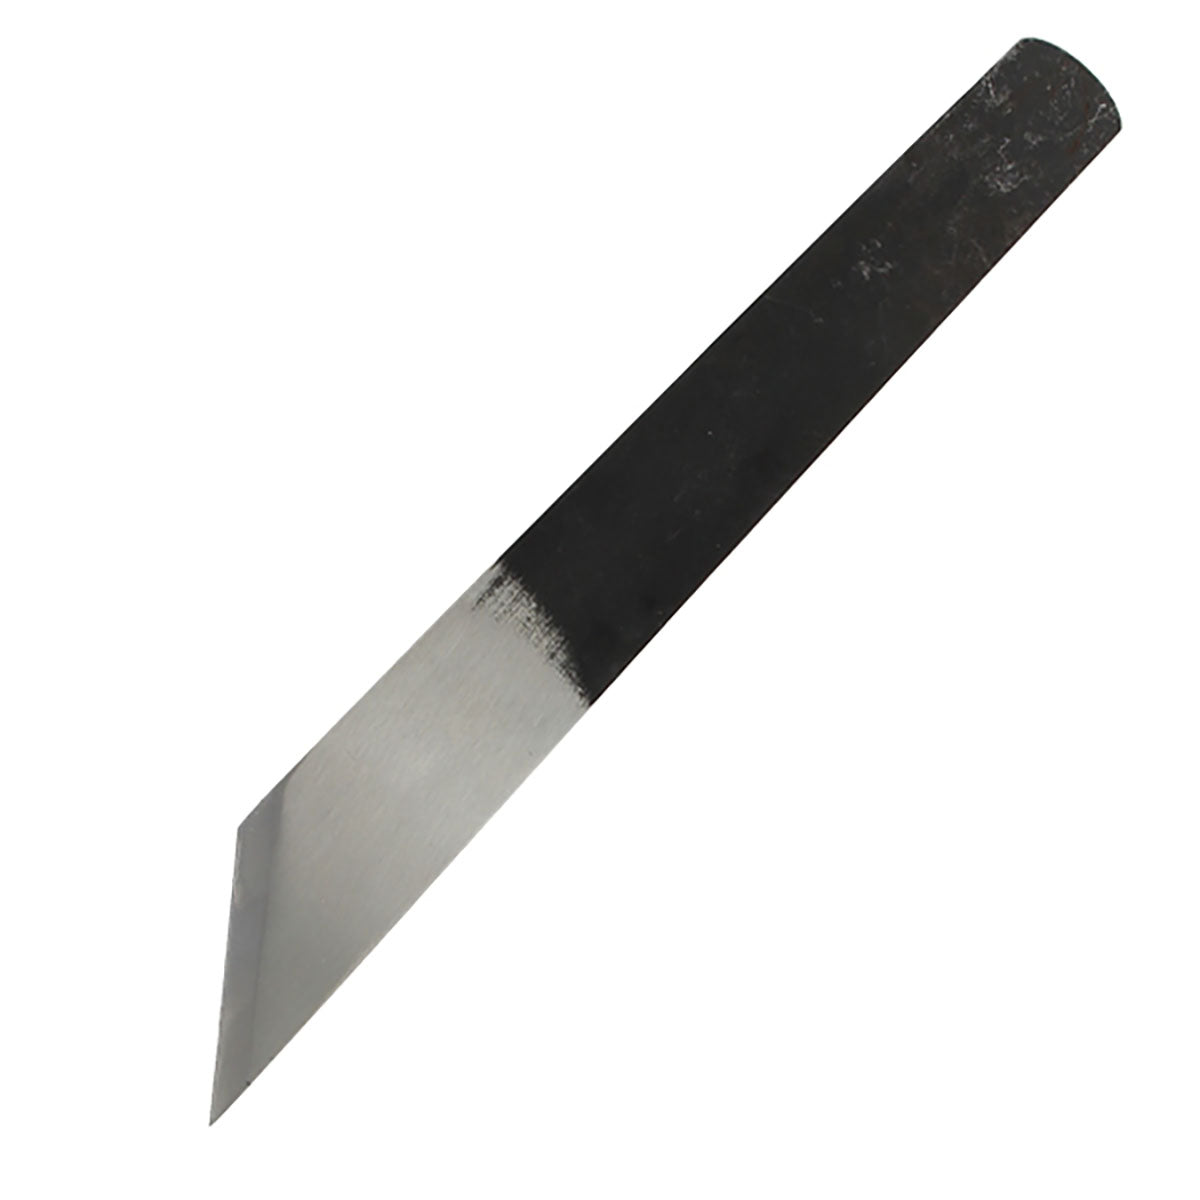
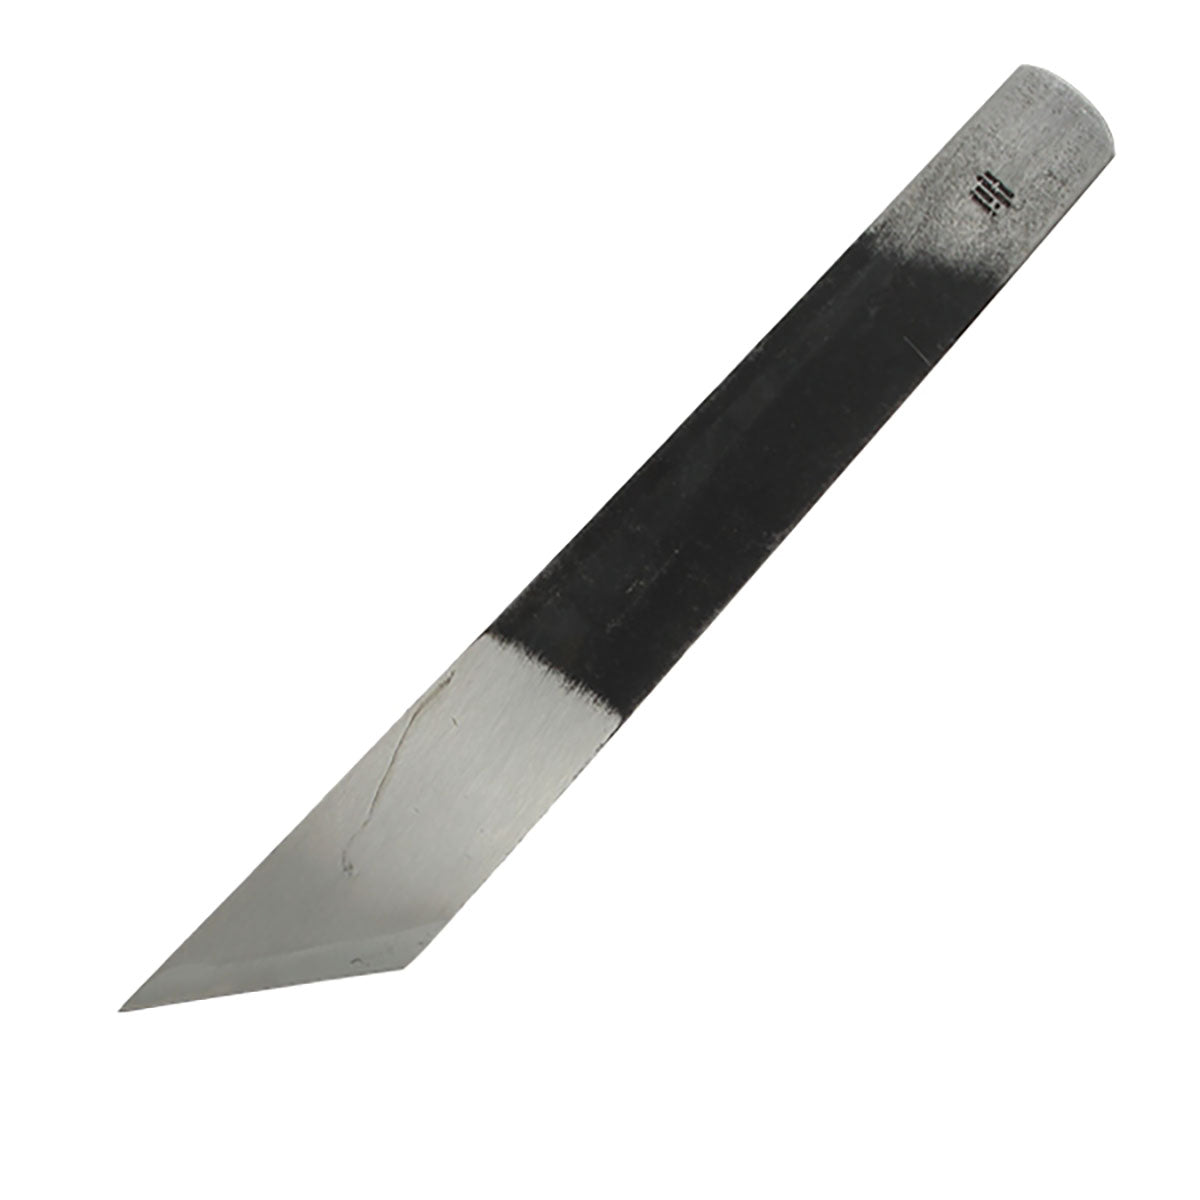
If you know how to sharpen your tools, we recommend that you take a straight paring knife (as in the video) or an oblique one . The choice between straight and oblique is made according to your preference, for our part we prefer the "straight".
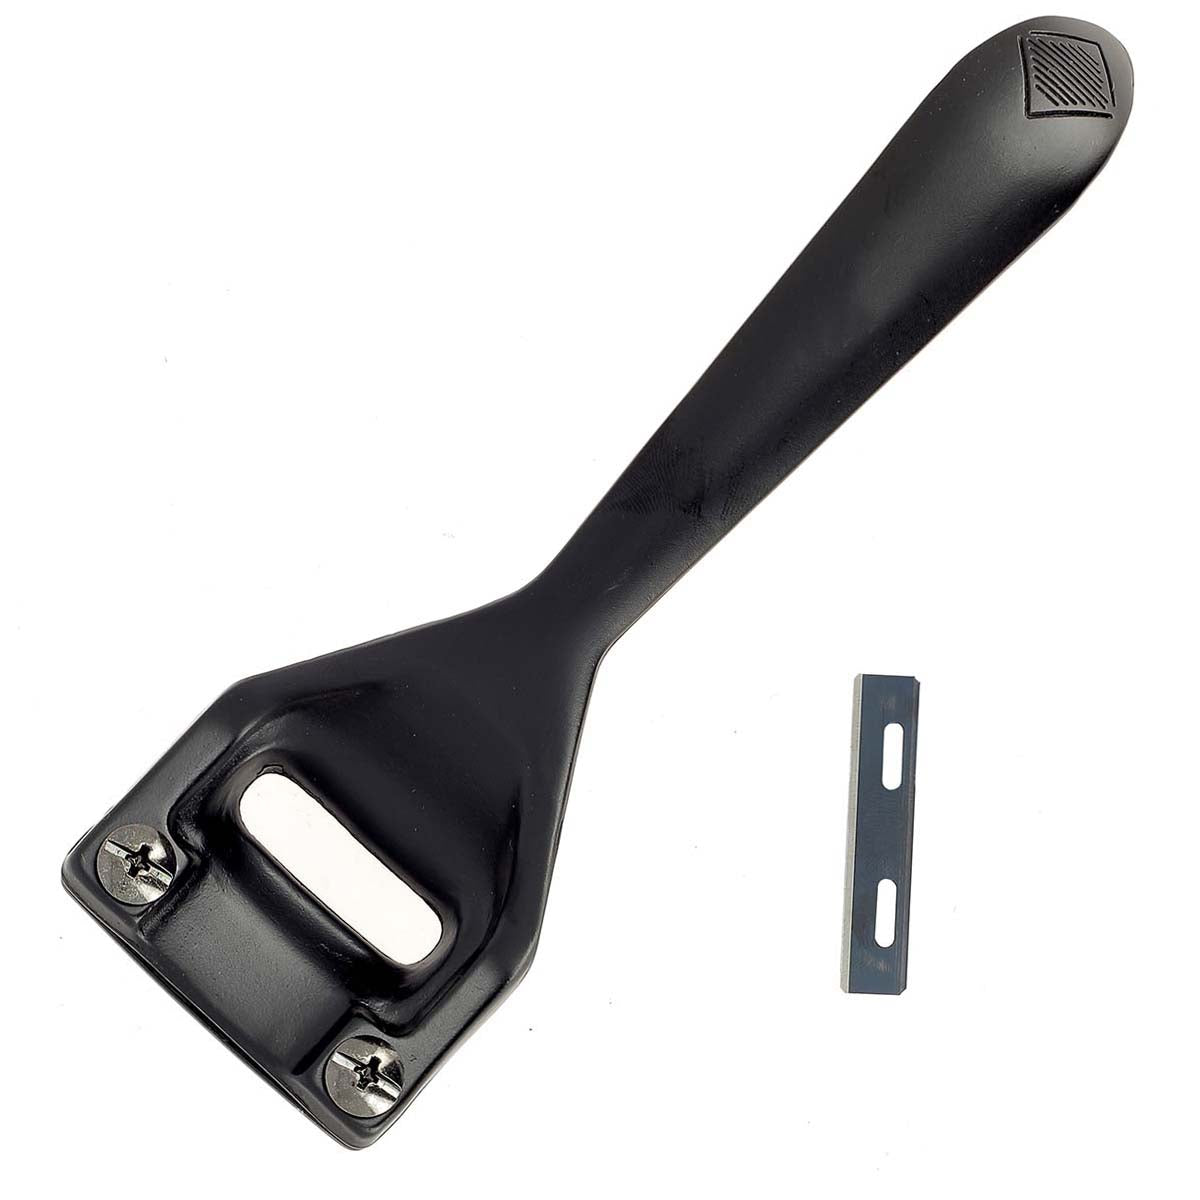
The knives are not the same if you are right-handed or left-handed: this is indicated in the product sheets. If you are a beginner, we recommend the paring knife with interchangeable blade (no sharpening skills required).
For beginners, we recommend that you choose (at first) a "razor type" paring knife which is easier to handle. 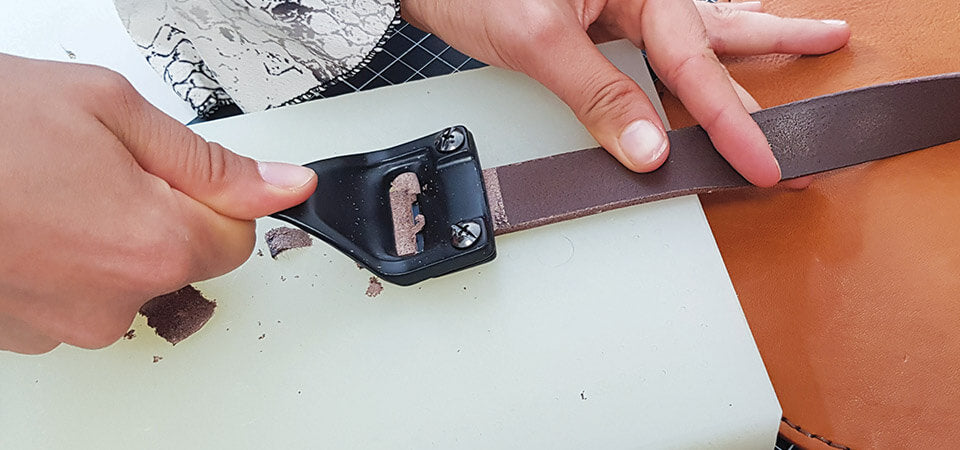
HOW DOES A LEATHER PARING MACHINE WORK?
Discover the Skimini paring machine (on sale on our site)! This paring machine comes straight from Japan and can pare leather up to 2.5 mm thick.
LEARN MORE >









2 comments
Anonymous
Bonjour JP,
Merci beaucoup ! Le choix du couteau à parer ne se fait pas en fonction de la largeur de la lame qui généralement ne varie pas beaucoup mais davantage par sa forme : si vous savez affûter vos outils nous vous conseillons de prendre un couteau à parer droit (comme sur la vidéo) ou oblique. Le choix entre le droit et l’oblique se fait en fonction de votre préférence, de notre côté nous préférons le “droit”. SI vous débutez le couteau à parer « type rasoir » est vraiment pratique !
Bonne journée, l’équipe Deco Cuir !
Anonymous
Bonjour,
Merci beaucoup pour ce tuto très bien expliqué. Comment choisit-on entre différentes tailles (largeur) de couteau à parer ?