tutoriel sacoche moto cuir
Laurent shares with you his tutorial for making a magnificent leather bag for your motorcycle in natural vegetable tanning, tinted black. You will find a tutorial in PDF format, which you can download, explaining the manufacturing steps image by image: pattern making, cutting, dyeing, sewing, assembly, riveting, gluing, etc...

Free tutorial - Private use only. Laurent ©
Supplies
Max cost: 30,00 €
The products needed to complete this tutorial
Gamme suivie
Demi-collet-vegetal-NATUREL-CLASSIC-01.jpgClassic-Cuir-de-collet-tannage-vegetal-naturel-1-.jpg
From
Sale price15,66 €
  • THICKNESS: 1mm 1.2mm 1.4mm 1.6mm 1.9mm 2.2mm 2.5mm 3mm
  • SURFACE: from 0.10 to 0.19 m² from 0.20 to 0.29 m² from 0.30 to 0.39 m² from 0.40 to 0.49 m² from 0.50 to 0.59 m² from 0.60 to 0.69 m² from 0.70 to 0.79 m²
WA144_341-teinture-huile-fiebing-pro-dye-118ml-acajou-mahoganymanchette-cuir-tano-lath-zoom.jpg
WA140_020-teinture-cuir-fiebing-s-leather-dye-118ml-noir-mat-usmc-blackWA141_020-teinture-cuir-fiebing-s-leather-dye-936ml-noir-mat-usmc-black
From
Sale price8,90 €
  • CAPACITY: 118ml 946ml
CA131-061-Bobine-100m-fil-polyester-tresse-et-cire-Diam-0-8mm-Vieux-rose-1-.jpgCA131-061-CA106-061-Bobine-100m-fil-polyester-tresse-et-cire-Vieux-rose-3-.jpg
France 🔵⚪🔴
Cire d'abeille Deco Cuir - 50g 01x600.jpgcire-abeille.jpg
From
Sale price3,50 €
  • WEIGHT: 50g 150g 400g
France 🔵⚪🔴
Pot de 250ml de COLLE CONTACT à base d'eau avec pinceau intégré au bouchon - Deco Cuircolle-cuir-eau.jpg
BA357-AV-15-Boucle-de-ceinture-en-fil-rond-ABY.jpgBA357-AV-Boucle-de-ceinture-en-fil-rond-ABY.jpg
From
Sale price0,59 €
  • FINISHING: Aged silver Aged brass Nickel plated
  • WIDTH: 15mm 20mm 25mm 30mm 35mm 40mm
Lot de 20 agrafes pour passant en cuir - LaitonLot de 100 agrafes pour passant en cuir - Acier, finition Laiton
From
Sale price1,70 €
  • FINISHING: Brass Aged brass Nickel plated
  • CONDITIONING: Per 20 Per 100
Plusieurs finitions Laiton
Rivets-double-calotte-en-laiton-T6-Argent-vieilli-1-.jpgrivets-double-calotte-en-laiton-argent-vieilli-2-copie.jpg
From
Sale price4,30 €
  • FINISHING: Aged silver Antique silver Gun barrel luxury gold Brass Aged brass Nickel plated old copper
  • CONDITIONING: Per 20 Per 100

THE NECESSARY TOOLS
rainette gouge IVx600.jpgrainette-travail-cuir.jpg
Compas simple - Pointe sèche - Longueur 150 mm - Deco Cuircompas-travail-cuir3.jpg
France 🔵⚪🔴
Fourreau laiton - INDISPENSABLE - Avec lame 01x600.jpgtranchet.jpg
Premier prix
TA518-Abat-carre-DROIT-ECONOMIQUE-1-.jpgTA518-Abat-carre-DROIT-ECONOMIQUE-6-.jpg
Sale price9,90 €
  • SIZE: Size 1 Size 2 Size 3 Size 4 Size 5

1. MAKE THE PATTERN

Realize the patronage of the satchel.
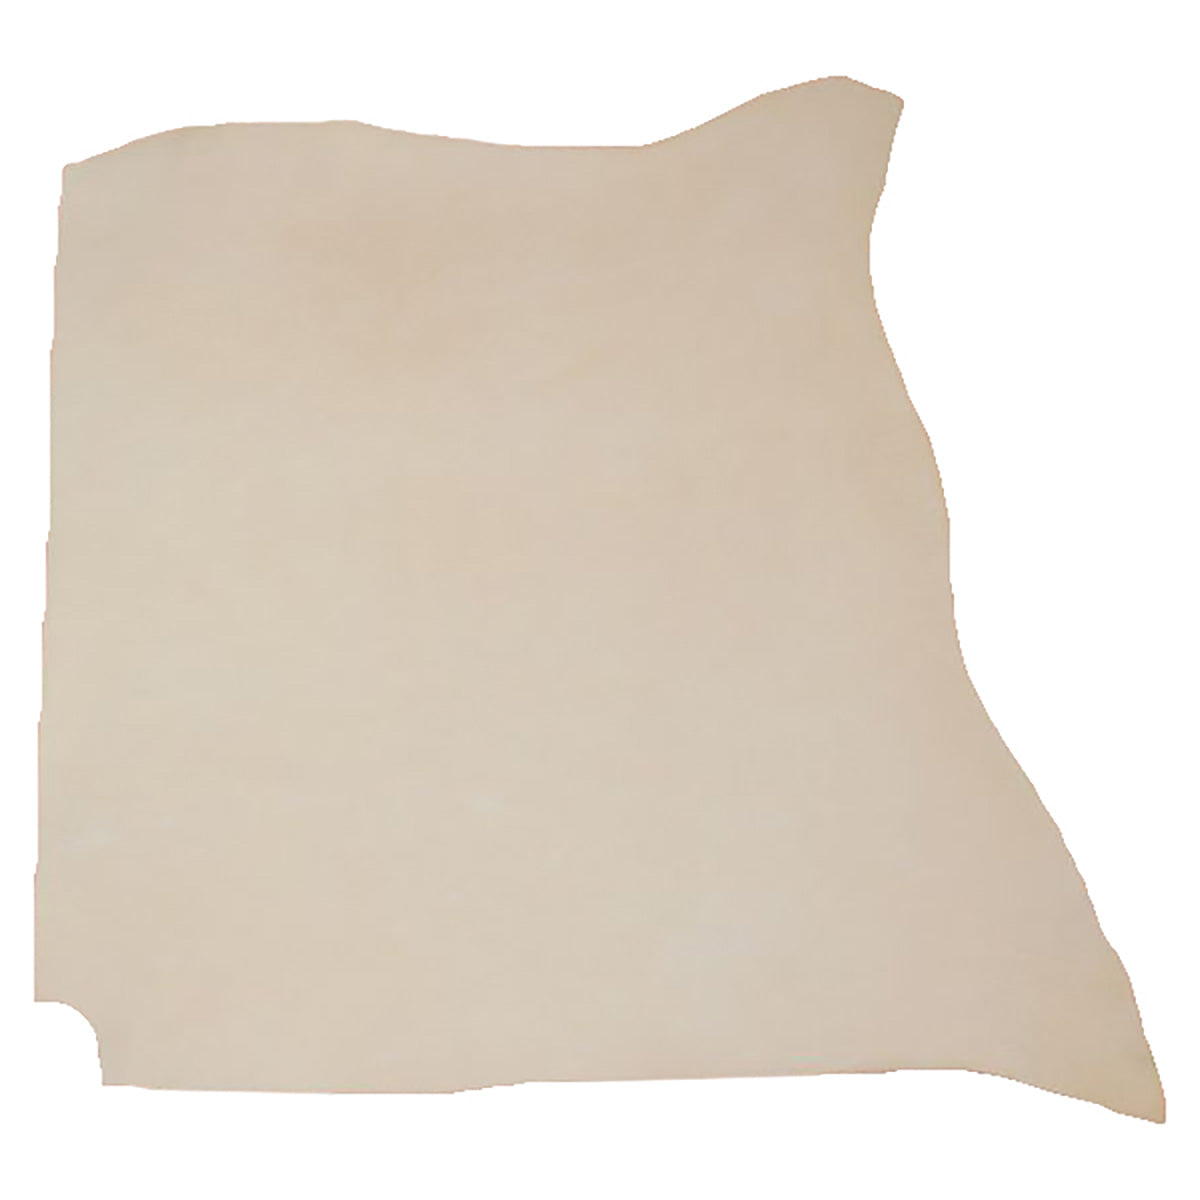
leather motorcycle bag tutorial

2. CUT THE LEATHER

Cut the leather following your template.
leather motorcycle bag tutorial

3. TRACE THE SEWING LINE

Then draw the seam line, lined with a decorative line.
leather motorcycle bag tutorial

4. WORK THE SEWING

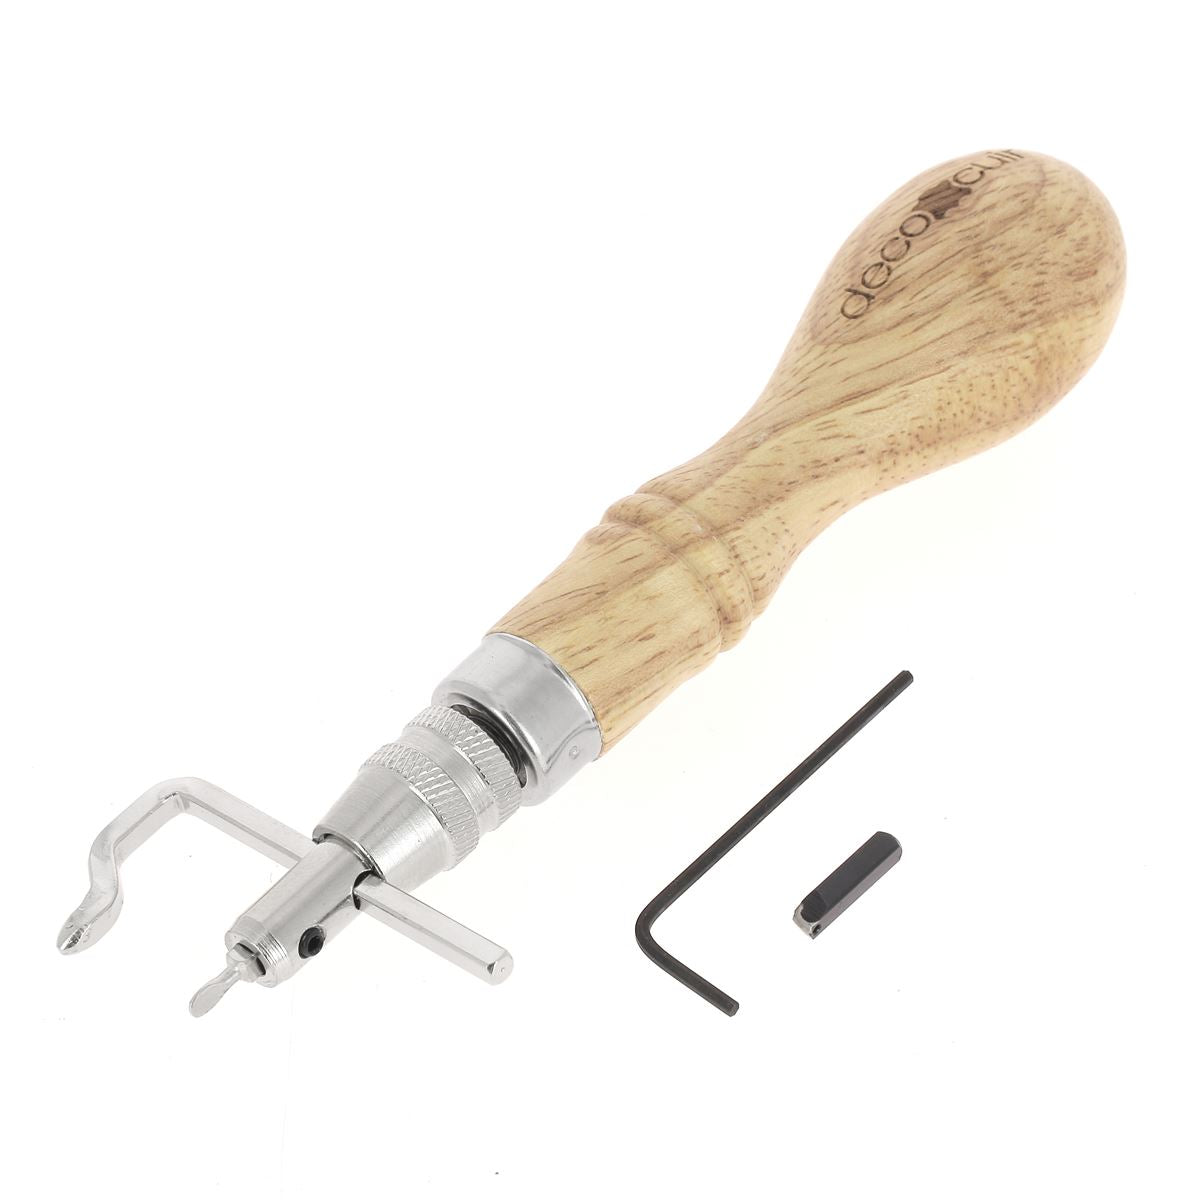
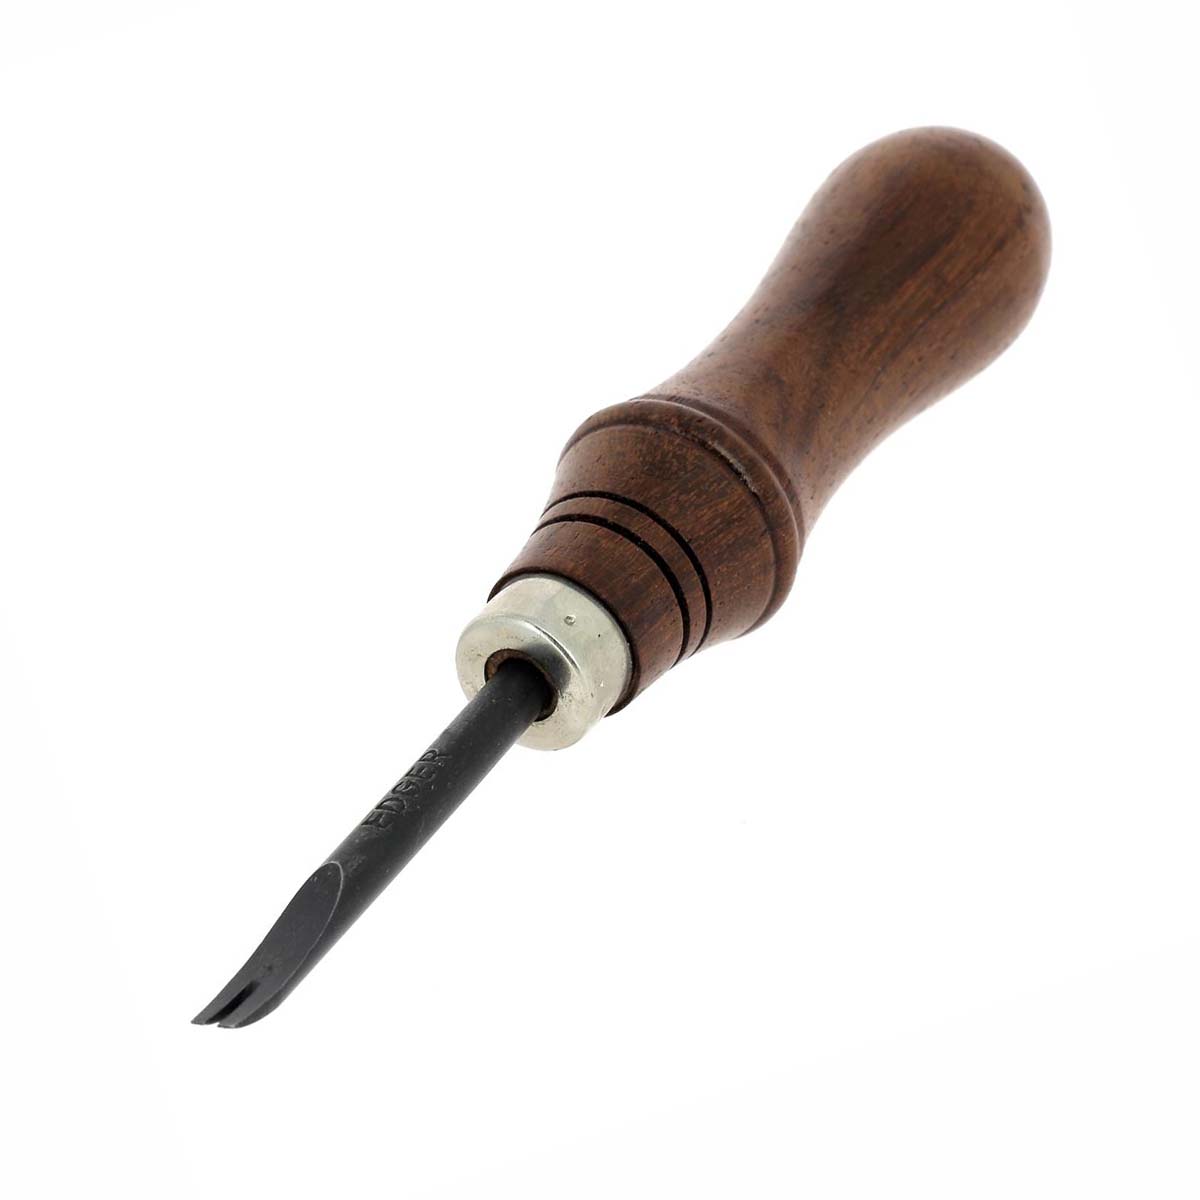
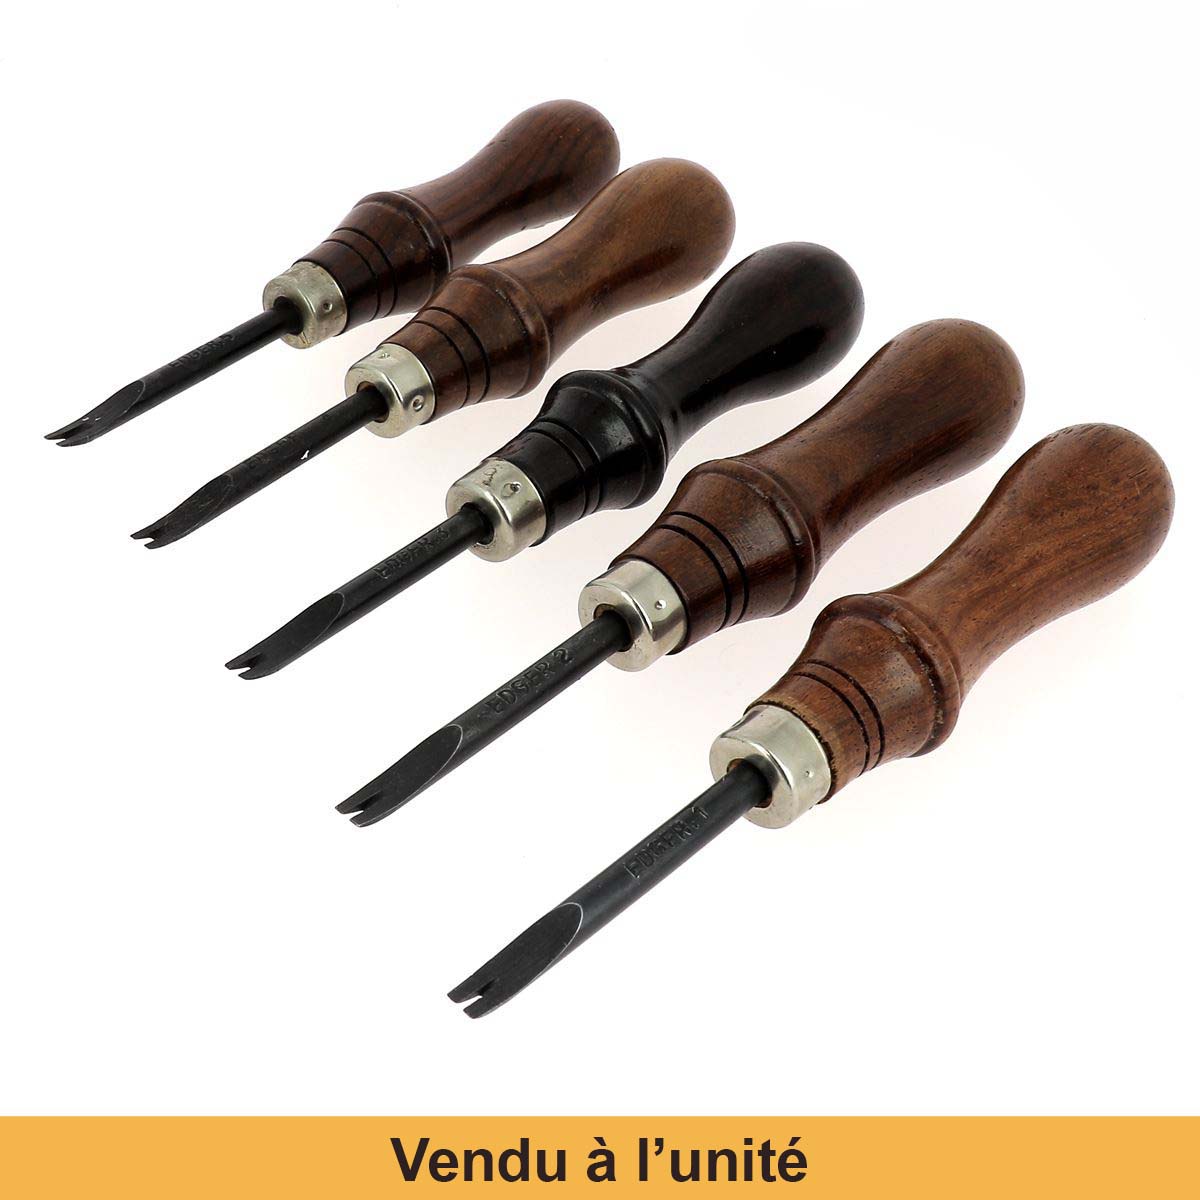
  • Chamfer the edges with an edge trimmer.
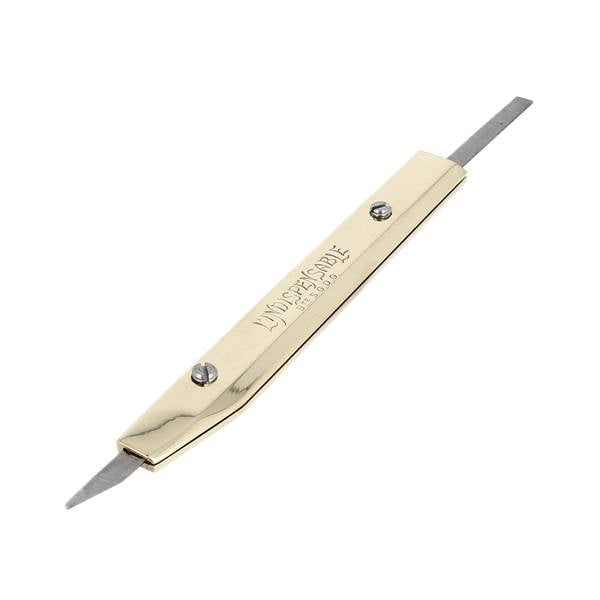
  • Put a bit of tree frog to drown the seam, that is to say to make it invisible.
leather motorcycle bag tutorial

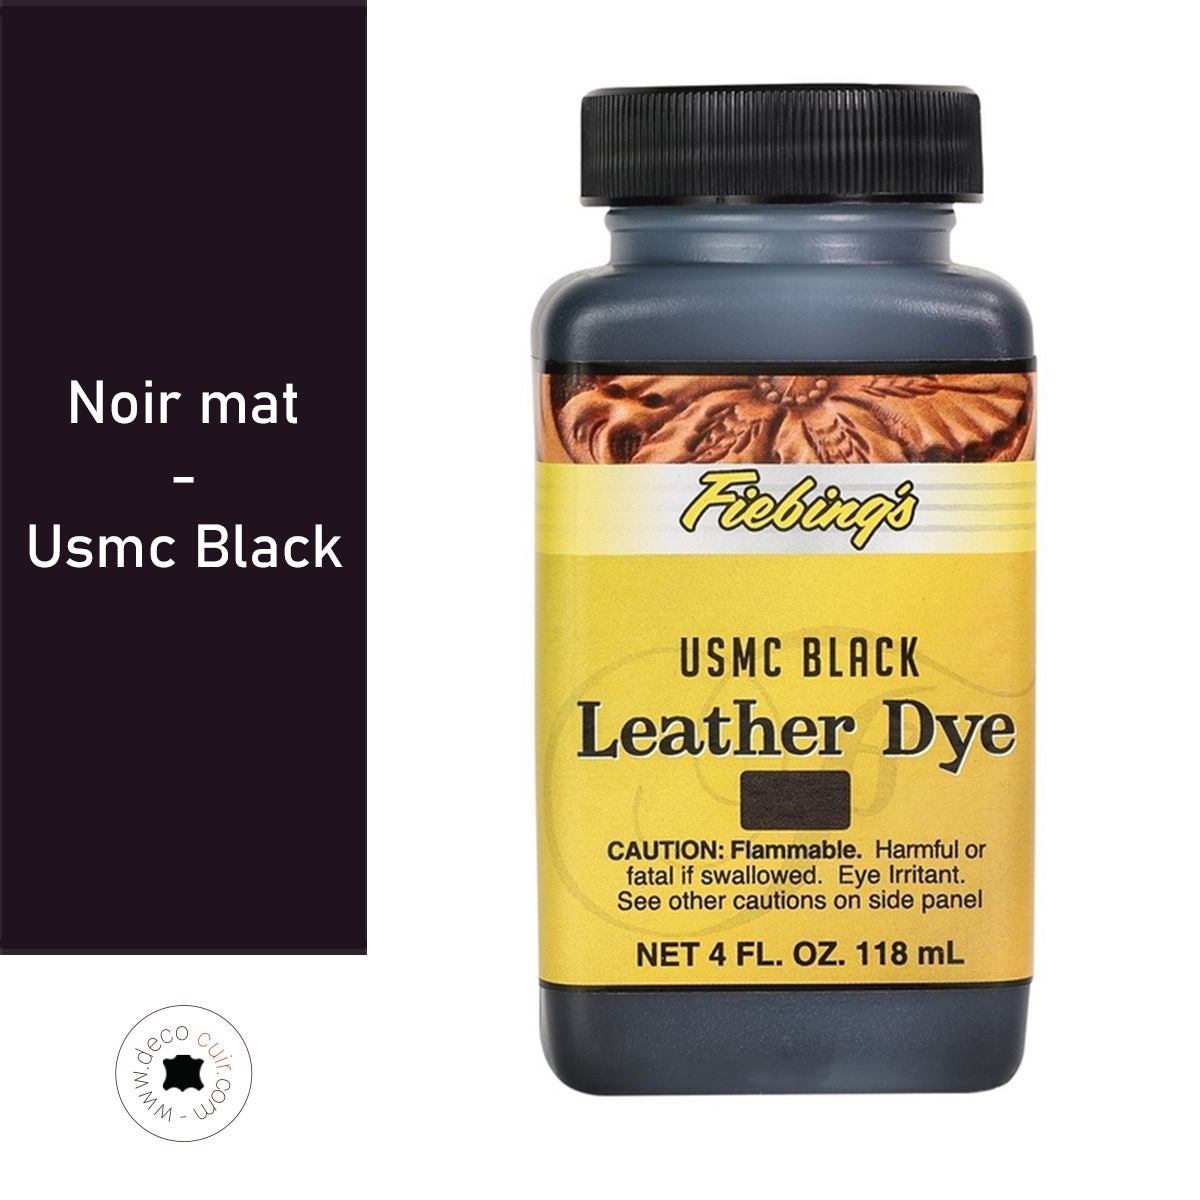
5. TINTING THE LEATHER

Dye the grain side of the leather with a Fiebing's dye, in this case Fiebing's Black Oil Dye. The reverse side will be dyed with USMC Black - Leather DYE (also from Fiebing's), the finish on the split side being more uncertain since it is not designed to be dyed.
GUIDE: HOW TO DYE LEATHER?

leather motorcycle bag tutorial

6. ASSEMBLE THE PARTS

After the drying of the different elements, comes the time of assembly. Sewing and riveting the fixing panel (the piece of leather that will be screwed onto the motorcycle) to the rest of the bag.

leather motorcycle bag tutorial

7. MARK THE STITCHES WITH A ROULETTE

  • First mark the stitches with a roulette wheel.
  • Diamond/diamond awl drilling All the holes for small parts, and one out of two for bigger things. For this bag it will be all the holes (4mm).

leather motorcycle bag tutorial

8. CUT AND DYE THE STRIPS

  • Cut the strips for chrome buckles in 20 mm.
  • Dye the strips with Fiebing's dye.

leather motorcycle bag tutorial

9. ASSEMBLE THE STRAPS AND LOOPS

  • Assemble the 2 straps with rivets.
  • Assemble the 2 loops with staples or by sewing.
leather motorcycle bag tutorial

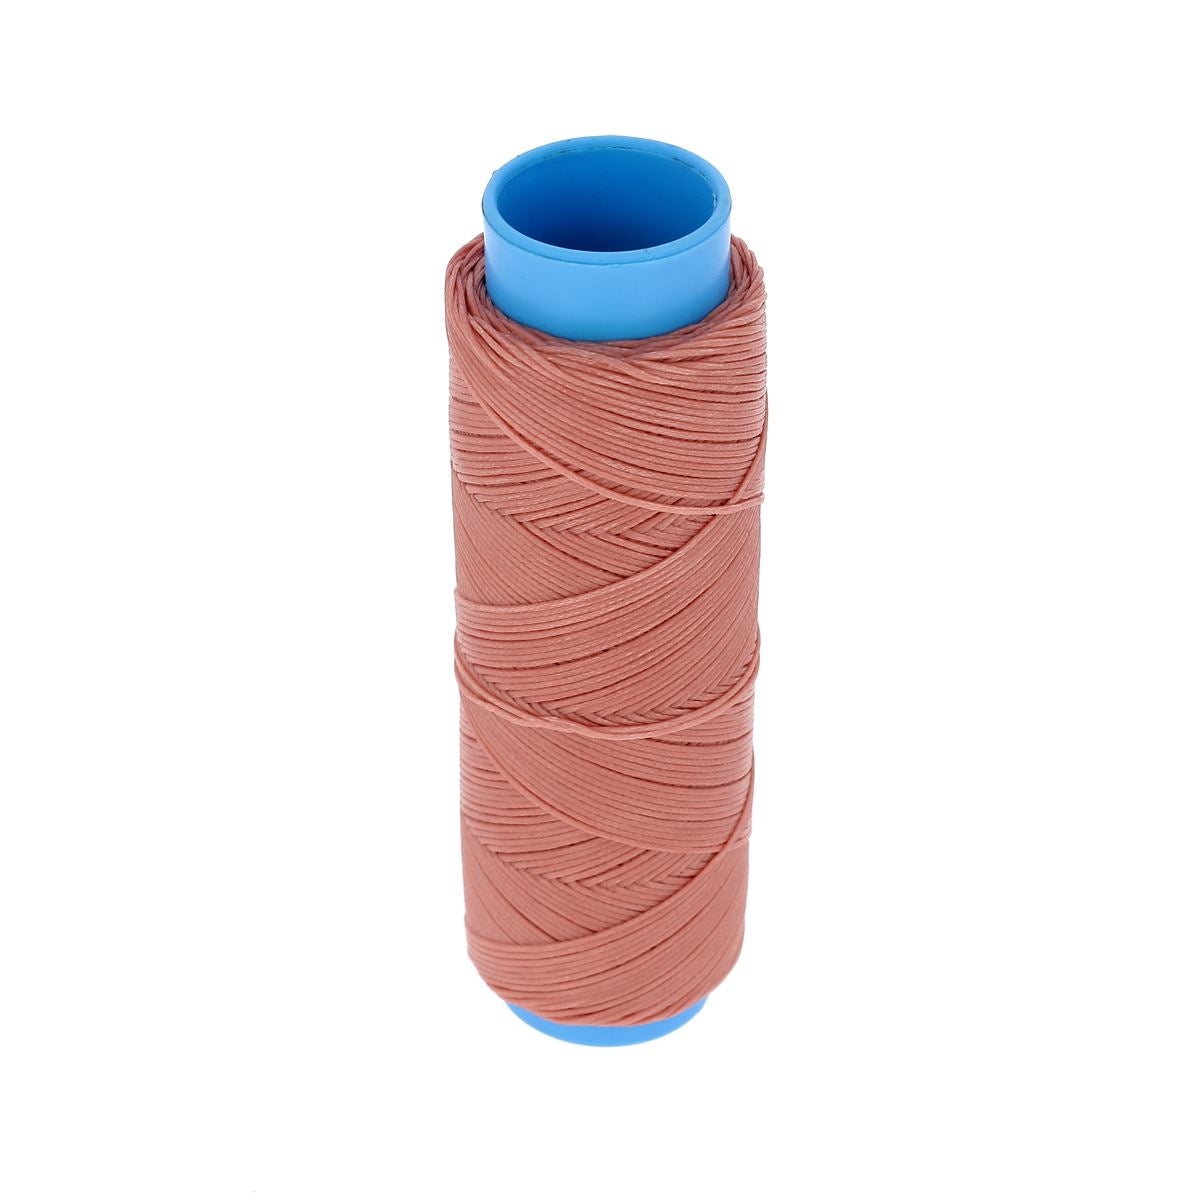
10. GLUE AND SEW THE SIDES

  • Make a collage.
  • Sew the sides to the main panel (saddle stitch).
leather motorcycle bag tutorial

You can also choose to make a corner seam (be careful to adapt your templates well).

CORNER SEWING - SEE THE COMPLETE GUIDE >

11. ATTACH THE STRAPS

Place the strips by riveting. The installation can be done before the side assembly step for more ease.
leather motorcycle bag tutorial

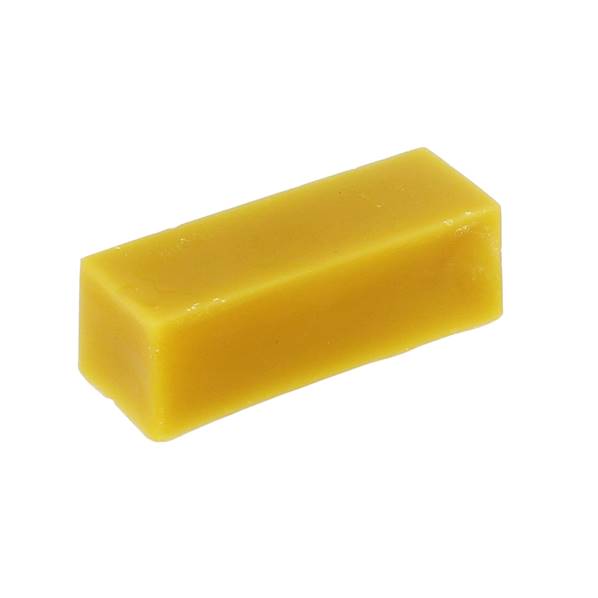
12. TOUCH UP DRAWING AND FINISH

There are still the small finishing touches: dye touch-ups and finishing of the edges with beeswax.
leather motorcycle bag tutorial

Your achievements
Do not hesitate to send us photos

4 comments

Anonymous

Bonjour,
Nous sommes navrés, nous ne possédons pas de patron pour ce tutoriel qui a été réalisé par l’un de nos clients…
Bonne journée,
L’équipe Deco Cuir

Melanie

Bonjour,

Je cherche le patron de ce tutoriel, est-il disponible quelque part s’il vous plait ?

Merci :)

Anonymous

Bonjour Jo, nous vous conseillons de sélectionner un cuir tannage végétal avec une épaisseur de 1,4 ou 1,6 mm :)

L’équipe Deco Cuir

Anonymous

Bonjour, quel épaisseur de cuir vous conseiller pour réaliser la sacoche de moto?

Leave a comment

All comments are moderated before being published