


THE NECESSARY MATERIAL
To complete this tutorial you will need:
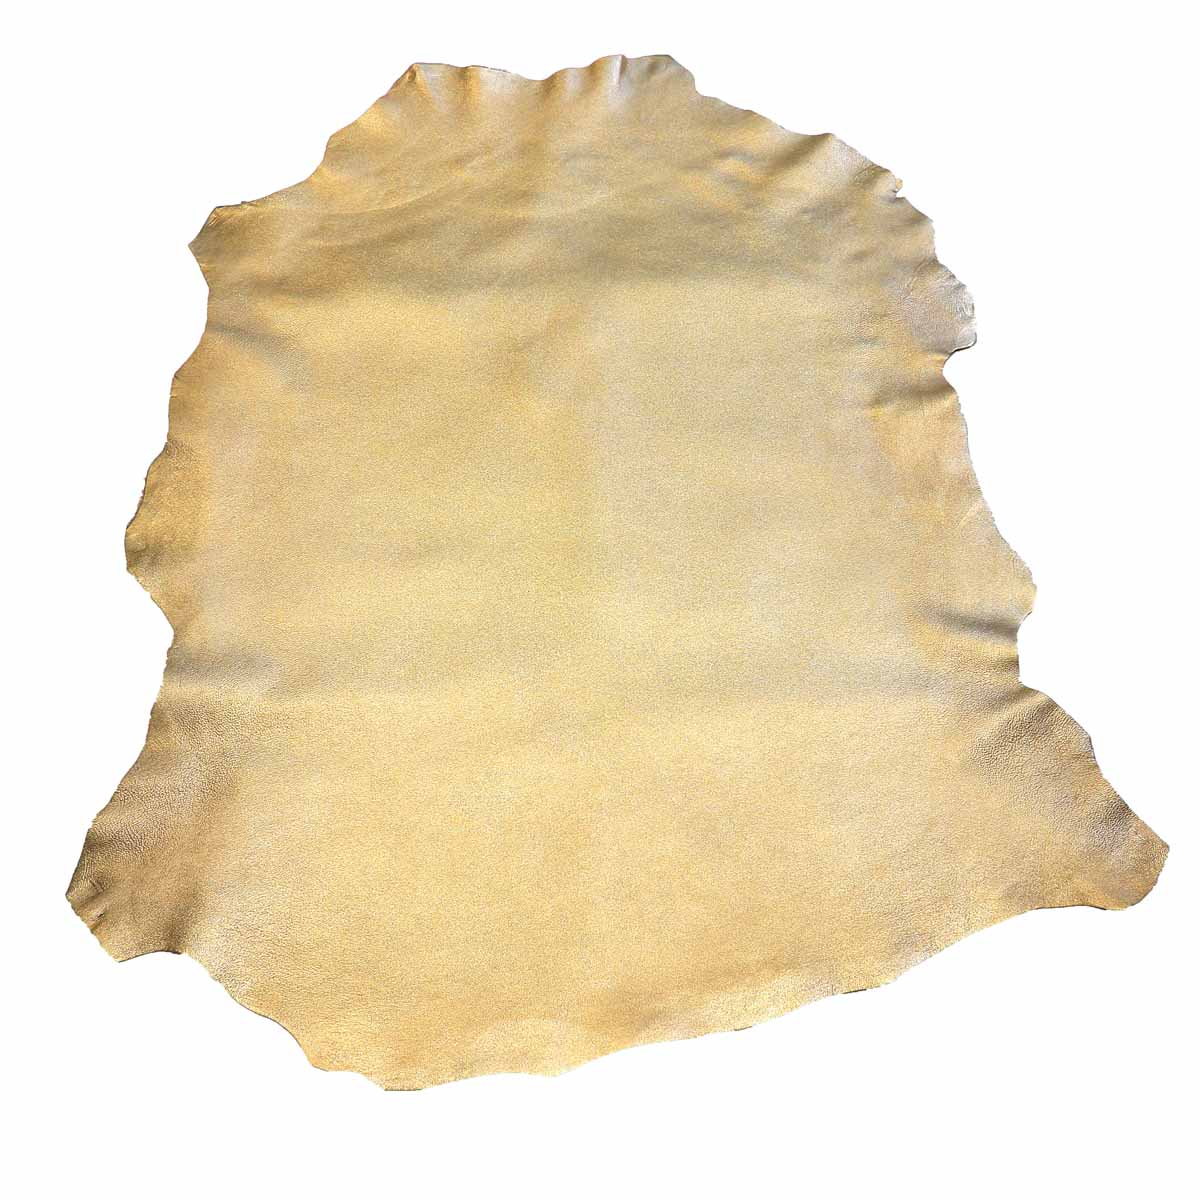
- Small model : 2 pieces of leather measuring 30 x 40 cm, approximately 0.8 mm thick (1.1 mm maximum thickness if lambskin or very soft leather) or 1 leather skin (0.30 to 0.39 m²).
- Large model : 1 leather skin - 0.30 to 0.39 m² minimum surface area - approximately 0.8 mm thick (1.1 mm maximum thickness if lambskin or very soft leather).
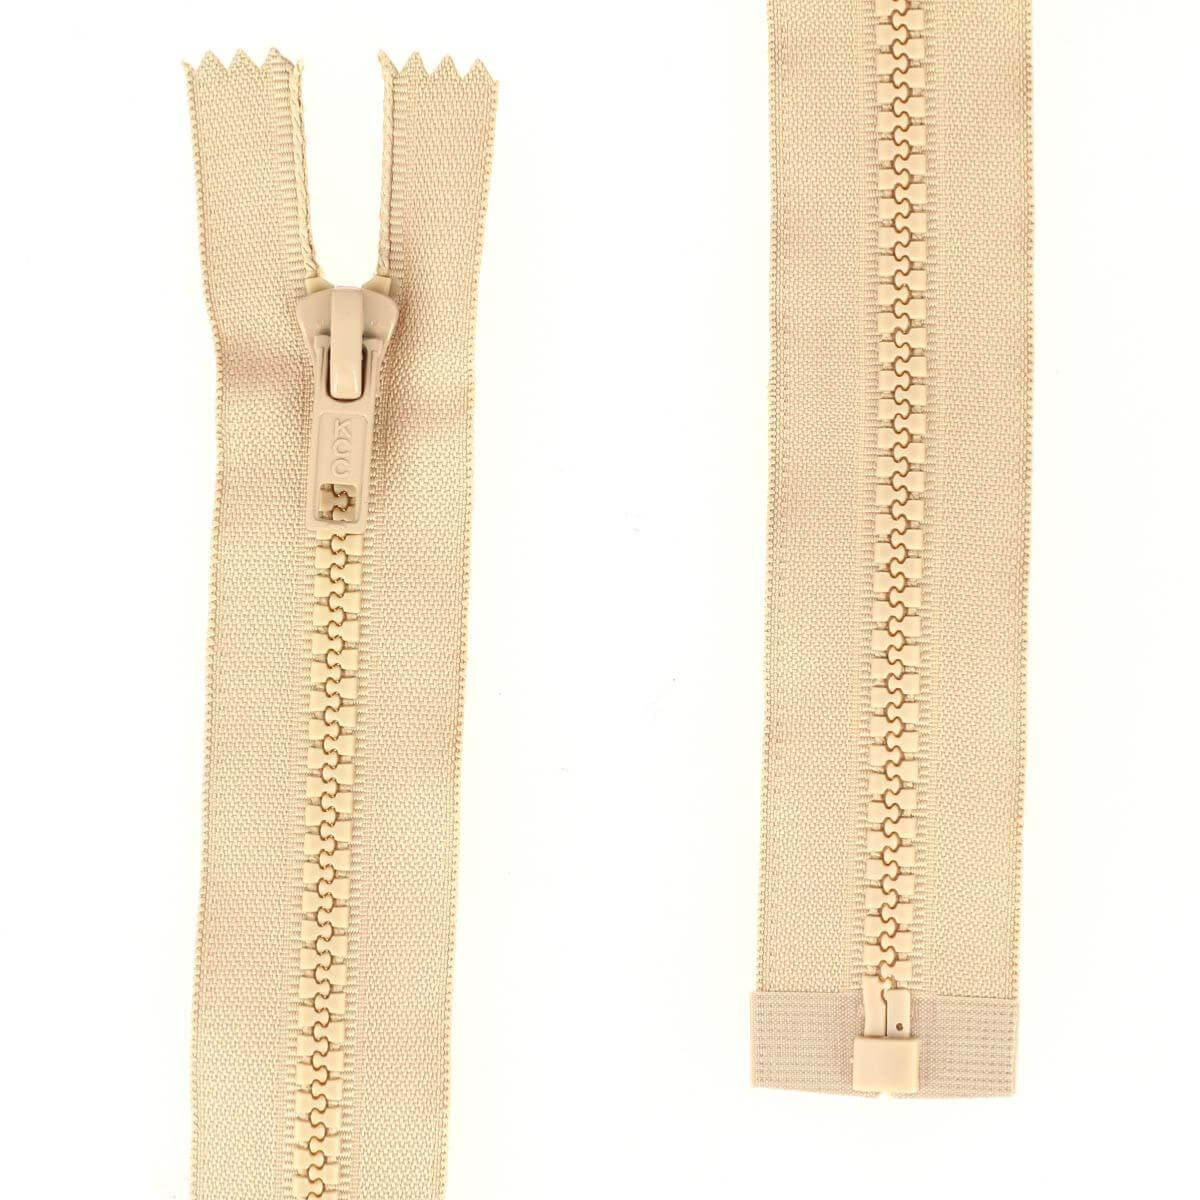
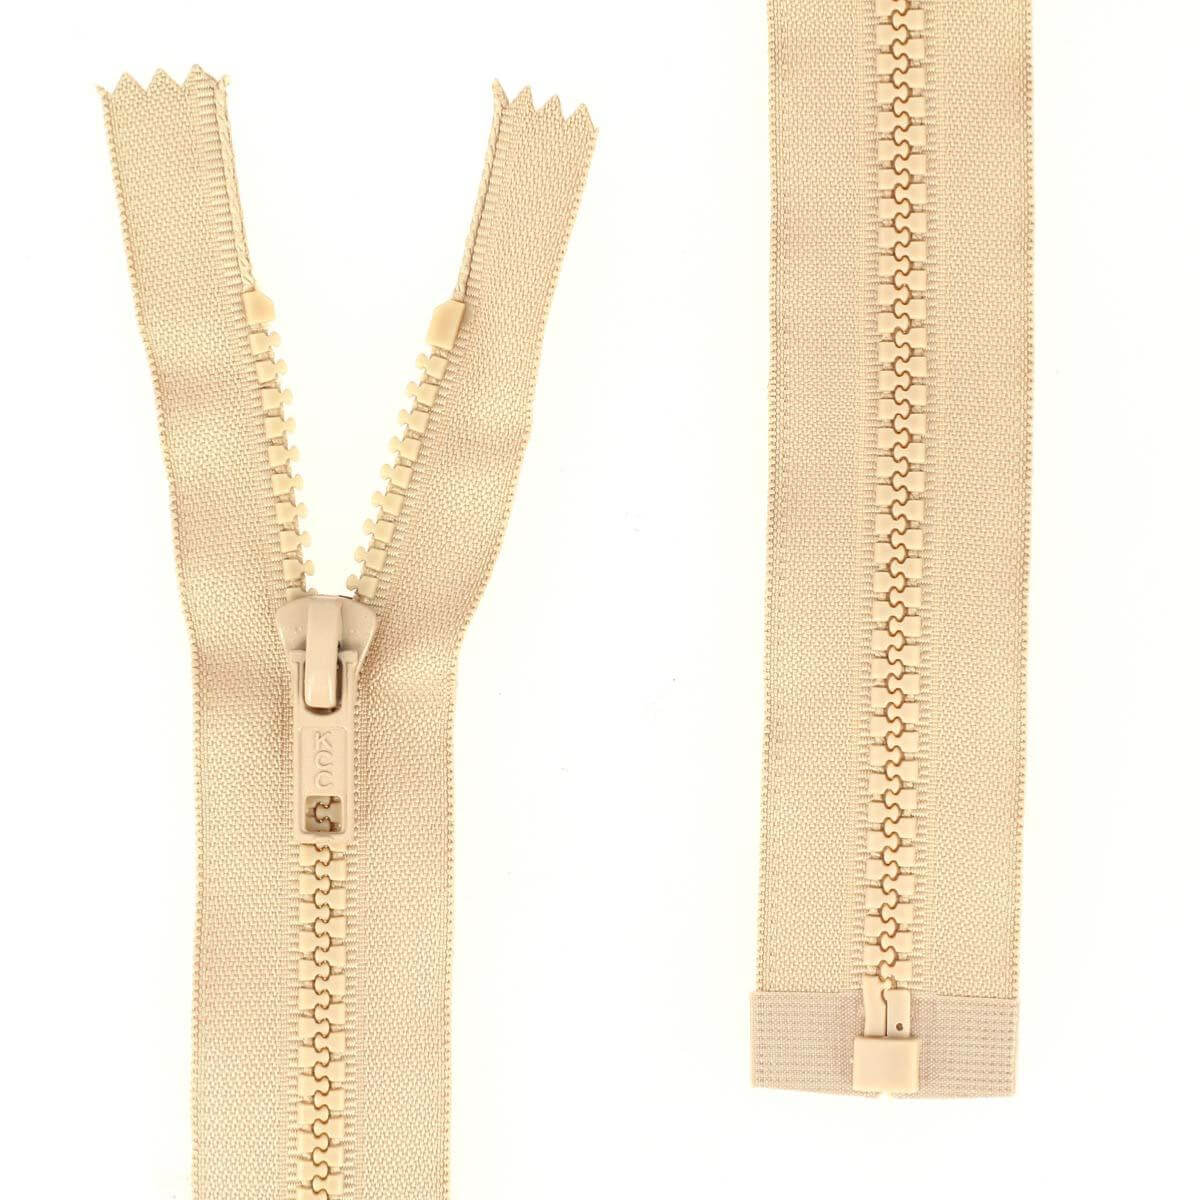
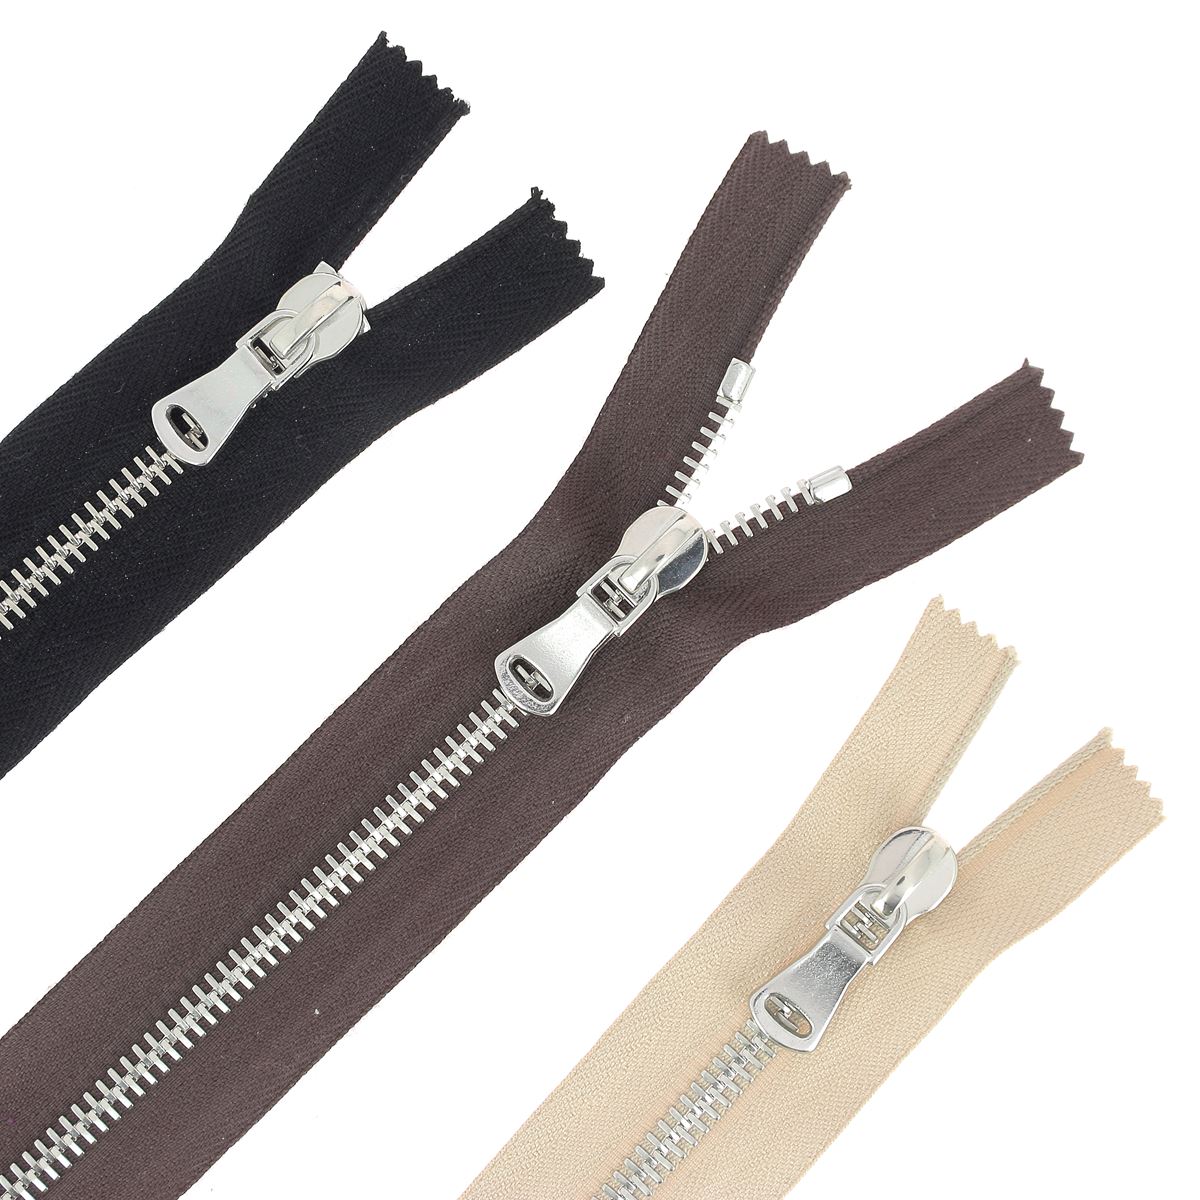
- Large model only : 1 zipper - Mesh width: 6 mm - Minimum length: 18 cm
- 1 zipper - Mesh width: 6 mm - Length: 35 cm
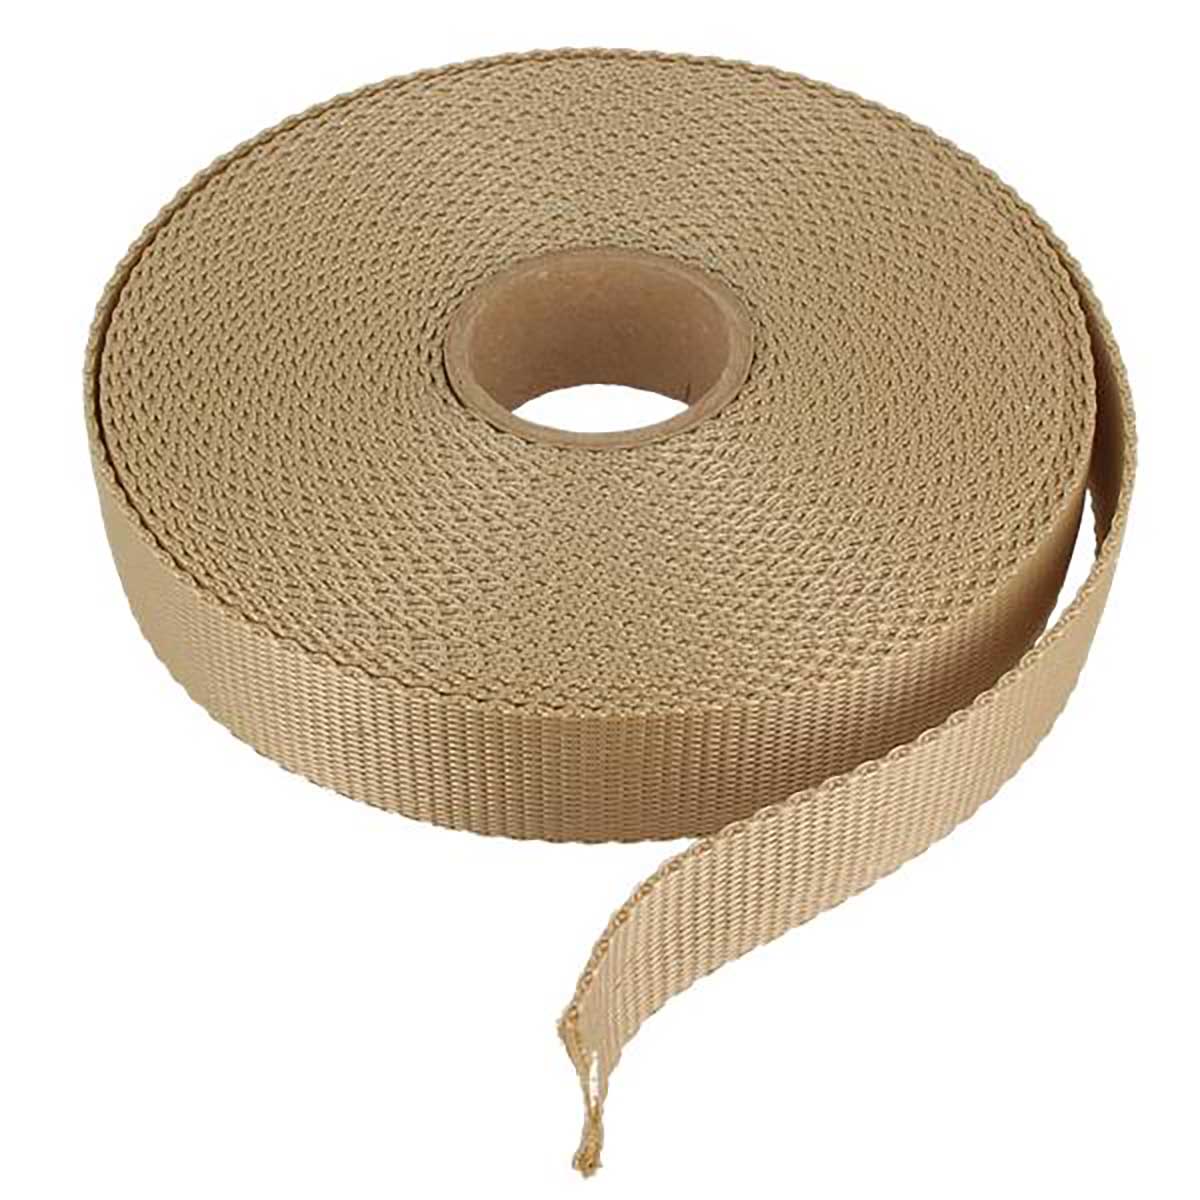
- 1 meter of Nylon webbing - Width: 2.5 cm (unless you want to make a strap in the leather skin)
- 1 sliding buckle - Nickel-plated - Thick wire - Width: 2.5 cm
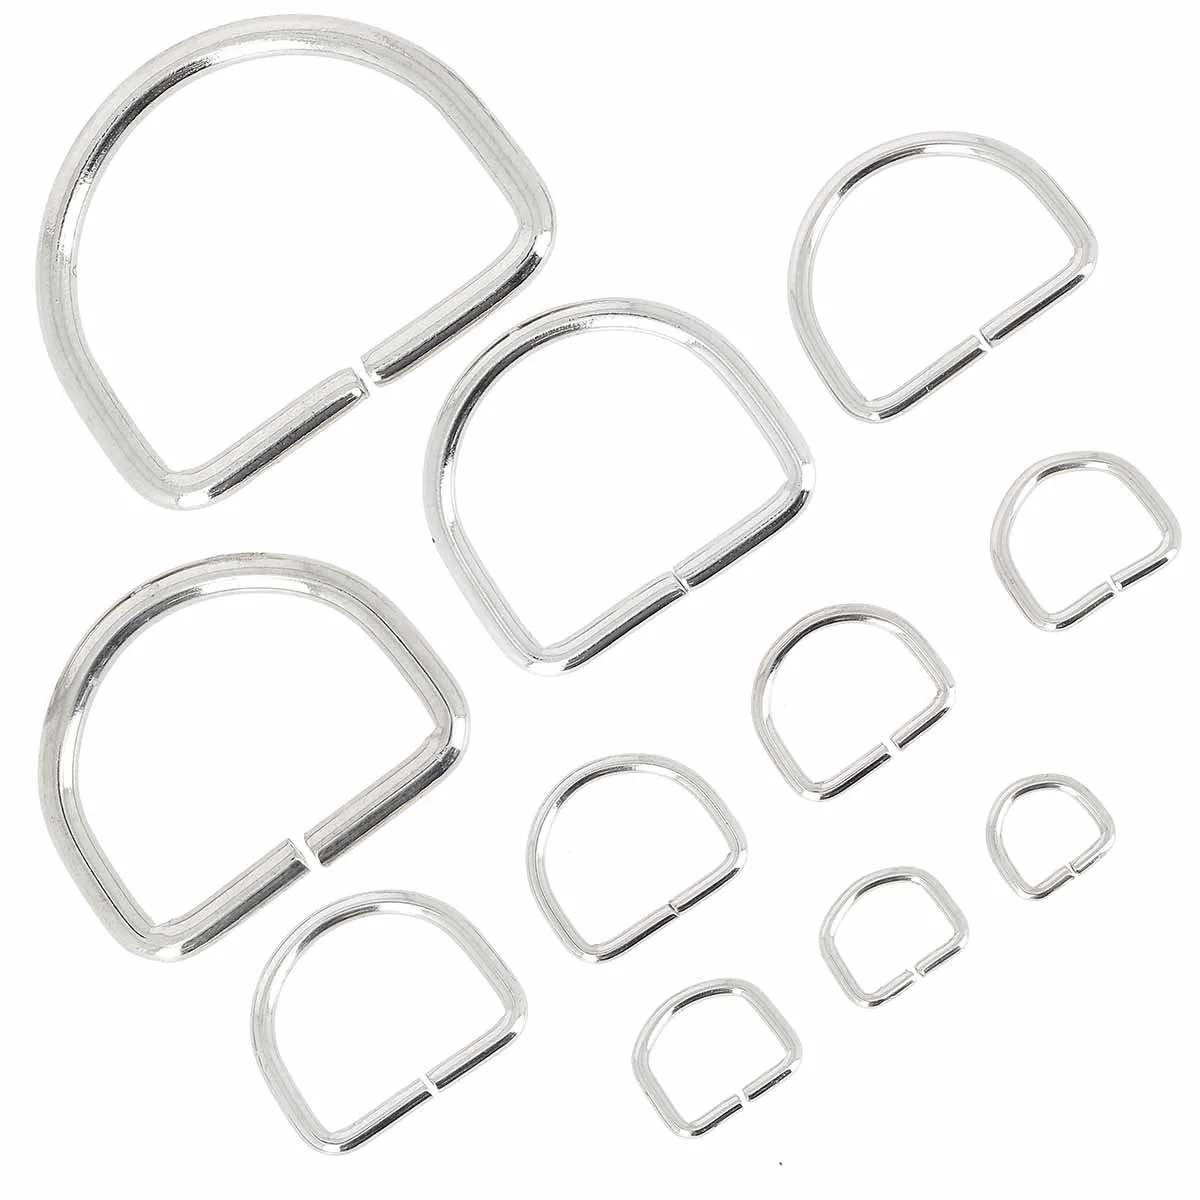
- 2 half-round steel rings - Width: 2.5 cm
- 2 rotating carabiners - Nickel-plated - Width: 2.5 cm
- OR a CLIP loop (instead of carabiners and rings)
- Tear-proof tape
- Fabric for the lining: 140 or 120 cm width x 40 cm.
And the following material:
- 1 cutter or scissors
- 1 sewing machine
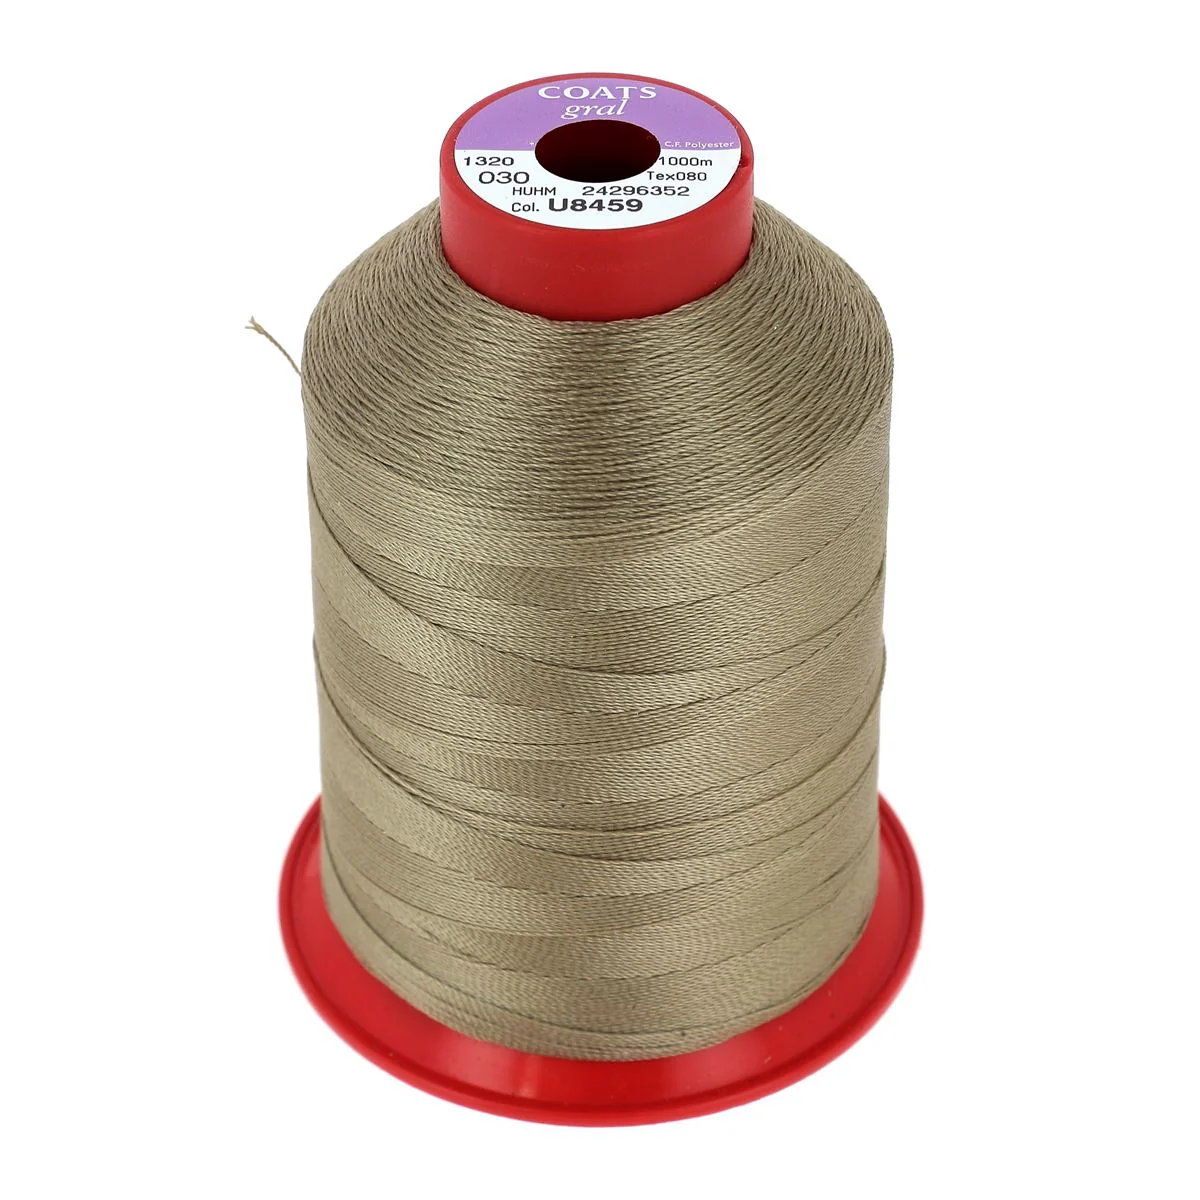
- 1 spool of polyester thread no. 30 (diameter 0.41 mm)
- Double-sided tape
CHOICE OF LEATHER
 |
 |
 |
 |
FULL TUTORIAL VIDEO
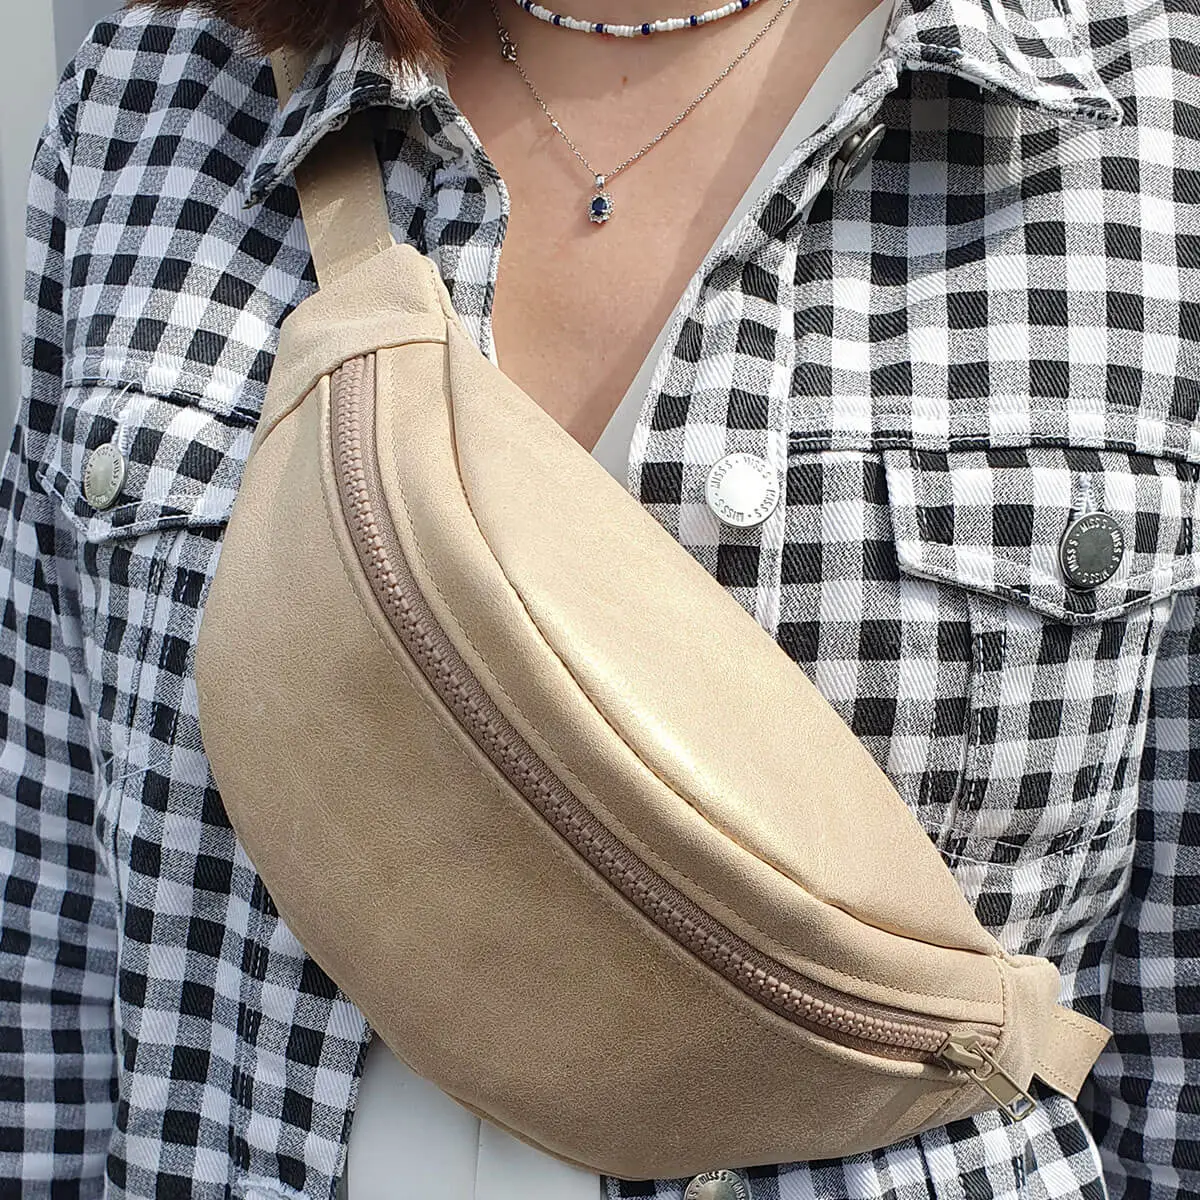
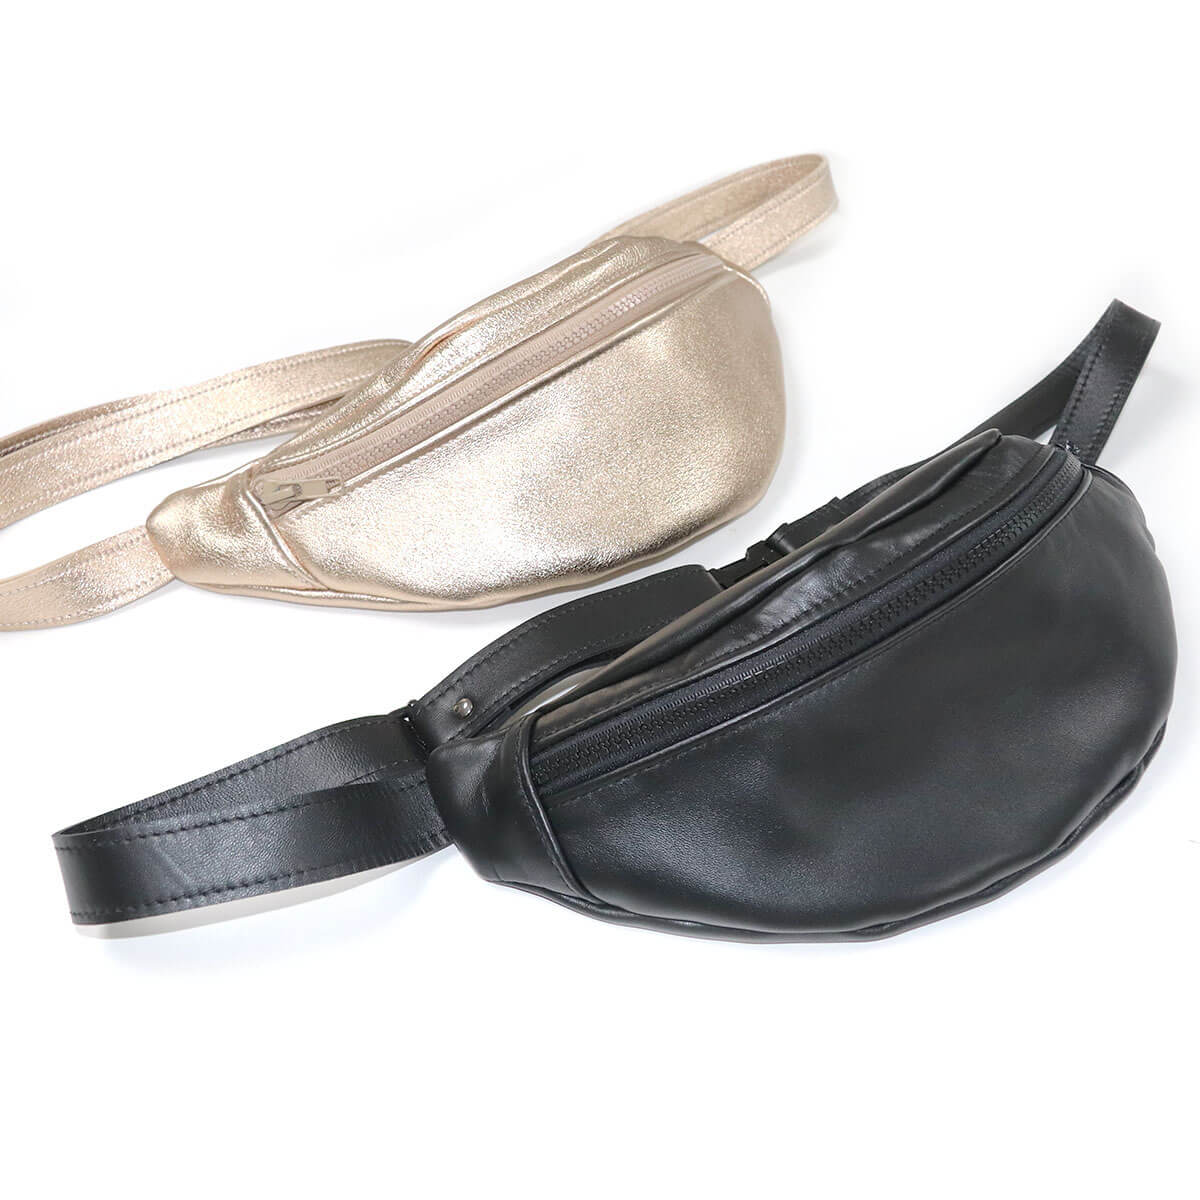
REAL 1 MINUTE - BANANA VERSION 1 CLOSURE
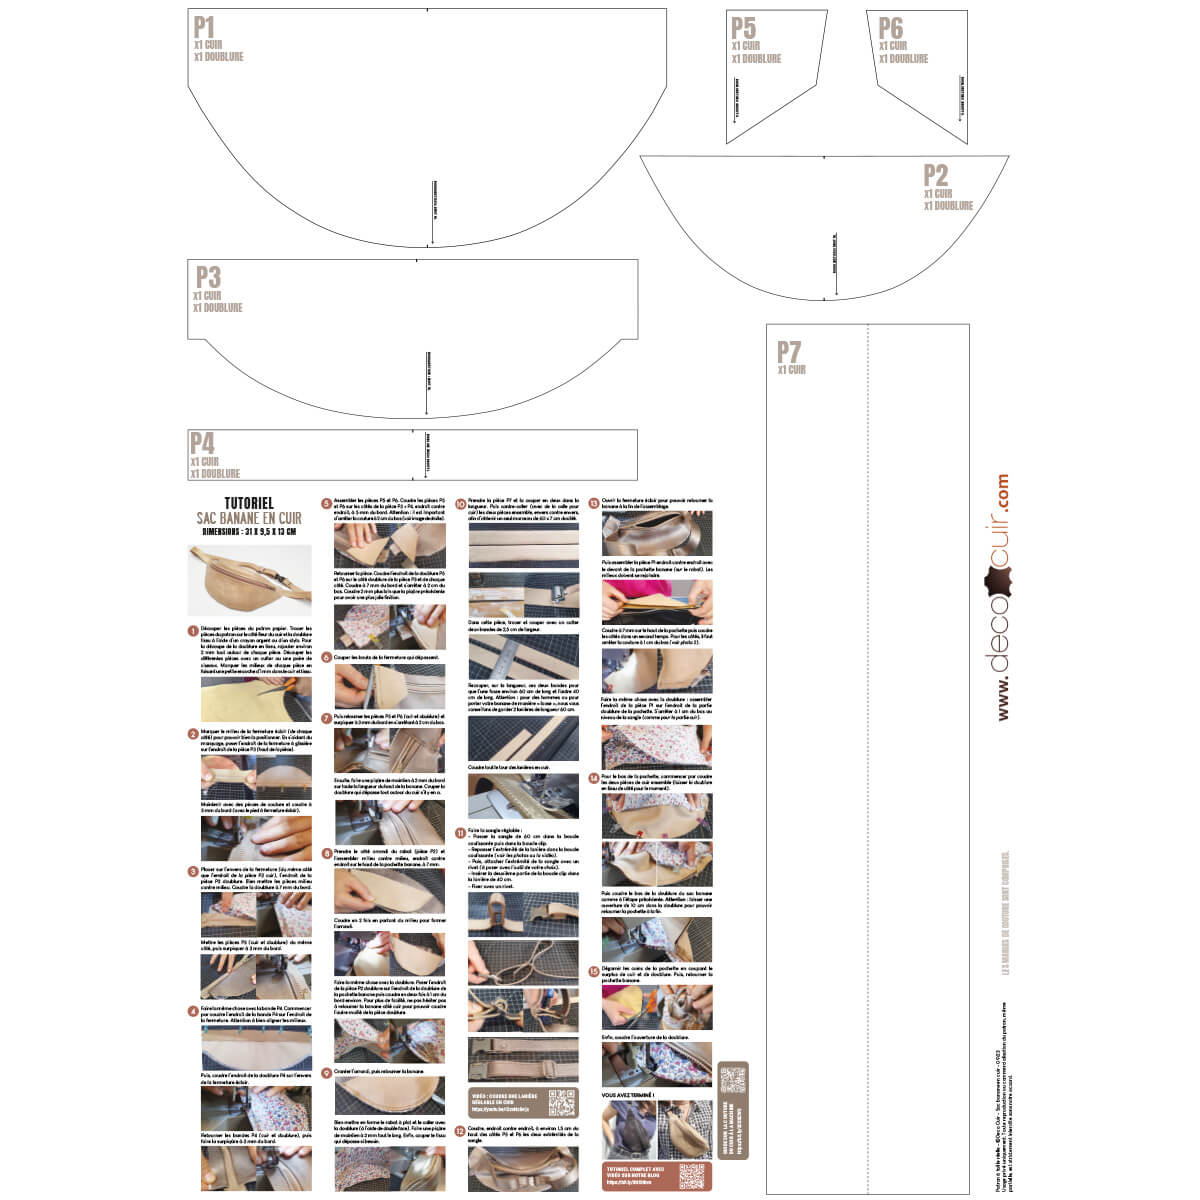
1. PRINT AND TRACE THE PATTERN
Download and print the actual size pattern.
Using a silver pencil, trace the pattern pieces on the grain side of the leather (unless the silver pencil does not mark, as here): mark the middles of each piece with the silver pencil or by making a small 1 mm notch in the leather (see the pattern).
Also trace the pieces in the fabric lining, adding about 2 mm all around each piece (also mark the middles).
 |
 |
2. Cut out the different pieces
Cut out the different pieces of leather and lining with a cutter or a pair of scissors. Don't forget the extra 2 mm all around each piece of the lining.
 |
 |
For those who wish to make the small model (PM - 1 closure), go to step 4.
3. FOR LARGE MODEL ONLY
Cut out the opening of the small pocket on piece P3. Then, put double-sided tape on the back of the piece (at the opening).
 |
 |
Assemble the reverse side of the small zipper (length 18 cm) against the right side of the pocket (fabric piece P9 ).
 |
 |
Sew the right side (the right side of your fabric should be inside the pocket, the outside will be hidden in the banana lining) of the second pocket piece (P9) to the wrong side of the second side of the zipper.
 |
 |
Cut off the excess zipper and separate the two pieces of the pocket on either side of the zipper. The zipper should be facing you (see photo).

Glue part P3 (leather) onto the zipper using double-sided tape.
Pay attention to the direction of the closure slider: if you tend to wear your fanny pack over your left shoulder, we recommend that you put the slider on the right to be able to open the fanny pack from top to bottom (and vice versa).
 |
 |
Stitch 2 mm all around the zipper (using the zipper presser foot) . 
Place the two pieces of fabric P9 on the same side (towards the bottom of piece P3). One of the pocket pieces will be longer than the other: overcut it so that the two pieces arrive at the same height. 
Close the inside pocket by sewing the two pieces P9 together. Be careful not to sew the leather piece P3.
 |
 |
From now on, it's the same steps for the small PM (1 closure) and large GM (2 closures) models.
4. Assemble the large zipper
Mark the middle of the zipper (on each side) so that you can position it correctly. Using the marking, place the right side of the zipper on the right side of part P3 (top of the part).

|
SMALL MODEL

|
LARGE MODEL 
|
Hold with sewing clips and sew 5mm from the edge with the zipper foot.


Place on the wrong side of the zipper (on the same side as the right side of the P3 leather piece), the right side of the P3 lining piece. Place the pieces center to center. Sew the lining 7 mm from the edge.
SMALL MODEL VIEW
 |
 |
VIEW LARGE MODEL
 |
 |
Place the P3 pieces (leather and lining) on the same side, then topstitch 3 mm from the edge. For beginners: you can use double-sided tape (to be placed on the reverse side of the leather at the seam) to flatten the pieces before topstitching.
SMALL MODEL VIEW
 |
 |
LARGE MODEL VIEW
 |
 |

Do the same with strip P4. Start by sewing the right side of strip P4 to the right side of the zipper. Be careful to align the centers well.
SMALL MODEL VIEW
 |
 |
LARGE MODEL VIEW
 |
 |
Then, sew the right side of the P4 lining to the wrong side of the zipper.

Turn the P4 strips (leather and lining) inside out, then topstitch 3 mm from the edge.
For beginners: it is possible to use double-sided tape (to be placed on the reverse side of the leather at the seam) to flatten the pieces before topstitching.
SMALL MODEL VIEW
 |
 |
LARGE MODEL VIEW
 |
 |
5. Assemble the sides
In the same way as the previous step, assemble pieces P5 and P6. Sew pieces P5 and P6 on the sides of piece P3 + P4, right side against right side, 5 mm from the edge. Stop the seam 1 cm from the bottom for the large model (GM) and 2 cm from the bottom for the small model (PM) => to be able to finish the assembly more easily in step 9.
For the large model: carefully follow the rounding of part P3 + P4.
SMALL MODEL VIEW
 |
 |
LARGE MODEL VIEW
 |
 |
Turn the piece over. Sew the right side of the lining P5 and P6 to the lining side of the piece P3 and on each side. Sew 7 mm from the edge and stop 1 cm from the bottom for the large model (GM) and 2 cm from the bottom for the small model (PM). We preferred to sew the lining part on the leather side to be able to sew more easily 2 mm further than the previous stitching (to have a cleaner finish when turning the pocket over - avoid seeing stitches).
SMALL MODEL VIEW
 |
 |
LARGE MODEL VIEW
 |
 |
Cut off the excess ends of the zipper.

Turn pieces P5 and P6 (leather and lining) over and topstitch 3 mm from the edge, stopping 1 cm from the bottom for the large model and 2 cm from the bottom for the small model.
SMALL MODEL VIEW
 |
 |
 |
 |
VIEW LARGE MODEL
 |
 |
Then make a support stitch 2 mm from the edge along the entire length of the top of the banana.
Cut off any excess lining around the leather if there is any.
SMALL MODEL VIEW
 |
 |
LARGE MODEL VIEW
 |
 |
6. Sew the flap
Take the rounded side of the flap (part P2) and assemble it center to center, right side to right side on the top of the fanny pack, at 7 mm.

Sew twice starting from the middle to form the curve.
 |
 |

Do the same with the lining. Place the right side of the P2 lining piece on the right side of the banana pouch lining and then sew in two steps about 1 cm apart. For ease, don't hesitate to turn the banana over to the leather side so you can sew the other half of the lining piece (see photo 3).

 |
 |
Score the rounding, then turn the banana over.

Shape the flap flat and glue it to the lining (with double-sided tape). Make a 2 mm stitch all along. Finally, cut off any excess fabric if necessary.


 |
 |
7. Assemble the loops
Insert the half-round rings into the small strips P7 and P8 and fold them in two. Make a holding stitch. The ideal is to reinforce the loops with tear-proof tape.
 |
 |
Then, sew about 1.5 cm from the top the strips on the right side of sides P5 and P6. The half-round rings should be in the direction of the zipper. Leave a few millimeters of strips P7 and P8 protruding.
 |
 |
SECOND POSSIBILITY :
Opt for a leather strap cut directly from your skin!
You just need to cut, at least, a strip of 60 x 14 cm (which will be cut into 2 strips of 60 x 7 cm to be laminated - see the video) . *In the video, we cut 2 strips of 70 x 8 cm but the dimensions are for large skins.
In this 60 cm long strip, trace and cut with a cutter two strips of 2.5 cm width. Then cut, lengthwise, these two strips so that one is approximately 60 cm long and the other 40 cm long. Warning: for men or to wear your fanny pack in a "loose" way, we advise you to keep 2 straps of length 60 cm (the fanny pack strap will be adjustable in any case).
Finally, sew all around the leather straps.
 |
 |

Do you prefer to use a clip loop rather than 2 carabiners?
Prepare your strap by adding the sliding buckle and the clip buckle .
You need 2 strips: one 60 cm long and another 40 cm long.
- Pass the 60 cm strap through the sliding buckle and one end of the clip buckle.
- Pass the end of the strap through the sliding buckle (as pictured)
- Then, attach the end of the strap with a rivet.
- Insert the second part of the clip buckle onto the 40 cm strap.
- Fix it with a rivet.
- Then, sew the ends of the strap directly onto the banana in place of the tabs (right side against right side and straps facing inwards). Leave a few millimetres of strap protruding on the sides.
 |
 |
 |
 |
 |
 |
 |
 |

8. Finish assembling the banana
Open the zipper (at least halfway) so that you can turn the banana over at the end of assembly.

Then assemble piece P1 right side against right side with the front of the fanny pack (on the flap). The middles should meet.

Sew 7 mm on the top of the pocket then sew the sides in a second step. For the sides, stop sewing 1 cm from the bottom (see photo 2).
 |
 |
Do the same with the lining: assemble the right side of piece P1 to the right side of the lining part of the pocket. Stop 1 cm from the bottom at the tongue/strap (as for the leather part) .

9. Sew the bottom of the fanny pack
For the bottom of the pouch, start by sewing the two pieces of leather together (leave the fabric lining aside for now) . To make this step "smooth", it is important not to have sewn the sides all the way in step 5.

SMALL MODEL VIEW
 |
 |
LARGE MODEL VIEW
 |
 |
Then sew the bottom of the lining of the fanny pack as in the previous step. Attention: leave a 10 cm opening in the lining to be able to turn the pouch inside out at the end.


|
 |
10. Remove the filling and turn the cover over
Trim the corners of the pouch by cutting off the excess leather and lining. Then, turn the fanny pack inside out. 

|
 |
11. Close the opening
Sew the lining opening by hand or machine.

 |
 |
12. Make the shoulder strap
*Only if you opted for tabs in step 7.
Take about 1 meter of nylon strap or make a strap in your leather.

To make an adjustable strap:
- Insert the first carabiner on one end of the strap, then sew
- Pass the other end of the strap through a sliding buckle
- Then, pass it through the second carabiner
- Pass the end of the strap back through the sliding buckle (as pictured)
- Finally, sew the end of the strap
 |
 |

13. Style the zipper slider
The little extra: attach a small leather strap to the zipper slider using a knot.

You're done!


 |
 |
 |
 |


37 comments
Deco Cuir
Bonjour Pauline,
Dans le kit sac banane en cuir vous avez effectivement assez de cuir pour faire les lanières. Par contre nous avons choisi les surfaces en fonction du petit modèle je ne peux pas vous certifier que vous réussirez à coudre le grand modèle 😊
Effectivement pour les aiguilles je vous conseille les tailles 90 /100 : https://www.decocuir.com/collections/aiguilles-cuir-machine-coudre
N’hésitez pas à aller voir notre guide complet sur la couture du cuir à la machine : https://www.decocuir.com/blogs/blog-tutoriel-patron-cuir/comment-coudre-cuir-machine
L’équipe Deco Cuir
Pauline POUY
Bonjour,
Je voudrais offrir le kit de la banane en cuir pour Noël.
Y-a-t-il assez de peau de cuir pour faire la lanière en cuir ?
Egalement pouvons-nous faire le grand modèle avec la peau fournie ?
Enfin, quelle taille d’aiguille dois-je acheter ? N°100 ?
Merci pour votre retour.
Pauline.
DECO CUIR
Bonjour Linda,
Vous devez prendre une peau de 0,39m² si vous souhaitez faire une banane avec une lanière différente (en nylon par exemple).
Si vous souhaitez faire la lanière de la banane dans le même cuir, il faut au moins 0,59 m²/0,69 m².
Bonne journée,
L’équipe Deco Cuir
Moulloud linda
Bonjour, pouvez-vous me dire quelle taille de peau il faut aussi bien pour la grande pour la petite pochette. Cordialement merci je voudrais faire des cadeaux de Noël qui plaisent beaucoup j’en suis sûre avec ces bananes
Toutou
Bonjour
Merci pour ce tutoriel très bien expliqué.
mamieAnnie05
merci beaucoup pour ce tutophotos. Les photos sont explicites et la video vient éclaircir les situations difficiles.
Pour ma part, la difficulté vient du fait que le cuir, même s’il est fin, ne se laisse pas coudre facilement et les épaisseurs augmentent encore la difficulté. Sans doute ma machine (PFAFF, Passeport 3.0) n’est elle pas vraiment adaptée, mais le cuir me tente beaucoup et malgré tout, j’essaye, quitte à y passer beaucoup de temps.
Le résultat cependant me plaît et je vous remercie encore pour ce guidage très précis.
Chloé P
Merci pour ce super patron (et tuto) ! j’ai fait 3 bananes, elles plaisent toujours autant à mes proches :)
lubyEmy38
merci à vous pour ce magnifique tuto et surtout bien expliqué
je vais adorer
merci
Karine
http://mes101luby.eklablog.com/
Natacha
Merci pour ce tuto bien détaillé, même si j’ai eu quelques difficultés à la fabrication ! Mais le résultat est sympa..!
En core Merci pour le partage du patron et de la vidéo !
AUBERT
Bonjour.
Merci pour ce tutoriel aussi complet pour réaliser un sac banane. Je vais pouvoir me décider à en réaliser un pour moi.
Mes remerciements pour la qualité de vos vidéos.
Je souhaiterai intégrer vos formations à Nantes sur le travail du cuir.
Bonne continuation.
AUBERT.
Vadrouille
Merci pour le patron. Comme j’ai fait toutes les coutures à la main, j’ai modifié légèrement certaines pièces. Je suis contente de ma réalisation.
Anonymous
Bonjour,
Merci pour votre commentaire sur notre blog. Vous devez positionner la pièce P1 bord à bord contre le haut de la banane (pièces P7 + P8 + P2). N’hésitez pas à regarder les vidéos elles vous permettront de mieux visualiser cette étape (la couture se fait en 2 temps) : https://youtu.be/87yYjmyARLo?si=XKEc-jHol4s8jyit&t=524 (grande banane) et https://youtu.be/I8whUGP6ktA?si=t2Fx3VQyuGmCW6g4&t=40 (petite banane).
Bonne journée,
L’équipe Deco Cuir
Coriou Catherine
Bonjour !
Je bloque définitivement sur l’étape 8 ! Je ne comprends pas l’assemblage de la P1 sur le rabat. Je ne visualise pas le résultat avant tentative de couture.
Pouvez-vous m’aider ?
Merci d’avance !
Cordialement,
Catherine
Le Naour
Je suis ravie d’avoir réussi à confectionner une pochette grâce à votre tuto très bien détaillé. Je n’ai pas rencontré de difficulté majeure si ce n’est avec ma mac (Husqvarna Viking qui a 20 ans. Elle a un réglage cuir, mais peut-être faut-il modifier la pression quand même?) Ce n’est pas une question de puissance de moteur, ni d’aiguille, ni pied (teflon), mais en passant sur plusieurs épaisseurs (quand il y a la FE en plus par exemple) les points sont moins réguliers. J’ai acheté tout le matériel chez vous, le cuir (chèvre nappa et agneau plongé).
Si quelqu’un peut me donner des renseignements pour mes réglages de machine, je suis preneuse. En tout cas je regrette simplement de n’avoir pas connu votre magasin plus tôt! Et le personnel est si charmant!
Anonymous
Bonjour Josie,
Nous faisons suite à votre commentaire sur notre blog, nous sommes navrés que vous ayez rencontré des problèmes. Notre patron banane est en libre disposition depuis 7 mois et de nombreuses bananes ont été confectionnées sans problème majeur. Votre banane est-elle en cuir ? Utilisez-vous bien du double-face pour poser vos pièces avant couture (et éviter qu’elles s’étirent au moment de la couture) ?
Avez-vous bien mis la pièce P2 dans le bon sens ? L’arrondi doit se trouver vers le haut.
Enfin, nous vous invitons à regarder l’étape 9 sur l’article de blog (il y a des photos sur la couture du bas de la banane) : https://www.decocuir.com/blogs/blog-tutoriel-patron-cuir/pochette-banane-cuir Les photos pourront vous aider.
Bonne journée,
L’équipe Deco Cuir
Josie PEAN GABANOU
Bonjour
Ça fait 2 fois que je tente la banane petit modèle et 2 fois que à l’assemblage de la pièce P1 avec P3 . p1 est nettement trop grande .
Encore une fois où tout part à la poubelle de la matière de gâchée et 1 après midi à m’énerver .
Pourtant cette fois ci j’ai tout regardé à 2 fois avant d’avancer .
Mon patron était très bien imprimer .
Je pense qu’il y a à revoir la dimension des pièces . Merci
Anonymous
Bonjour Fabienne,
Il n’y a qu’une taille de patron papier pour la pochette banane : nous proposons uniquement la version 1 fermeture https://www.decocuir.com/products/patron-sac-banane-cuir-deco-cuir
Les pièces 5 et 6 sont bien aux bonnes dimensions, ce sont les pièces des côtés de la banane (au niveau de la lanière).
N’hésitez pas à regarder la vidéo ou notre article de blog si vous avez besoin de davantage d’explications !
Bonne journée et bonnes fêtes,
L’équipe Deco Cuir
Karjavy fabienne
Bonjour Je voys avais commandé le plus gros patron j’ai reçu le petit.
Et les pièces 5 et 6 ne sont elles pas trop petites?n’est pas compter l’espace de la fermeture éclair.
Merci pour votre réponse
Anonymous
Bonjour Julie,
Malheureusement nous n’avons pas eu d’autres retours à ce jour concernant un problème avec l’assemblage de la pièce P1 sur le grand modèle. Nous vous conseillons d’utiliser du ruban adhésif double-face pour bien positionner les pièces avant assemblage. De plus il ne faut pas trop tirer sur la matière au moment de la couture, cela pourrait détendre vos pièces et donc les élargir 😉
Nous espérons que le 4ème modèle sera le bon !
Bonne journée,
L’équipe Deco Cuir
Julie
j’ai cousu maintenant trois fois la banane en grande taille et a chaque fois la pîèce du fond ne correspond pas et je suis obligée de faire deux pinces à l’arrière pour réussir à assembler le fond. Je ne comprends pas. Est-ce que d’autres personnes ont eu ce problème ?
Merci !
Anonymous
Bonjour Mme. Manguin,
Pour imprimer le tutoriel du sac banane, il faut imprimer la page web. Quand vous êtes sur la page du tutoriel, aller dans les paramètres du navigateur et faite « Imprimer ».
Vous pouvez aussi faire « CTRL + P » pour imprimer la page.
À bientôt,
L’équipe Deco Cuir
Manguin Marie Hélène
Bonjour, j’ai imprimé le patron de la banane mais comment imprimer le tutoriel impossible a faire et je suis obligé de rester sur mon tél pour suivre le tuto merci de votre aide. A bientôt pour mes nouvelles commandes. Mme Manguin
Laurence
Prochain projet.
Anonymous
Bonjour Alexandrie,
Voici le mode d’emploi pour fixer l’embout sur une fermeture à glissière :
- Remplir la moitié de l’embout avec de la colle forte.
- À l’extrémité où se situe l’arrêt du zip, former une pointe en repliant les bords de la fermeture (les plis doivent être sur l’envers de la fermeture). Puis insérer cette pointe dans l’embout.
- Sertir l’écrou dans l’embout.
Bonne journée,
L’équipe Deco Cuir
Alexandrie Sanchez
Bjr comment poser un embout de Zip a sertir merci
Anonymous
Bonjour Audrey, oui il est tout à fait possible que la Cricut redimensionne les pièces (cela arrive souvent). Il faut donc bien vérifier leurs dimensions avant découpe. Nous avons rajouté au tuto la dimension de chaque pièce afin que vous puissiez faire votre vérification. Rendez-vous sur notre blog au dessus de la zone de téléchargement : https://www.decocuir.com/blogs/blog-tutoriel-patron-cuir/pochette-banane-cuir Bonne journée, l’équipe Deco Cuir
boineau
Bonjour
Pour la découpe svg les pièces me paraissent super petites non faut il agrandir?
Anonymous
Bonjour Madame Pornin,
Merci beaucoup pour votre commentaire !
Nous espérons vous revoir dans notre magasin actuel :)
À bientôt, l’équipe Deco Cuir
Pornin Katia
Bonjour
Merci pour les patrons du sac banane
Je vais utiliser le cuir gris légèrement irisé que je vous ai acheté lorsque j’étais venu chez vous, dans votre maison à l’époque… eh oui cela doit faire à peu près vingt ans !
Je vous avais fait un sac en cuir marron côté croûte 😊
Au plaisir de vous revoir dans votre magasin.
Amicalement
Katia
jean-marie noyes
Merci pour ces supers tutos
Anonymous
Bonjour Valérie,
Merci pour votre commentaire.
Nous venons de rajouter le patron SVG du sac banane grande taille (c’est le troisième patron).
Bonne journée, L’équipe Deco Cuir
Valérie
Bonjour, Pourriez vous me dire où l’on trouve le fichier svg du sac banane grande taille svp…
merci d’avance, et merci pour toutes ces créations et tuto.
Valérie
Anonymous
Bonjour Maeva,
Bien sûr si vous le souhaitez et si vous vous en sentez capable vous pouvez coudre le cuir + doublure en même sur la fermeture éclair (prise en sandwich). Sur le tutoriel nous le faisons pas à pas notamment pour les niveaux débutants afin d’être sûrs qu’aucun point ne sera visible au moment de retourner (et pour éviter tout décalage).
Bonne journée,
L’équipe Deco Cuir
Maéva
Merci pour ce tuto que je vais tenter de reproduire.
Pourquoi ne pas poser le cuir et la doublure entre la fermeture éclaire et ne faire qu’une seule piqure (puis la surpiqure) plutôt que de faire d’abord la piquer du cuir puis la piquere de la doublure et enfin la surpiqure, comme proposé dans le tuto ?
nath lange
trop trop belle ,grand merci pour se superbe patron .
Anonymous
Bonjour Suzanne,
Merci pour votre commentaire.
Concernant les formations, nous proposons des formations sur le cuir dans nos locaux à Campbon (à environ 30 min de Nantes).
N’hésitez pas à aller voir nos formations ici : https://www.decocuir.com/collections/stage-formation-travail-cuir-couture-repoussage
Bonne journée,
Cordialement,
L’équipe Deco Cuir
suzanne
merci pour tous vos tutos, je vais essayer de faire la petite banane qui est très bien expliquée.
uns question: j’ai du cuir que je vous avais acheté il y a bien longtemps couleur orange (bien connue) et vert,je les regarde mais je ne sais pas comment les utiliser,ils sont tellement beaux, connaissez vous des cours à Nantes (j’habite Nantes)ou proche de Nantes ou je pourrais apprendre ,je connais l couture mais rien sur le cuir.
en vous remerciant
S Sardin