THE NECESSARY MATERIAL
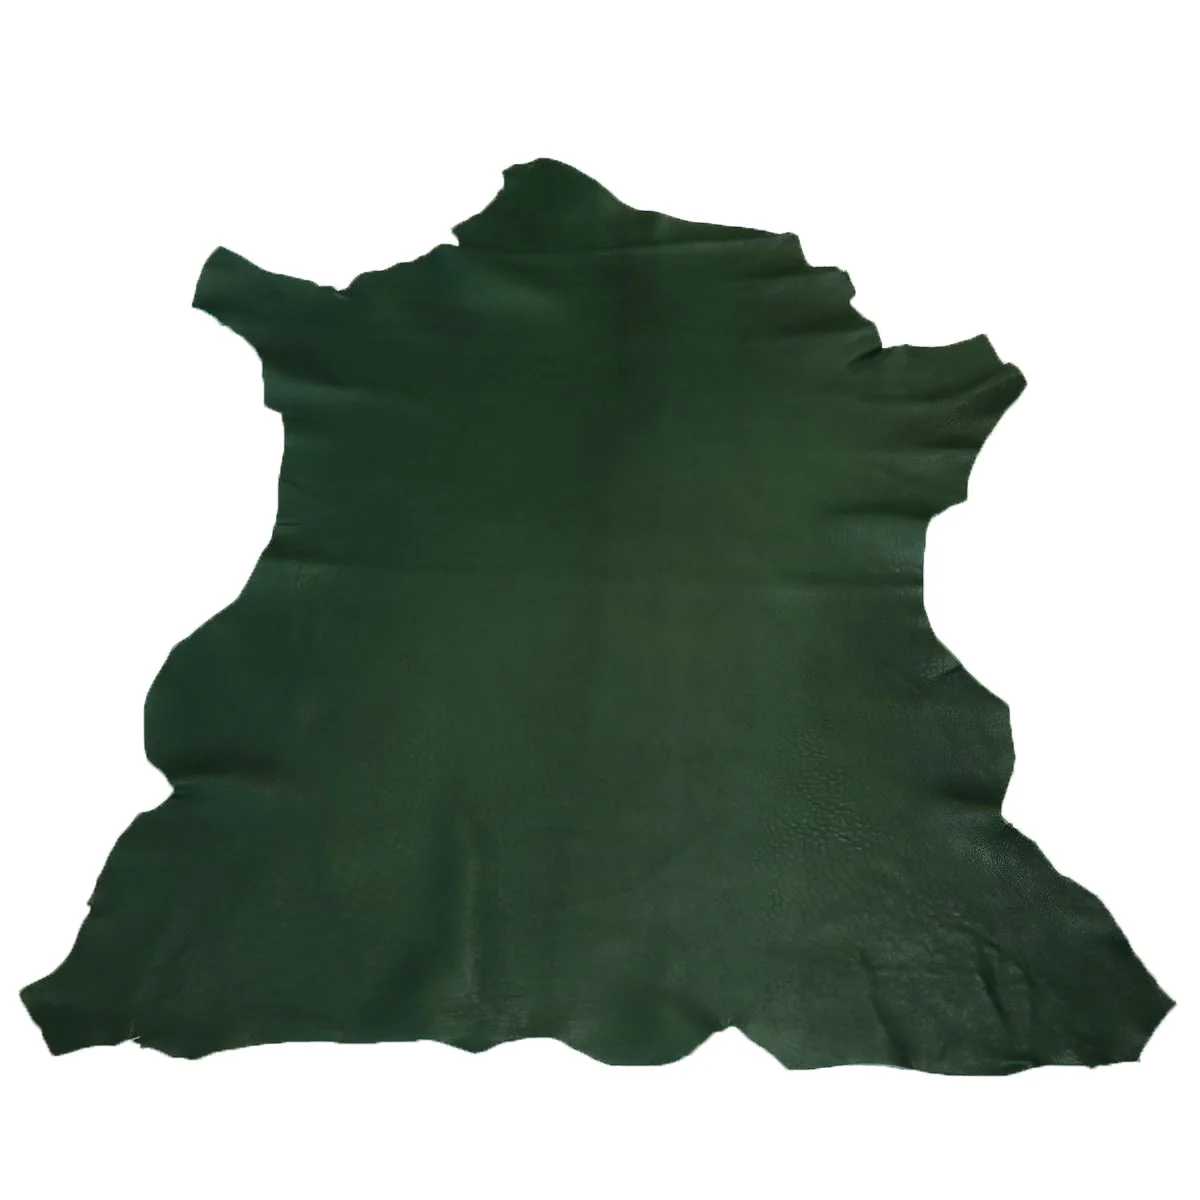
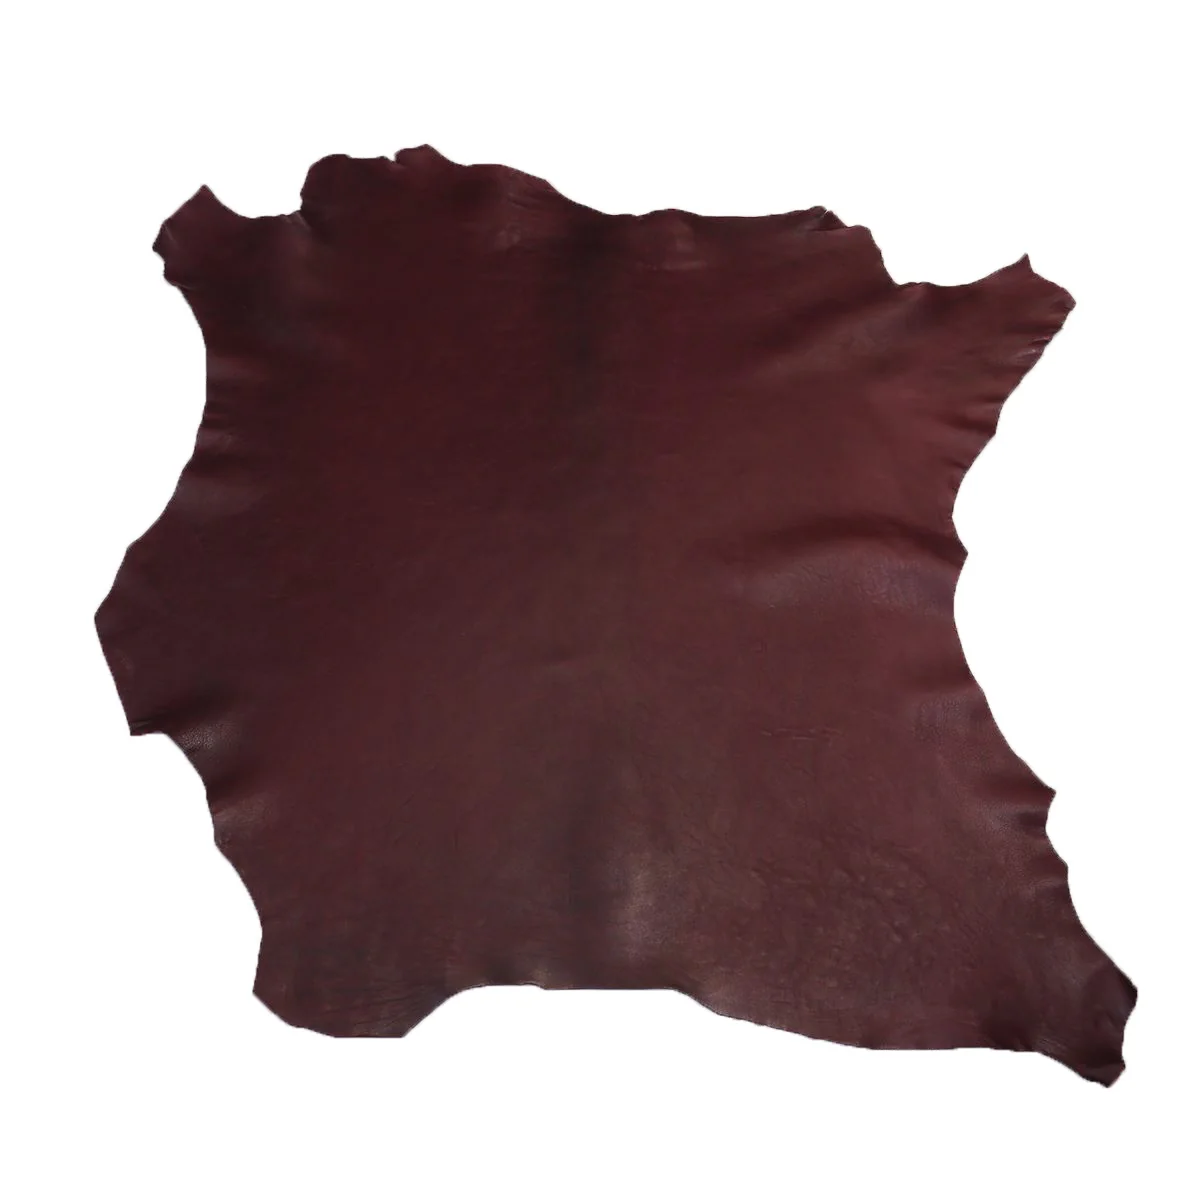
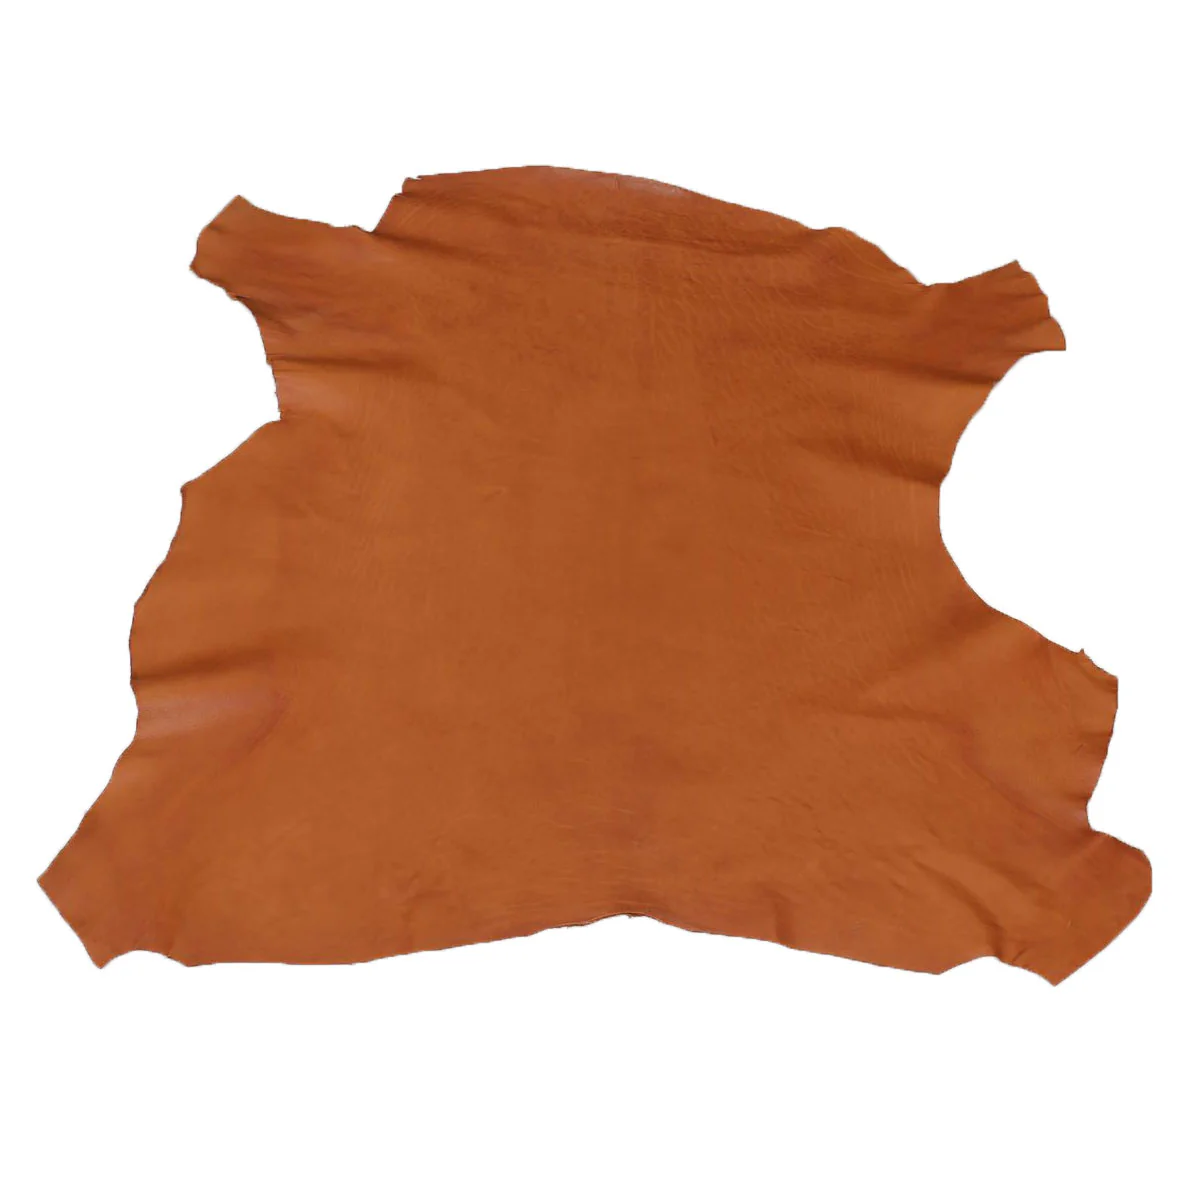
To complete this tutorial you will need:- 1 soft leather skin for the body - Surface area of 0.55 m² - Thickness between 1 and 1.3 mm
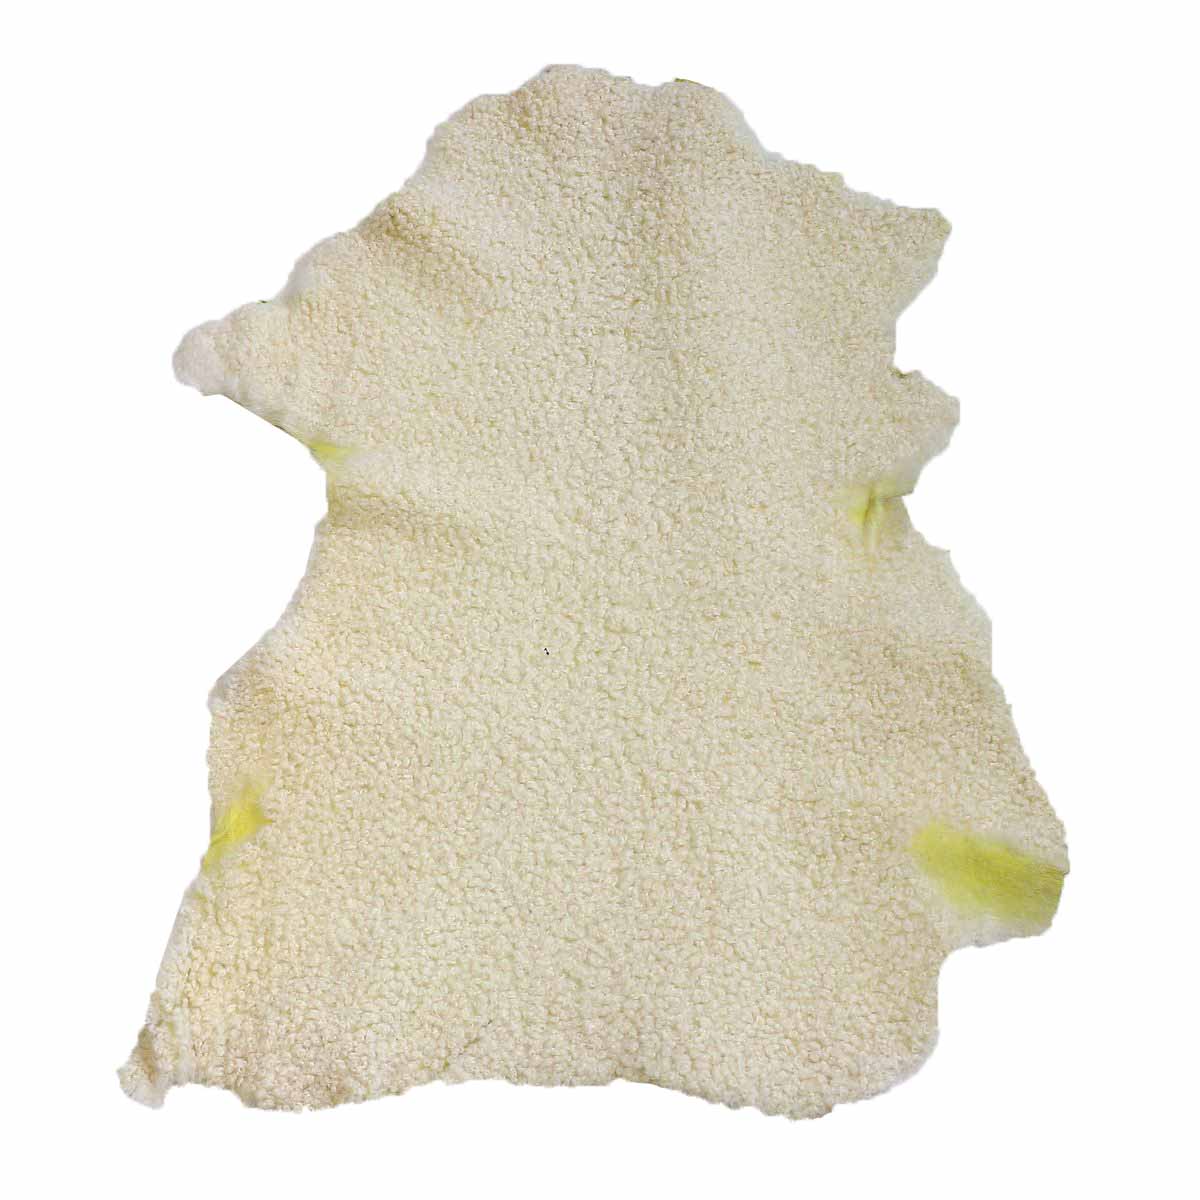
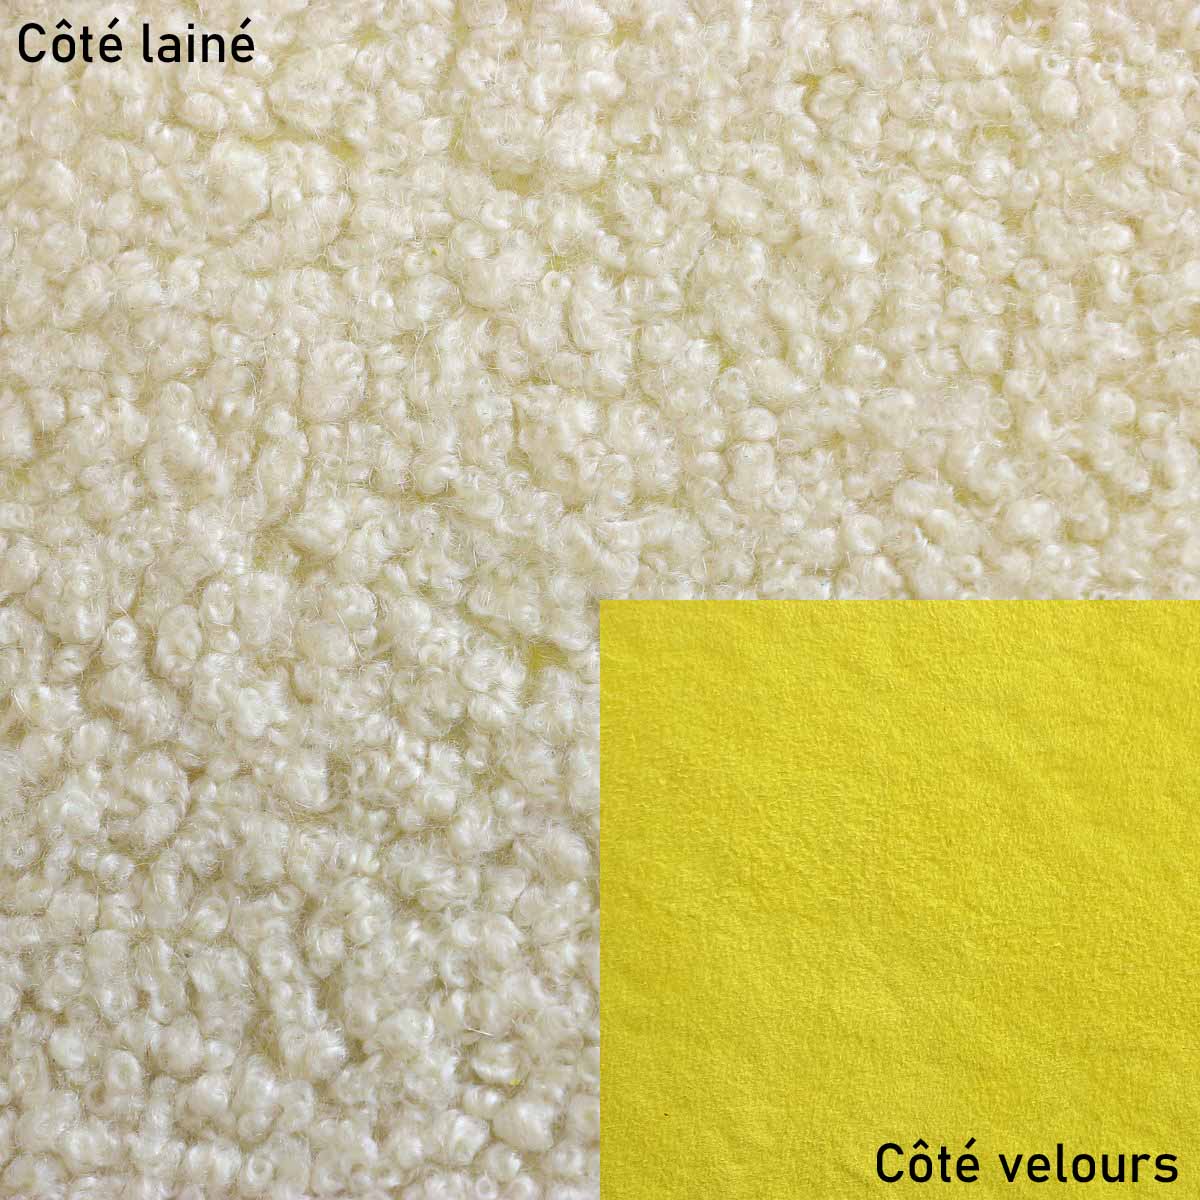
- 1 soft leather skin for the top of the boots - Surface area 0.25 m² - Thickness between 0.6 and 1.3 mm
- 25 cm round leather lace - Natural - 2 mm
VIDEO
1. Transfer the pattern onto the leather
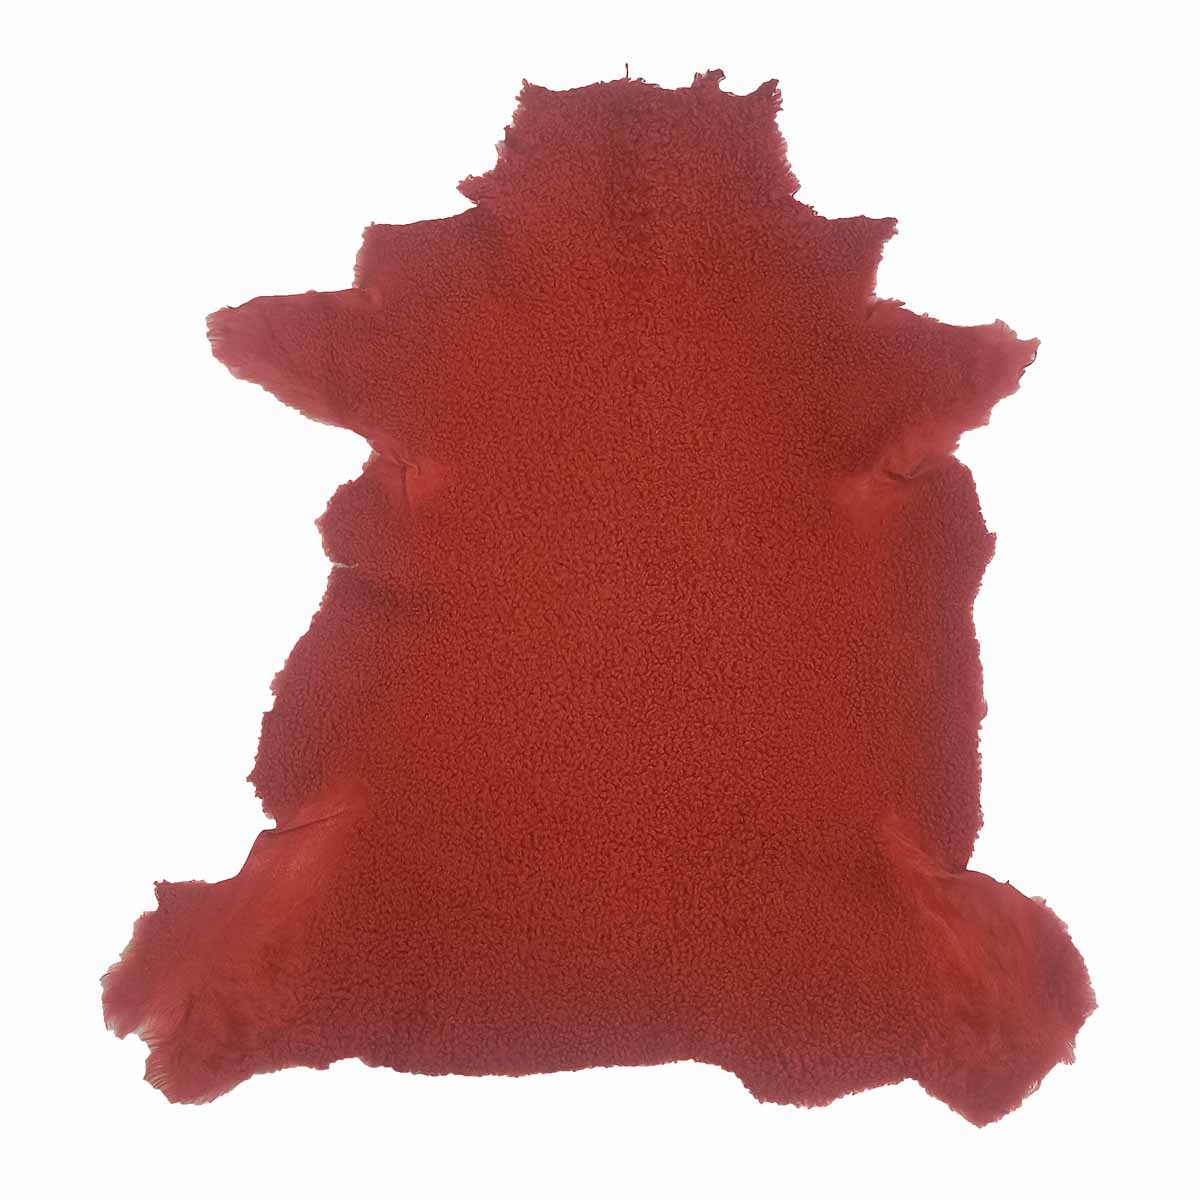
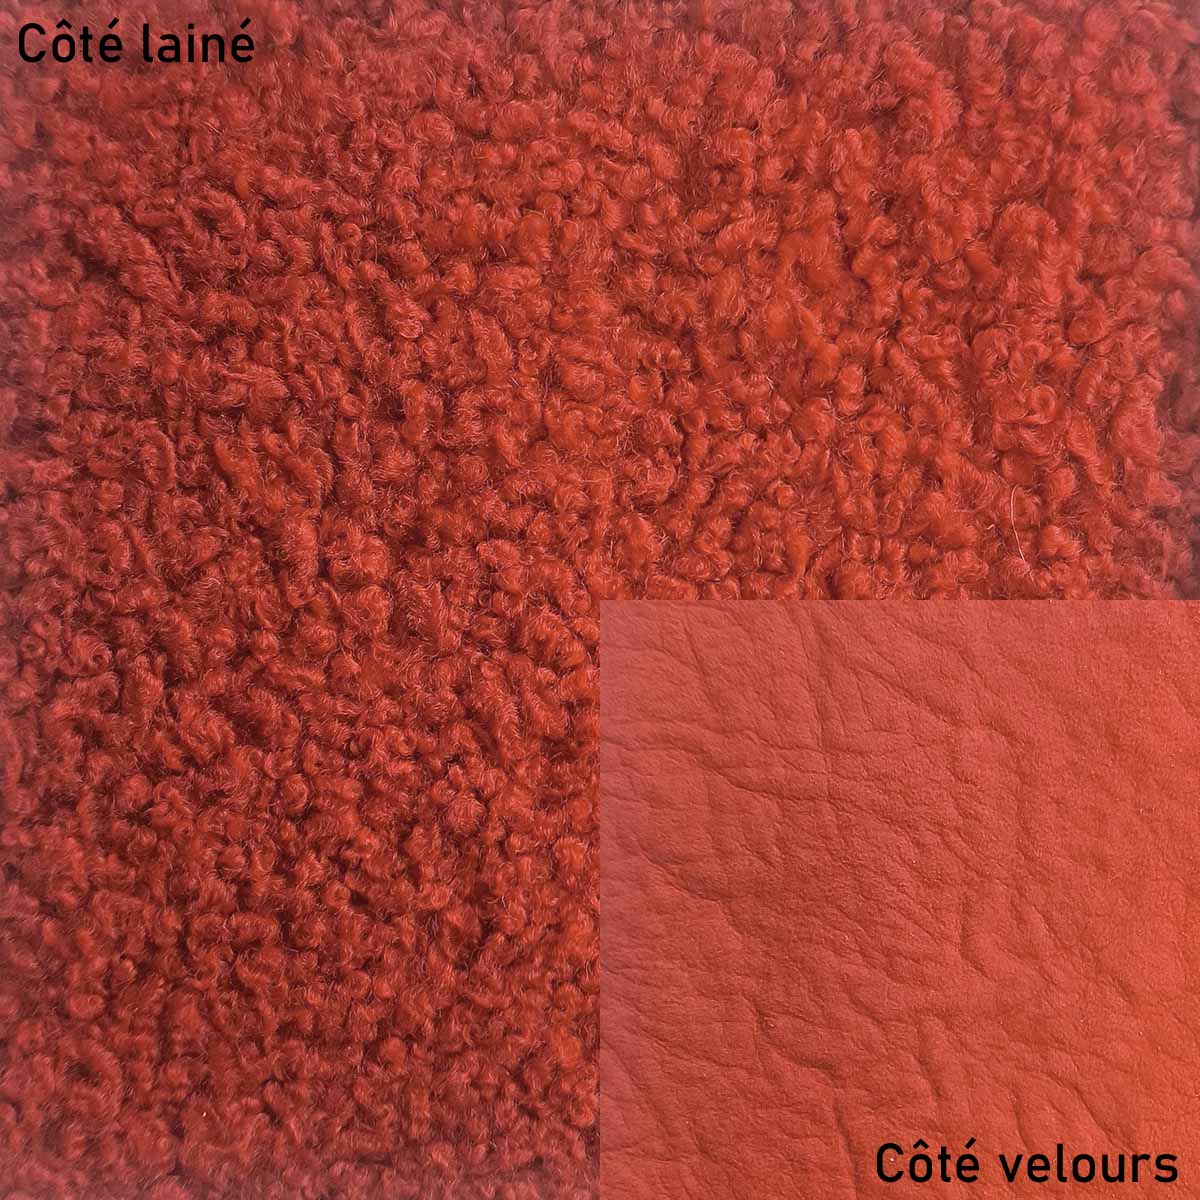
Cut out the paper pattern and transfer it onto the leather with a silver pencil. Transfer piece P1 twice in mirror image onto the leather of your choice for the body of the sock (here smooth leather). Then, transfer piece P2 onto the leather of your choice for the top of the sock (here woolen sheepskin).
 |
 |
2. Cut the leather
Cut out pieces P1 and P2 of the pattern with a pair of scissors or a cutter.
 |
 |
Using a silver pencil, mark the different markings on parts P1 and P2. They will be used in the next steps to position the lace.

3. Sew the body of the sock
Take the 25 cm of round lace and tie a knot at the end.

Place the two P1 pieces right side against right side and insert the round lace at the place indicated on the pattern. Be careful, the lace must be placed towards the inside, between the two P1 pieces (as in the photo).

Hold everything together with sewing clips.

Then, sew all around the boot 1 cm from the edge.

Trim the curves.

Notch the internal curve of the boot.

Turn the sock inside out.
 |
 |
Flatten the seams by hitting them with a joiner's hammer.

4. Sew the top of the sock
Take piece P2 and fold it in two, right side against right side.

Sew 1 cm from the edge following the markings made in step 2: you must leave a 1 cm hole in the seam to let the round lace pass through at the end.
 |
 |
5. Sew the top of the sock to the body
Insert piece P2 inside piece P1, right side against wrong side. Make sure that the hole left in the seam is facing the lace.

Hold with sewing clips.

Then, sew the entire top of the boot 1 cm from the edge.

Flip piece P2 over on top of piece P1.

Pass the lace through the hole left in part P2.
 |
 |
Hit the seams.

OPTION: make a ledge on the bottom of part P2
Apply double-sided tape to the length of the bottom of piece P2, on the reverse side of the leather.

Then glue to make a ledge.
 |
 |
Flatten the collage with a steel roller.
 |
 |
You're done!
Personalize the Christmas stocking by adding leather cutouts and first names...

How to mark leather?
SEE THE GUIDE >
 |
 |
 |
 |


